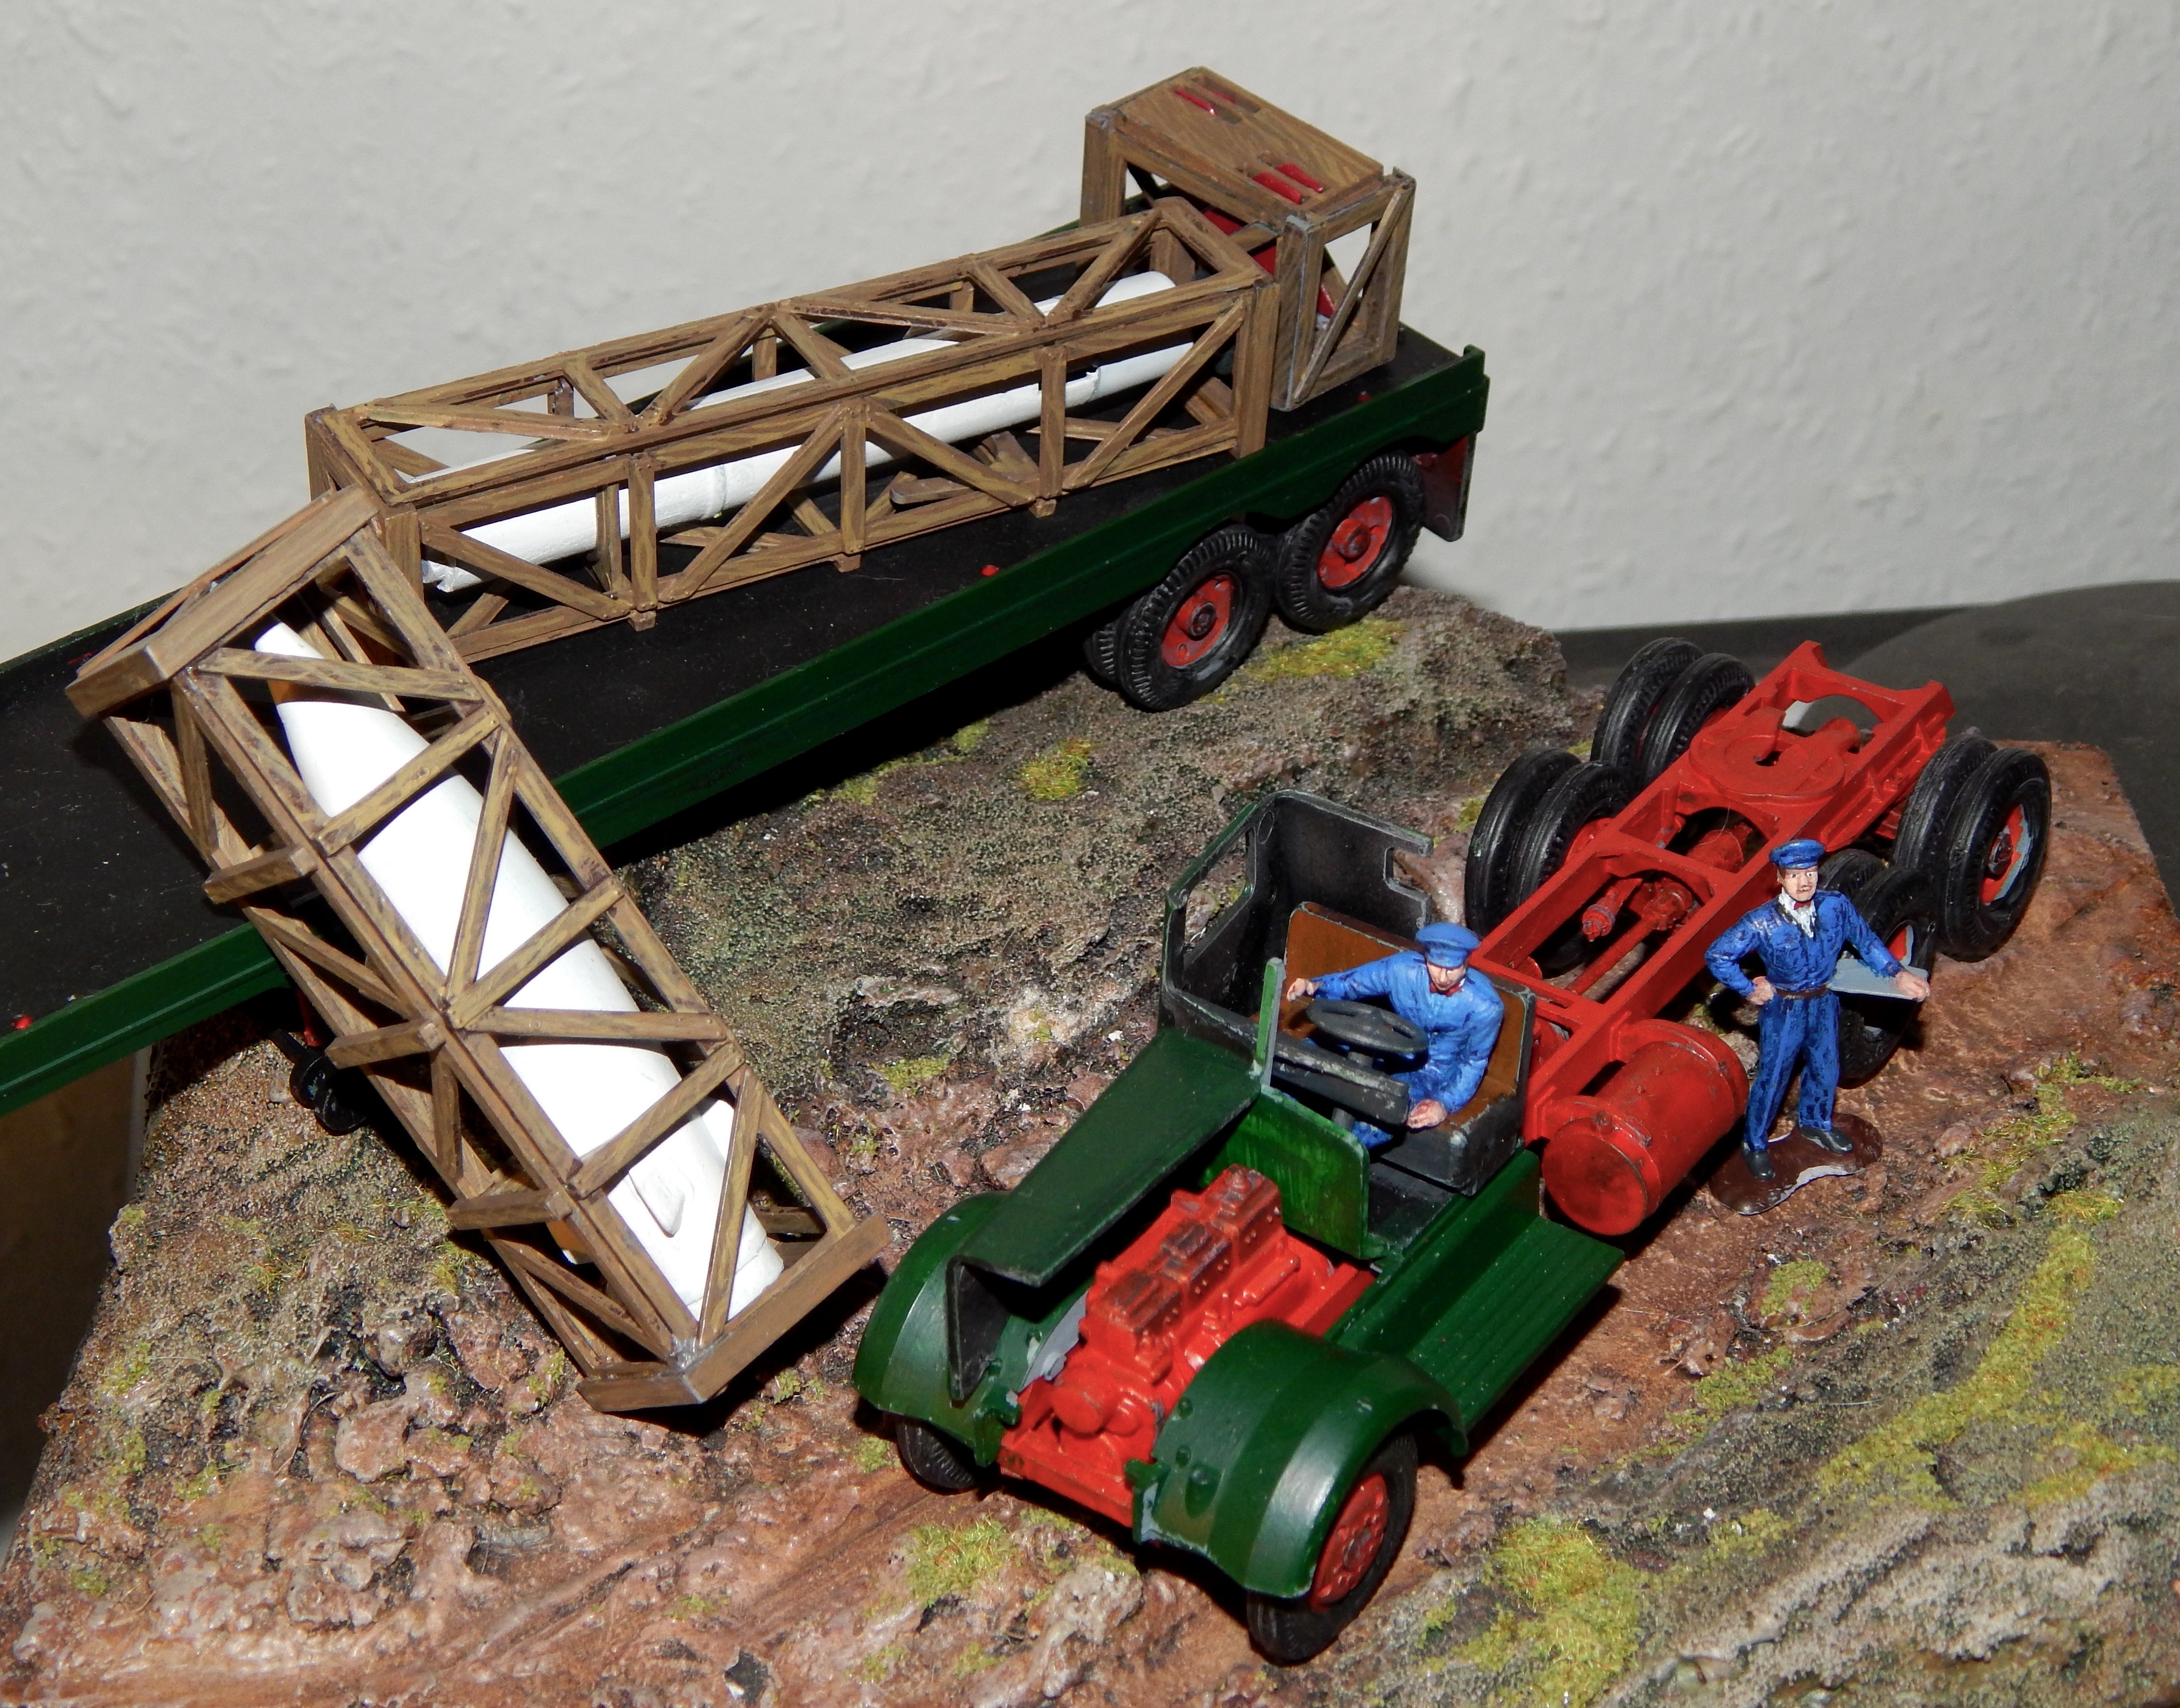
Primed everything in Halfords Plastic Primer. Painted and assembled crates. Quite pleased with the wood effect paint job.
I have primed all the parts and started to assemble.the painted transportation crates for the Honest John Missile and some primed missile partsexample of a cummins engine for reference from internet
Have been working on the Kenworth Truck and Carrier – Wheels painted, bulk of red metal parts and truck cab more or less complete.
The Cummins Enginethe under carriage of the truckFigures to paint and some fine details and small parts and decals to addStarting to assemble, not much left to do now…
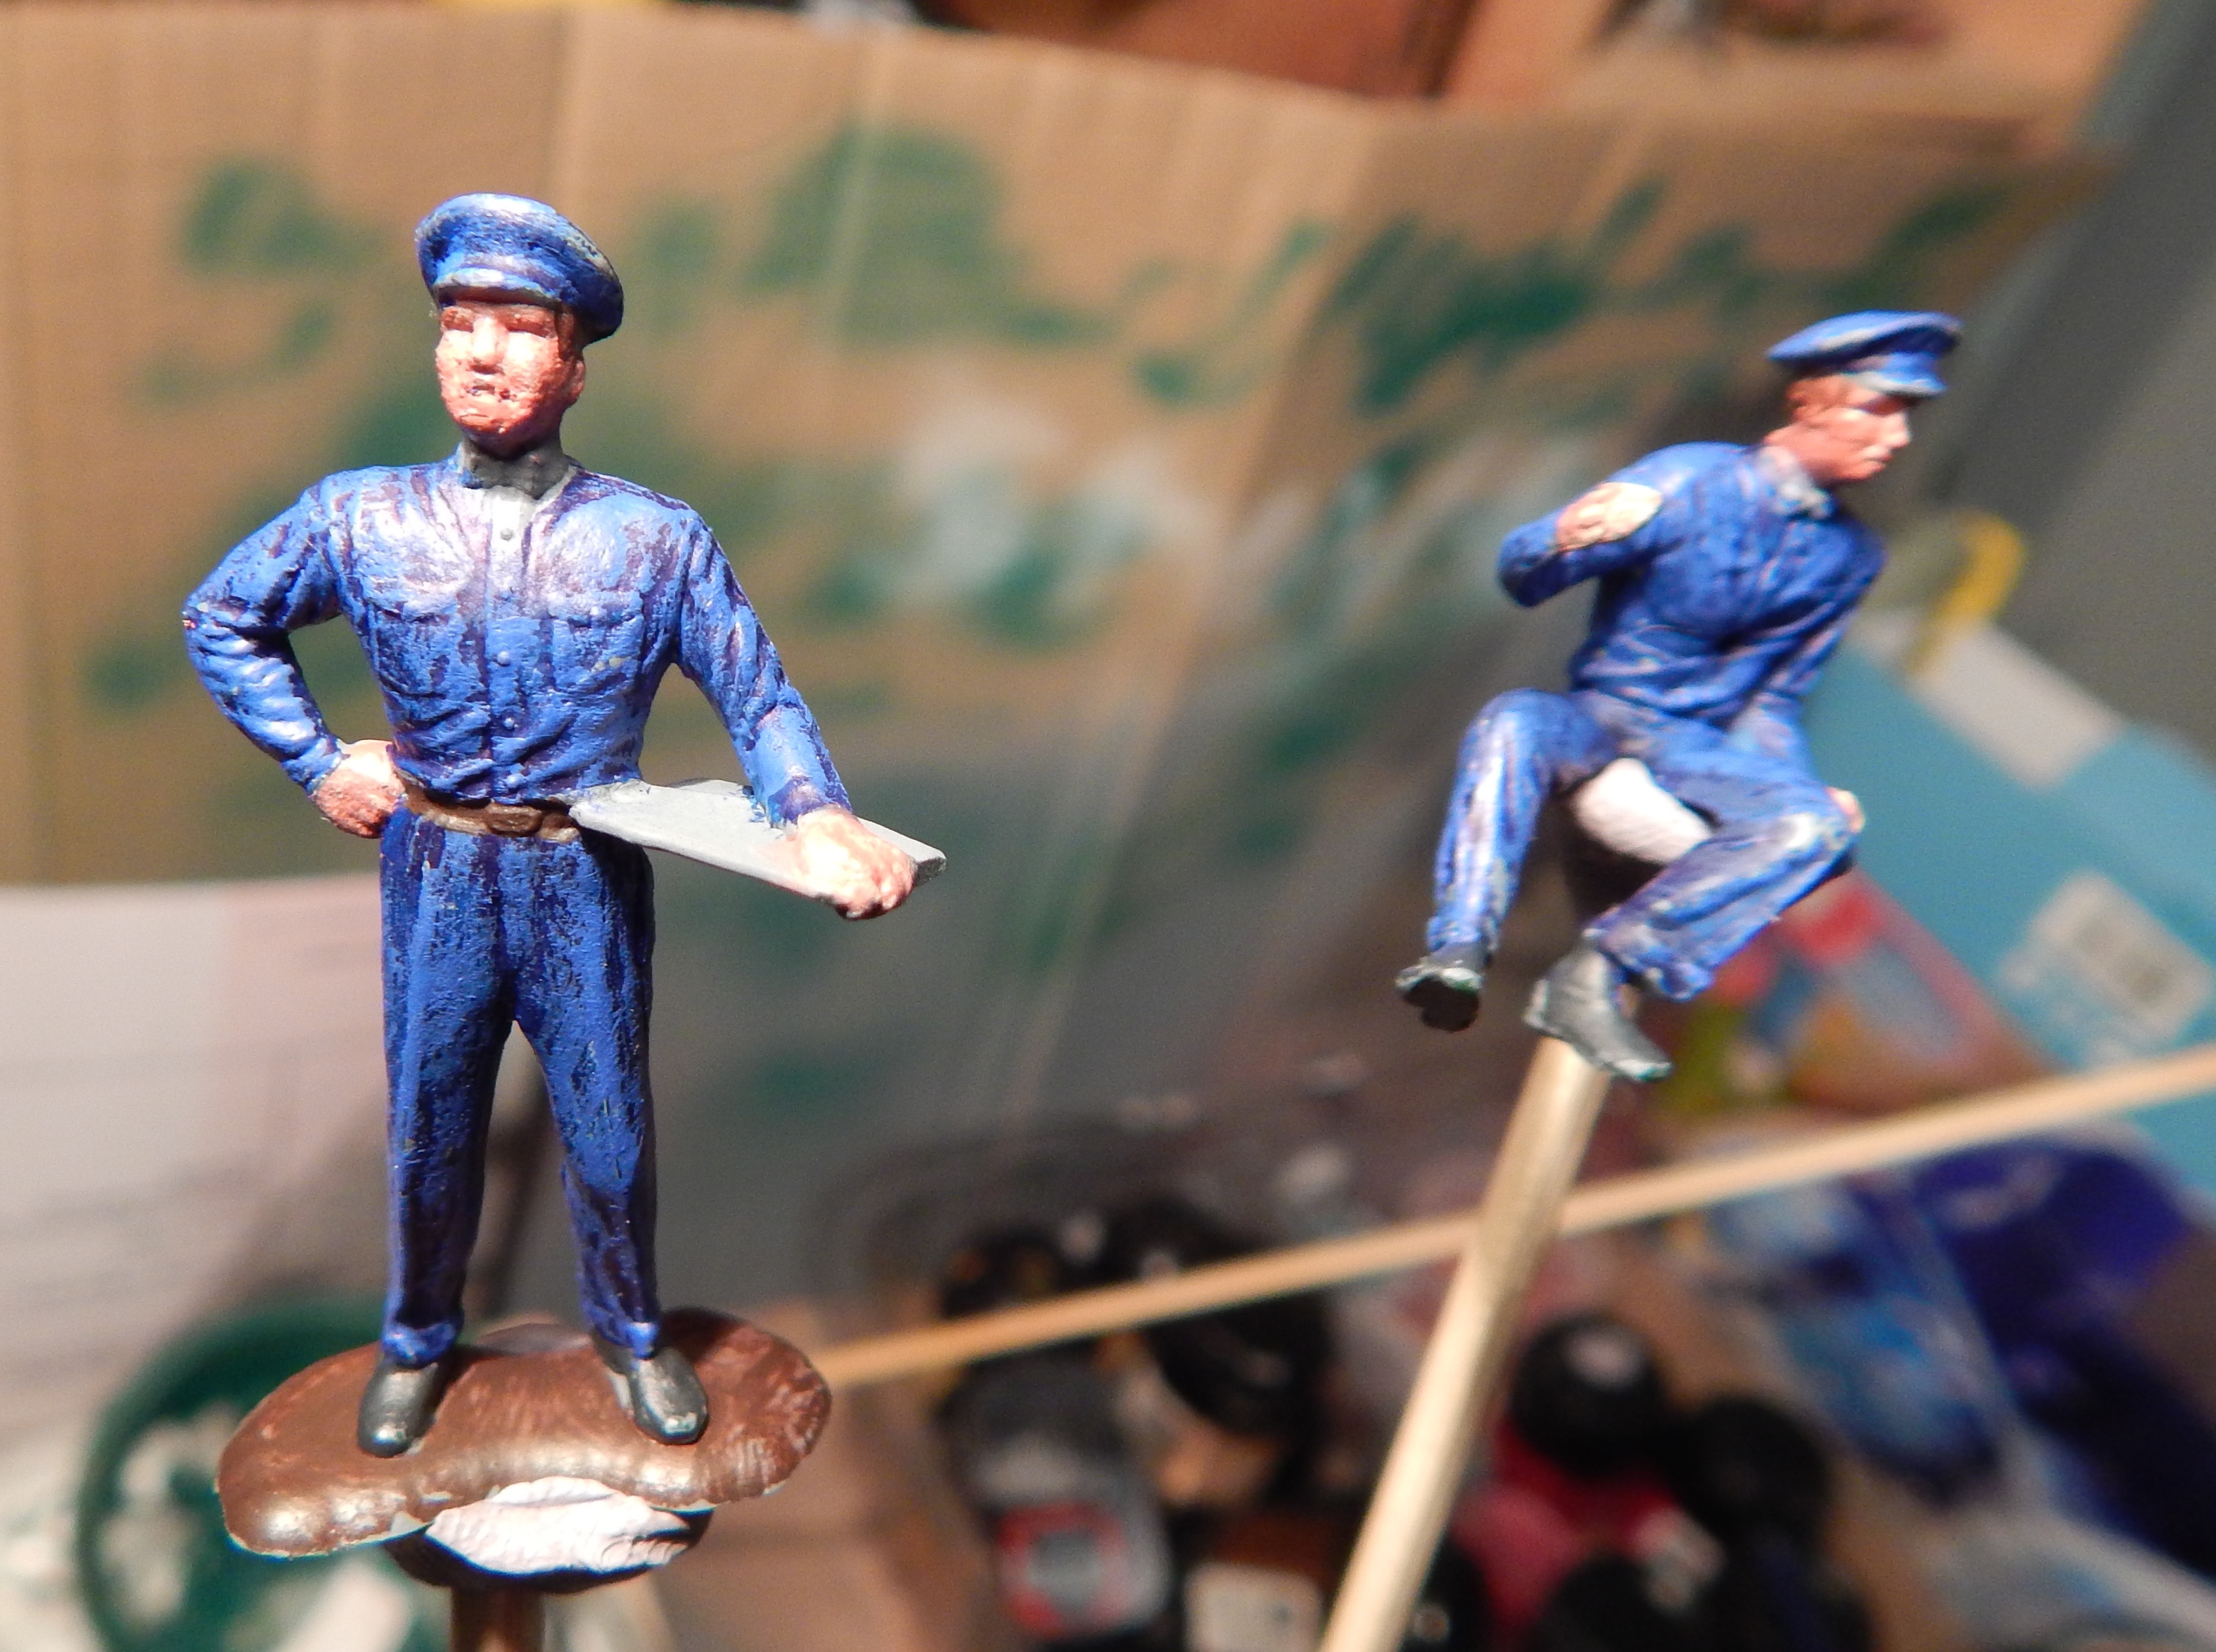
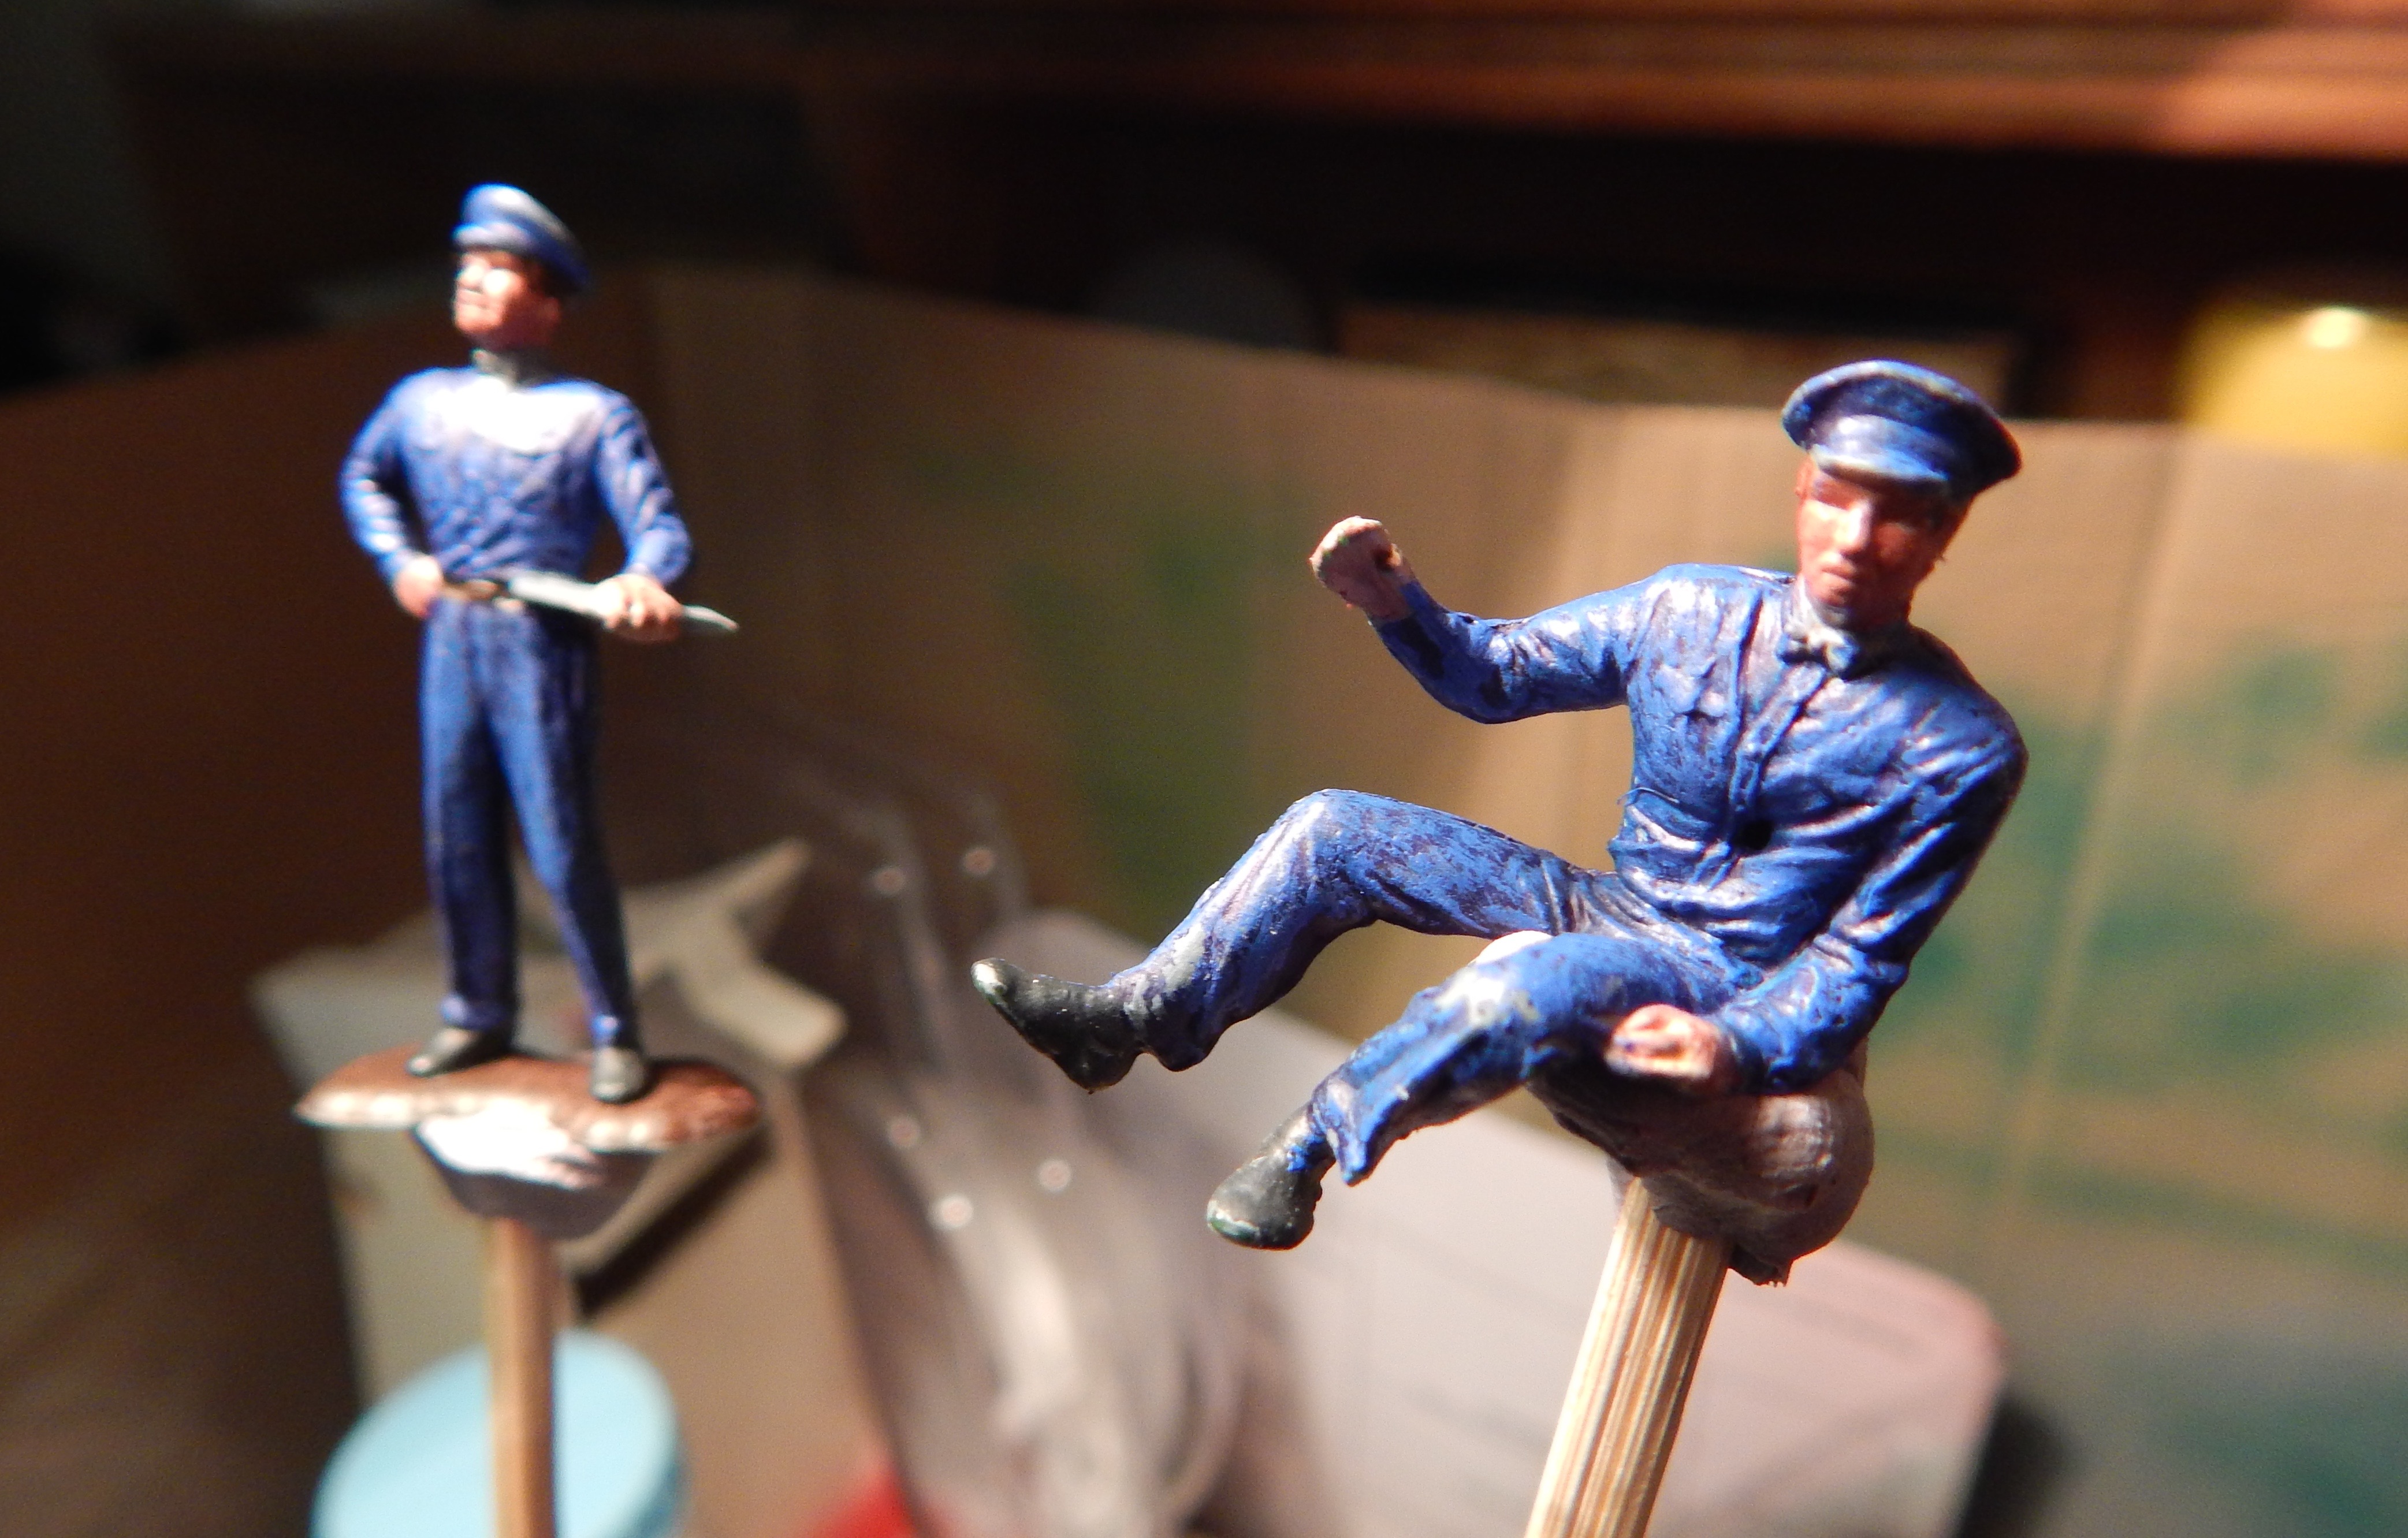
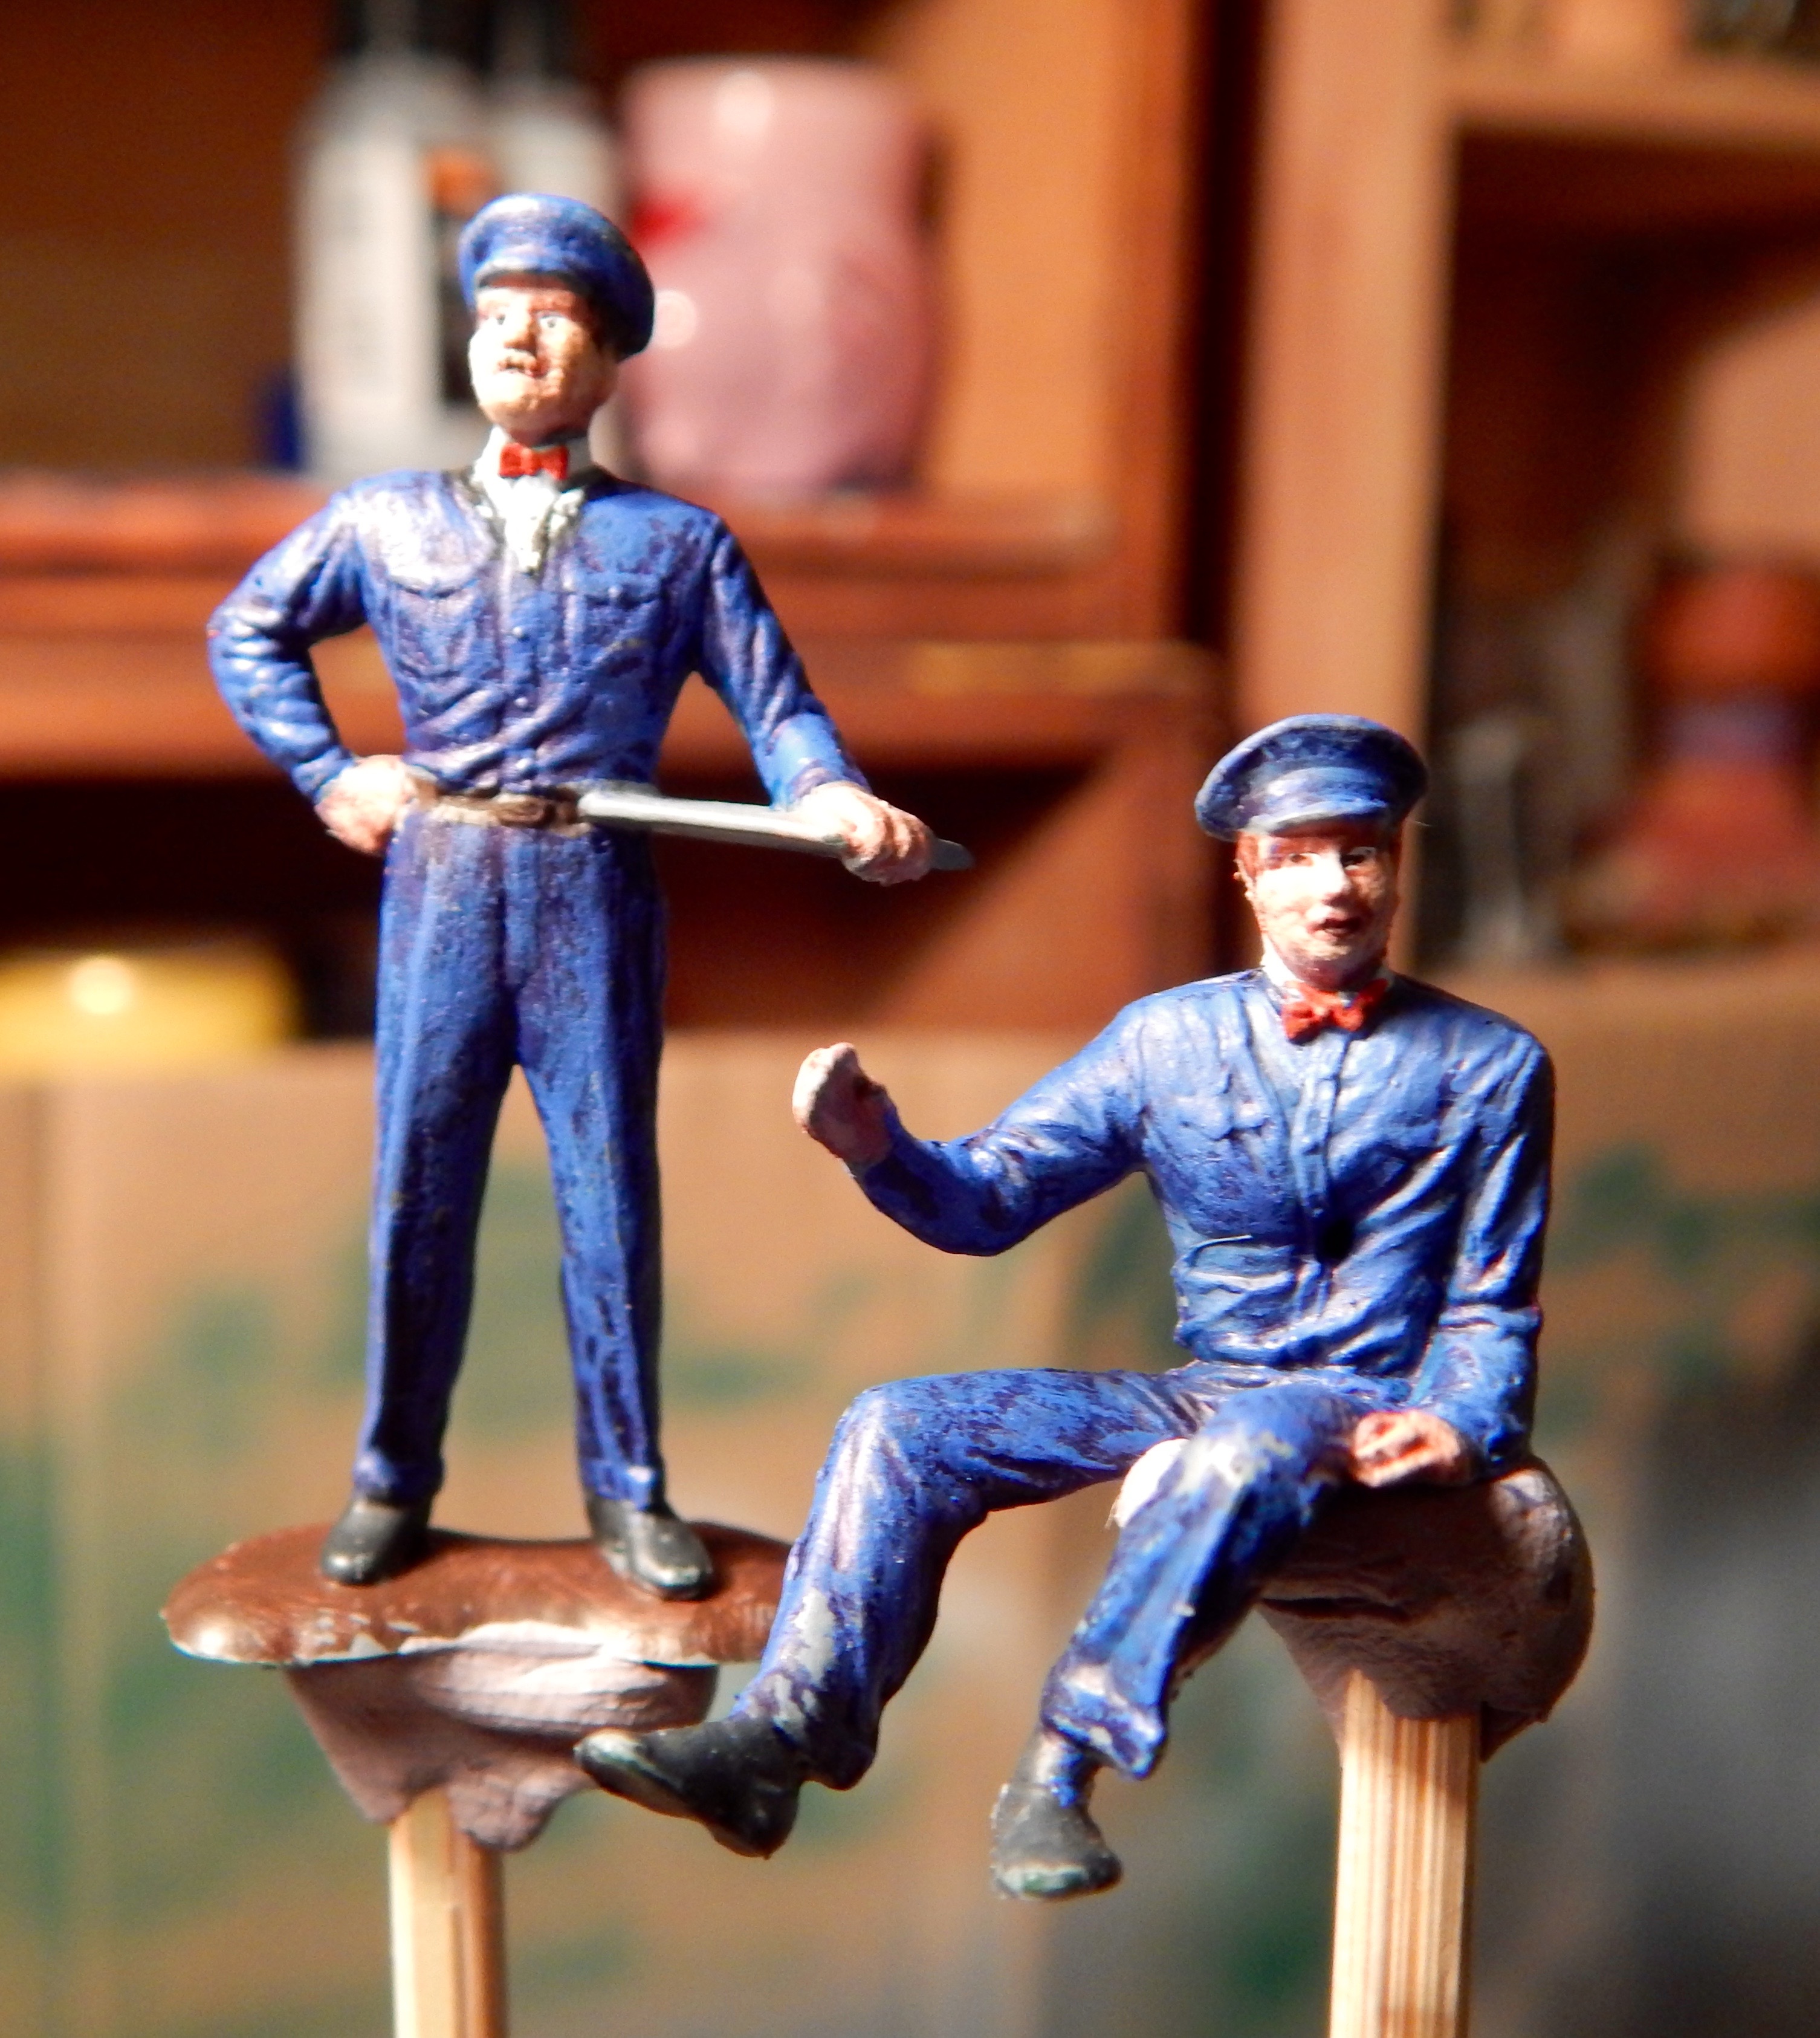
Mounted the figures on BBQ skewers and stuck in a polystyrene block and began to paint, Decided on a blue uniform for both figures.
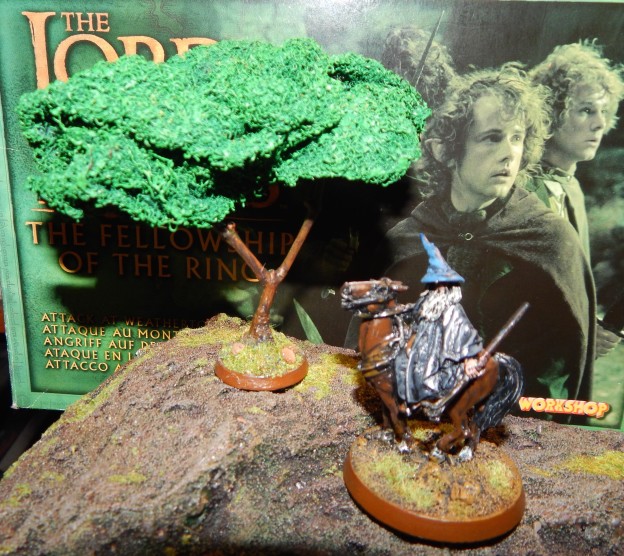
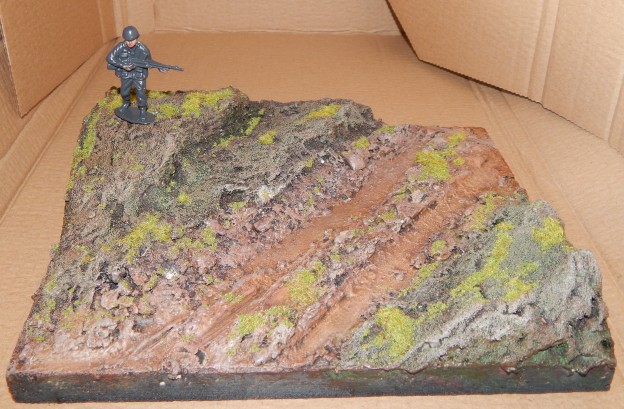
Twig is glued to base and leafs are superglued in place
White Glue Twig to Base and add sand – set aside to dry.
Distress the scourer and arrange onto twig in desired fashion attach with superglue.
Leave aside to dry completely ready to be primed for painting.
Primed and greenery airbrushed
Next step will be to continue painting trunk and leaves and some more work to the base.
some tone variation to the greenery and some colour to the trunk and base
Base will need some flock and some tonal variation to the soil/stones, trunk might get a bit more brushwork and I may trim the foliage and possibly add some blossom.
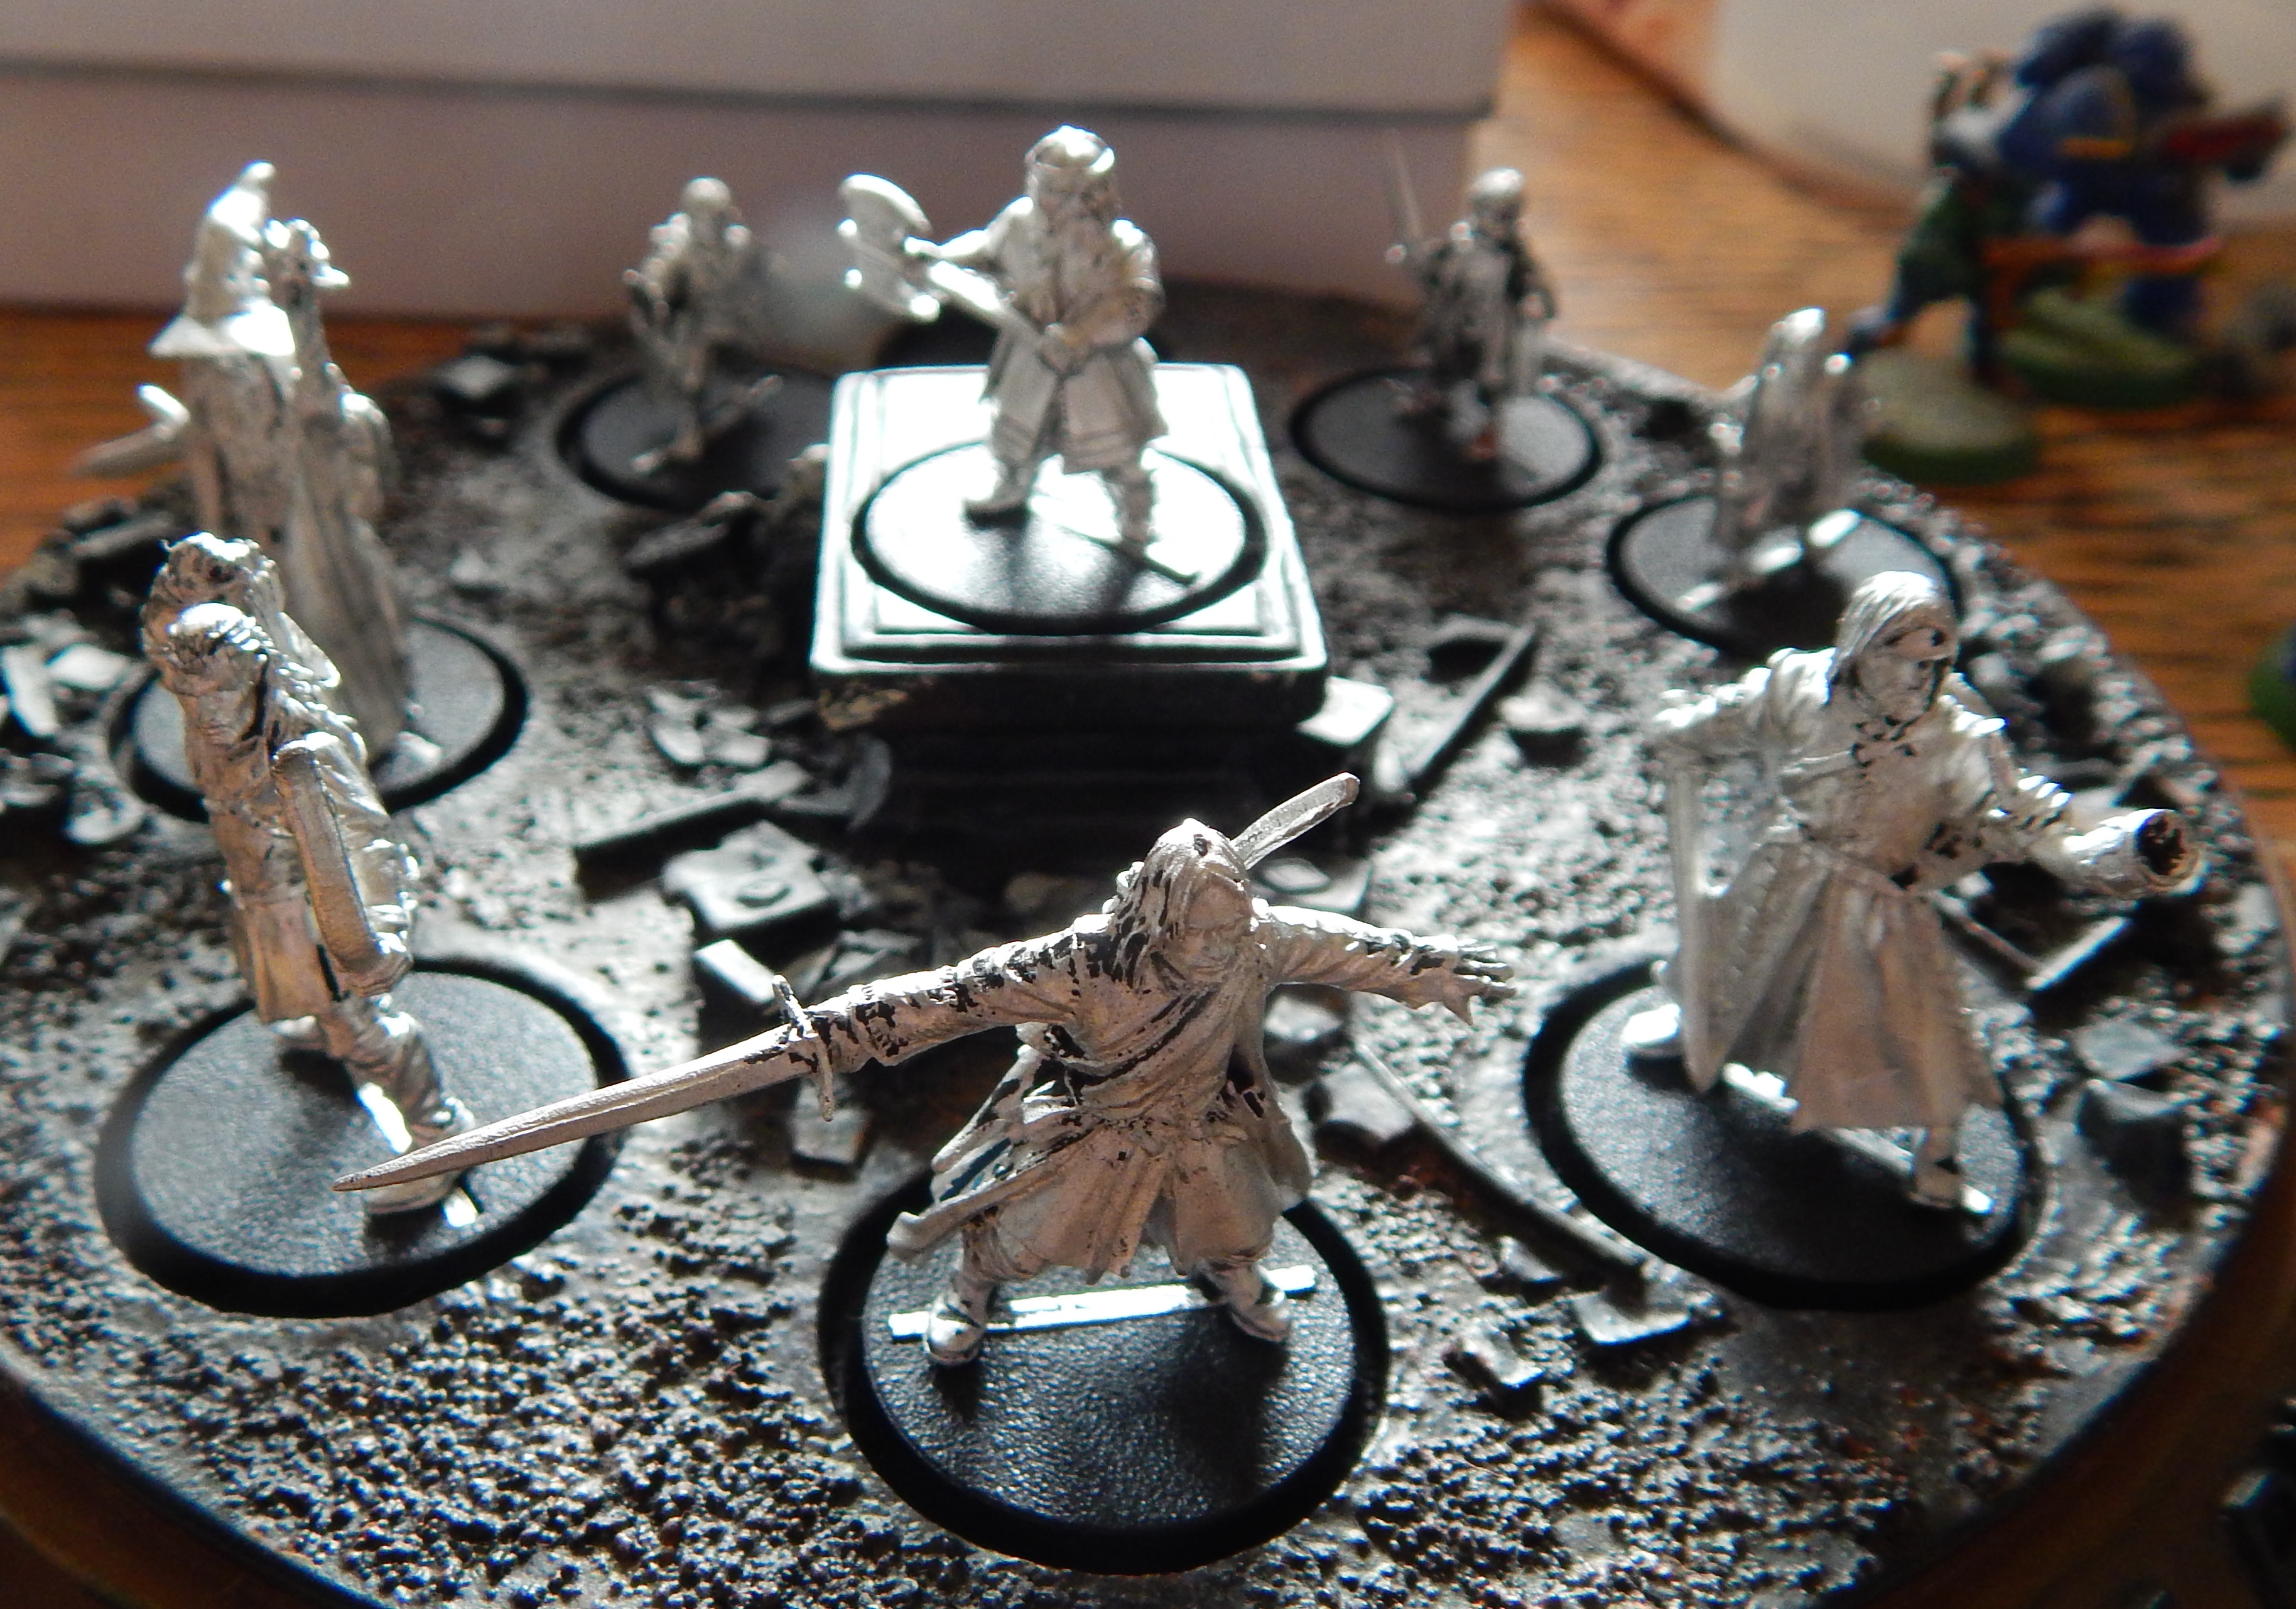
bought some white metal at the meadows festival including these LotR miniatures all except Frodo – I guess he is invisible. I stripped off the old paint with nitromorse and gave them all new base ready for a fresh coat of primer
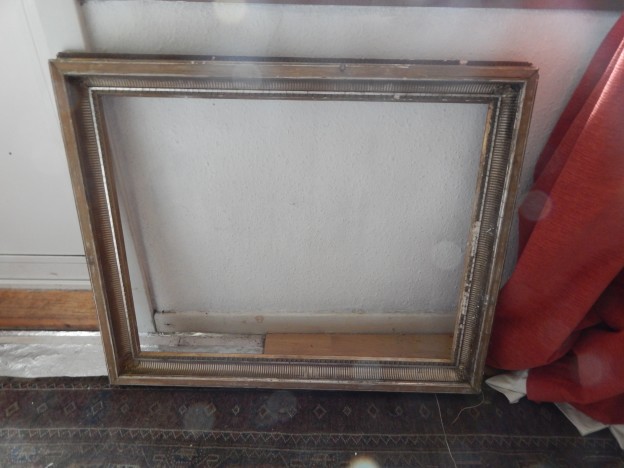
Someone threw out this old picture frame – it is pretty big. I thought it might make a really good base for a large diorama. Actual dimensions are 28 inches x 34 inches.
My initial idea is to try and create a scene a bit like this one I grabbed off the internet, I have a feeling this is a real scene rather than a model though:-
Spent weeks trying to find high density polystyrene (styrofoam) to make diorama – wouldn’t you know it, just found a load left in the bins outside my building – I assume its the right stuff, although it has plaster board attached shouldn’t be too difficult to prize off.
The styrofoam should be fine to make the rocks and the plaster board can be broken up to make the dirt track. I have modelling flock and some natural lichen to make the vegetation. For the spectators I might use Scalectrix or similar if I can acquire any on the cheap. My Mini Cooper will be the Airfix Cooper S 1:35 Scale. (I have posted info elsewhere on this blog about this model)
I will be referring to ‘How to make War-games Terrain’ book by Games Workshop
2. Making the base
I shaped some of the styrofoam with a modelling knife to form the hillsides and stuck down with pva to a piece of sandwich board approximately 9 inches x 7 inches. I used some cheap all purpose filler to make the mud and liberally applied broken plasterboard to this for the scree/rocks. I shaped tyre tracks into this with a modelling knife. I then sprayed everything with Poundstore grey primer to hopefully bind it altogether. Time to leave it overnight to harden off.
The cheap primer eats into the foam and although it produces quite an interesting honeycomb effect it wasn’t what I wanted, so I covered the areas affected with filler and sprinkled with modelling sand. Leave to dry again.
So far so good – even looking OK with an Airfix 1:72 Chieftain Tank. Going to give it another base coat and may build some dry stone walls out of kitty litter (yes kitty litter) following an excellent tutorial by Geppo de Felice in Scratch Builds
Looking OK with a 1:72 Airfix Chieftain Tank
3. Starting to Paint
I base coat the banks in Scab red and then dark olive green and the mud track in scorched brown and then graveyard earth….
Base-coats
Continue to work up the green and brown areas toning the colours and dry brushing in the highlights. I have a few objects at hand to test the scene for appearance at different scale.
Airfix Mini Cooper and Toy Soldier 1:32 ScaleAirfix Chieftan Tank 1:72 ScaleOriginal Action Man 1:6 Scale
Starting to think that I should of kept the base all the same colour. This way it looks like it can be used for almost any scale model.
My original idea for a diorama was perhaps a little adventurous. I am now thinking more along the lines of something like this excellent muddy field diorama base.
Toned everything down with brown ink wash and then added some modelling flock.
Diorama Idea Malayan ConflictCave Troll and other Lord of the Rings
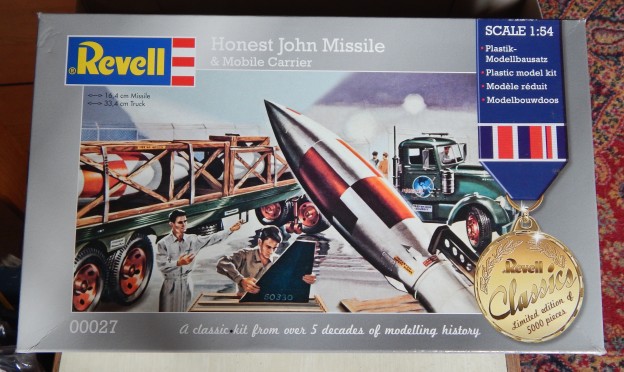
Bought this Kit along with a Porsche from Lidl for a great price.
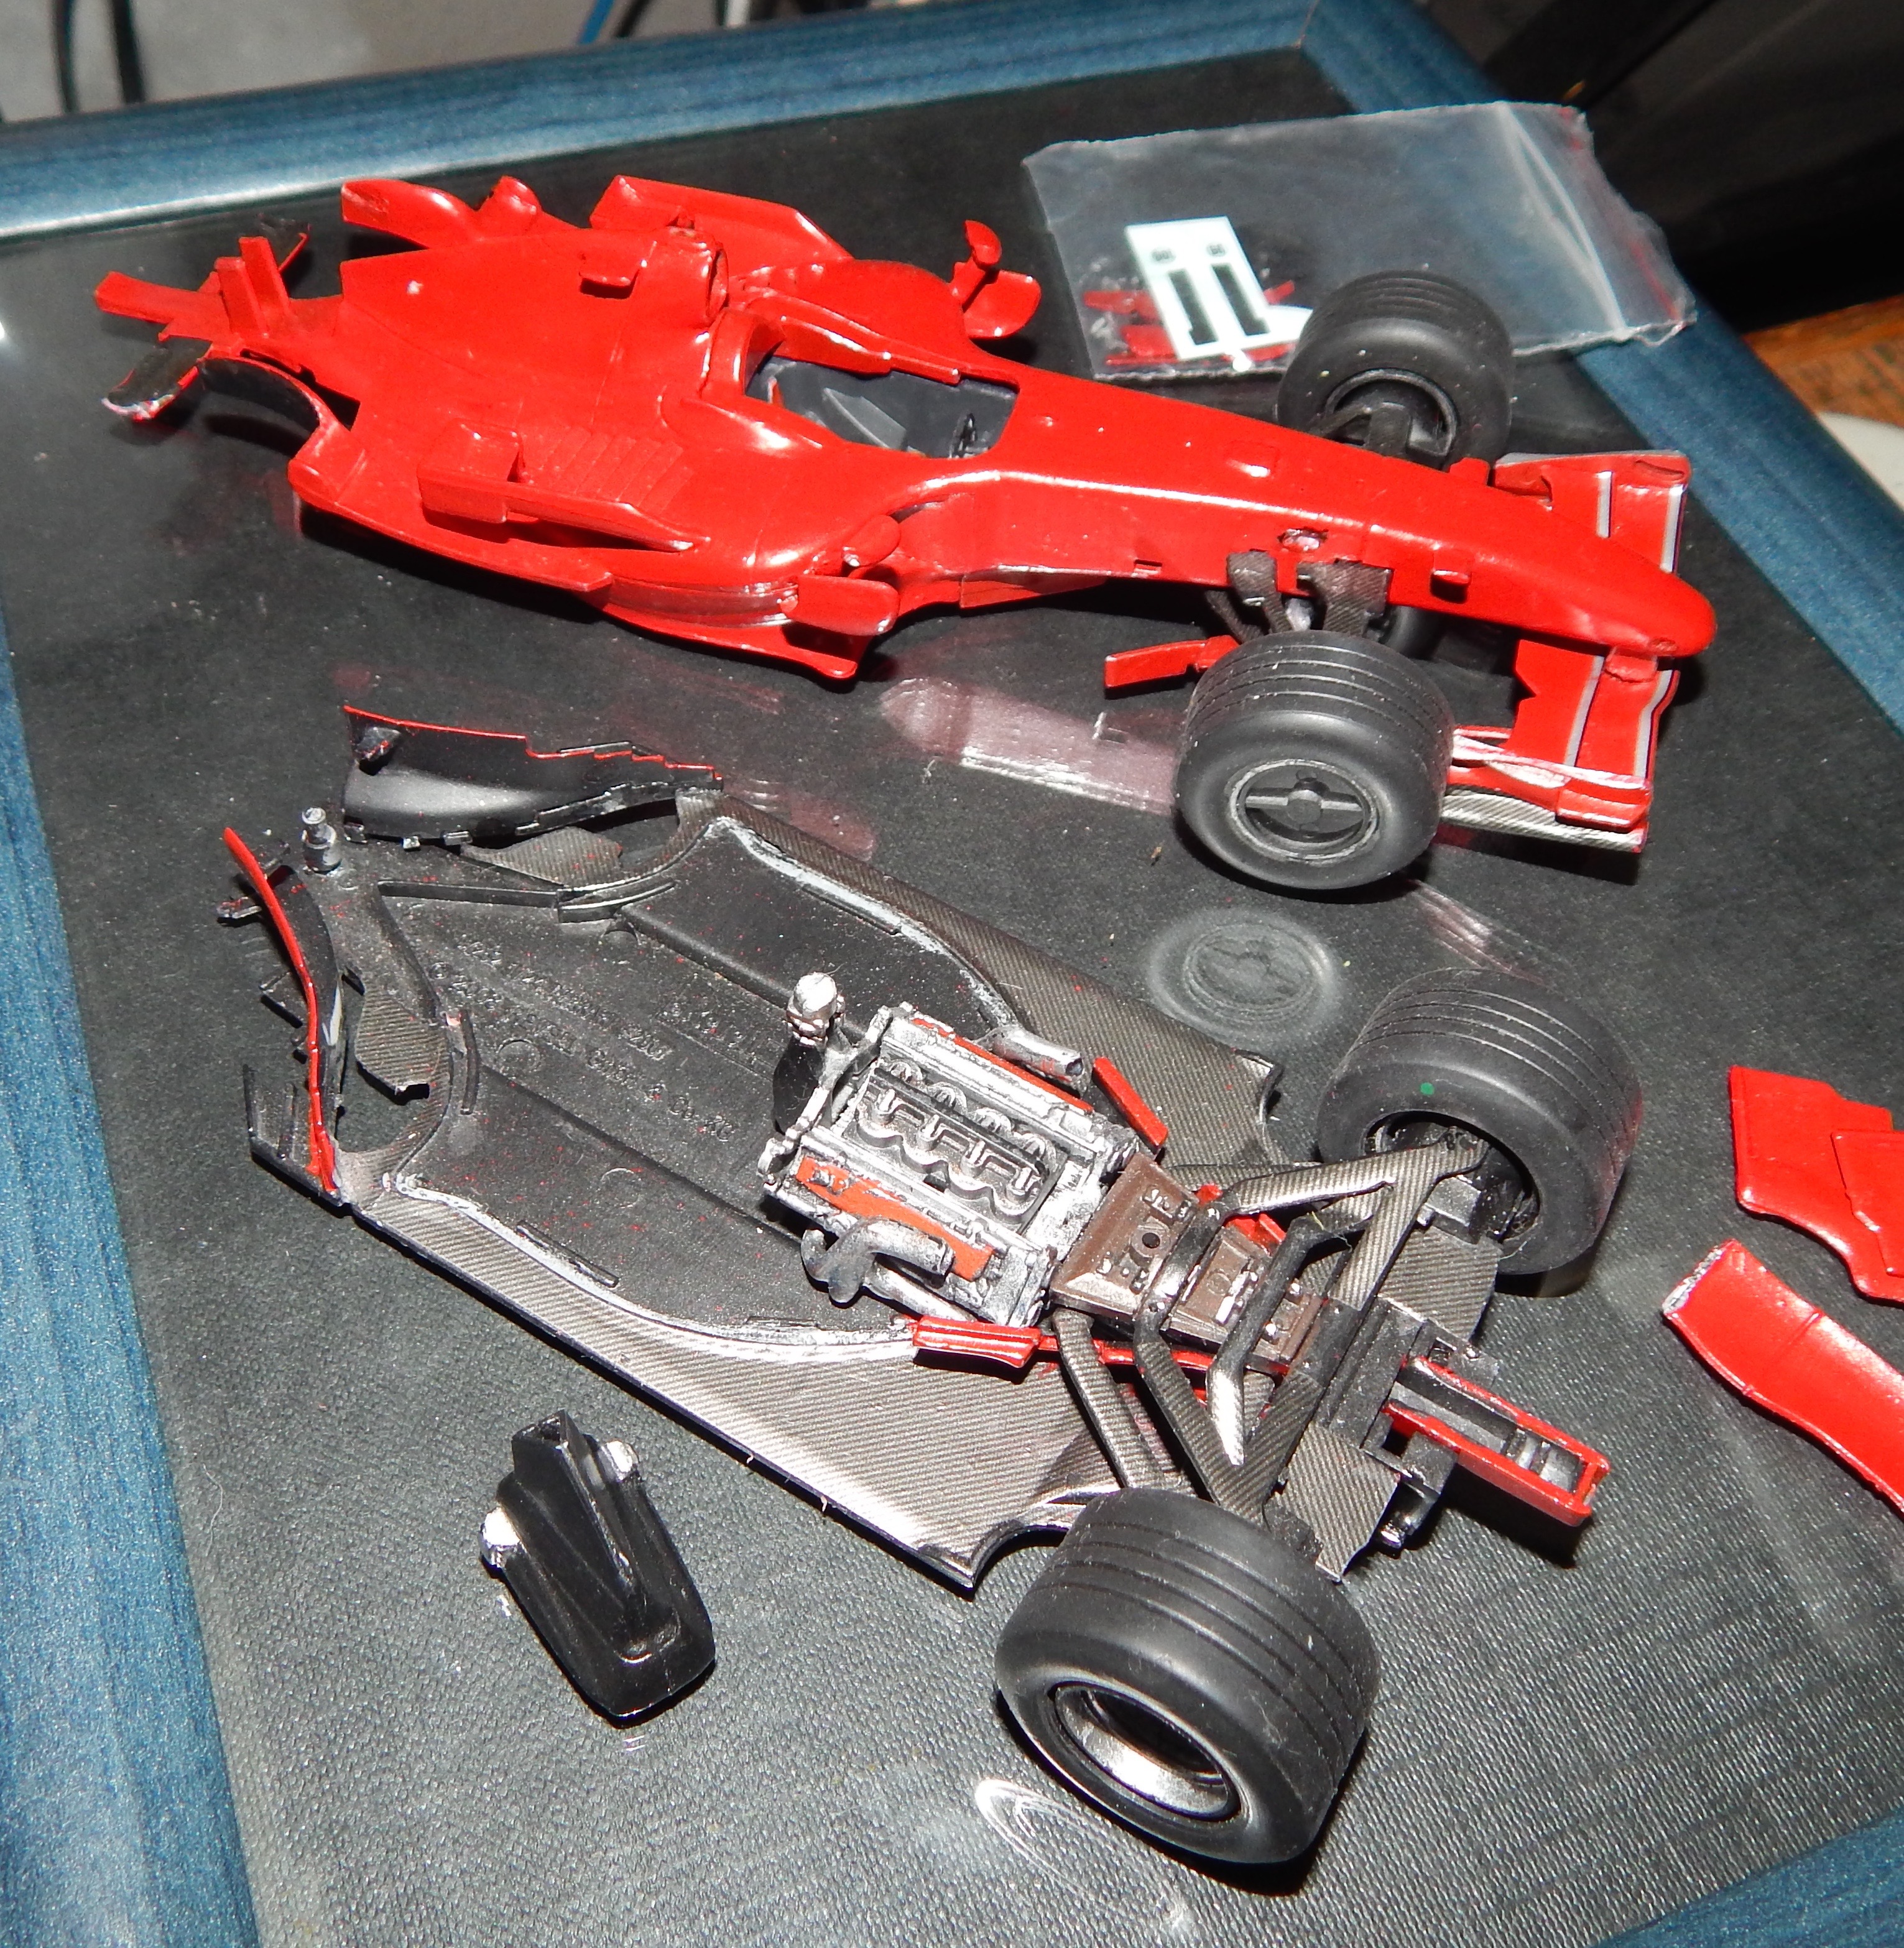
Parts were given a prime with Chaos Black (for the black sprues) and Halfords Plastic Primer (for the red sprues). The parts were laid out and partially assembled to familiarise with construction.
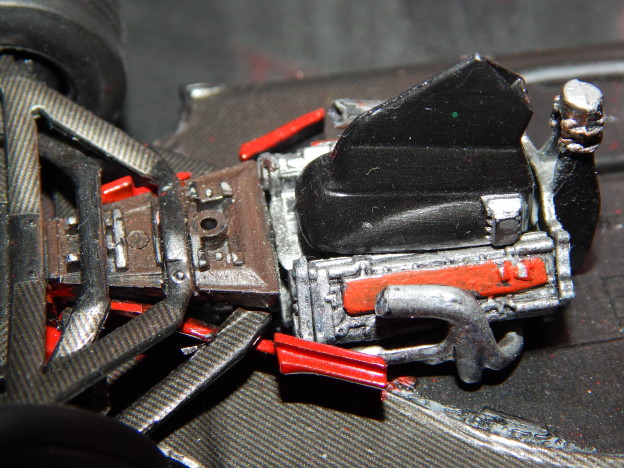
The parts that have carbon fibre decals where first painted with a mix of 90% black and 10% aluminium and once dry the decals applied. The parts identified as needing silver or aluminium where given a coat of boltgun metal followed by mithril silver – mostly this was the engine, which is hidden once model is completed. I am considering if it is going to be practical to cut away some of the body shell in order to keep this exposed.
The parts to be painted red are given another coat of grey primer once assembled.
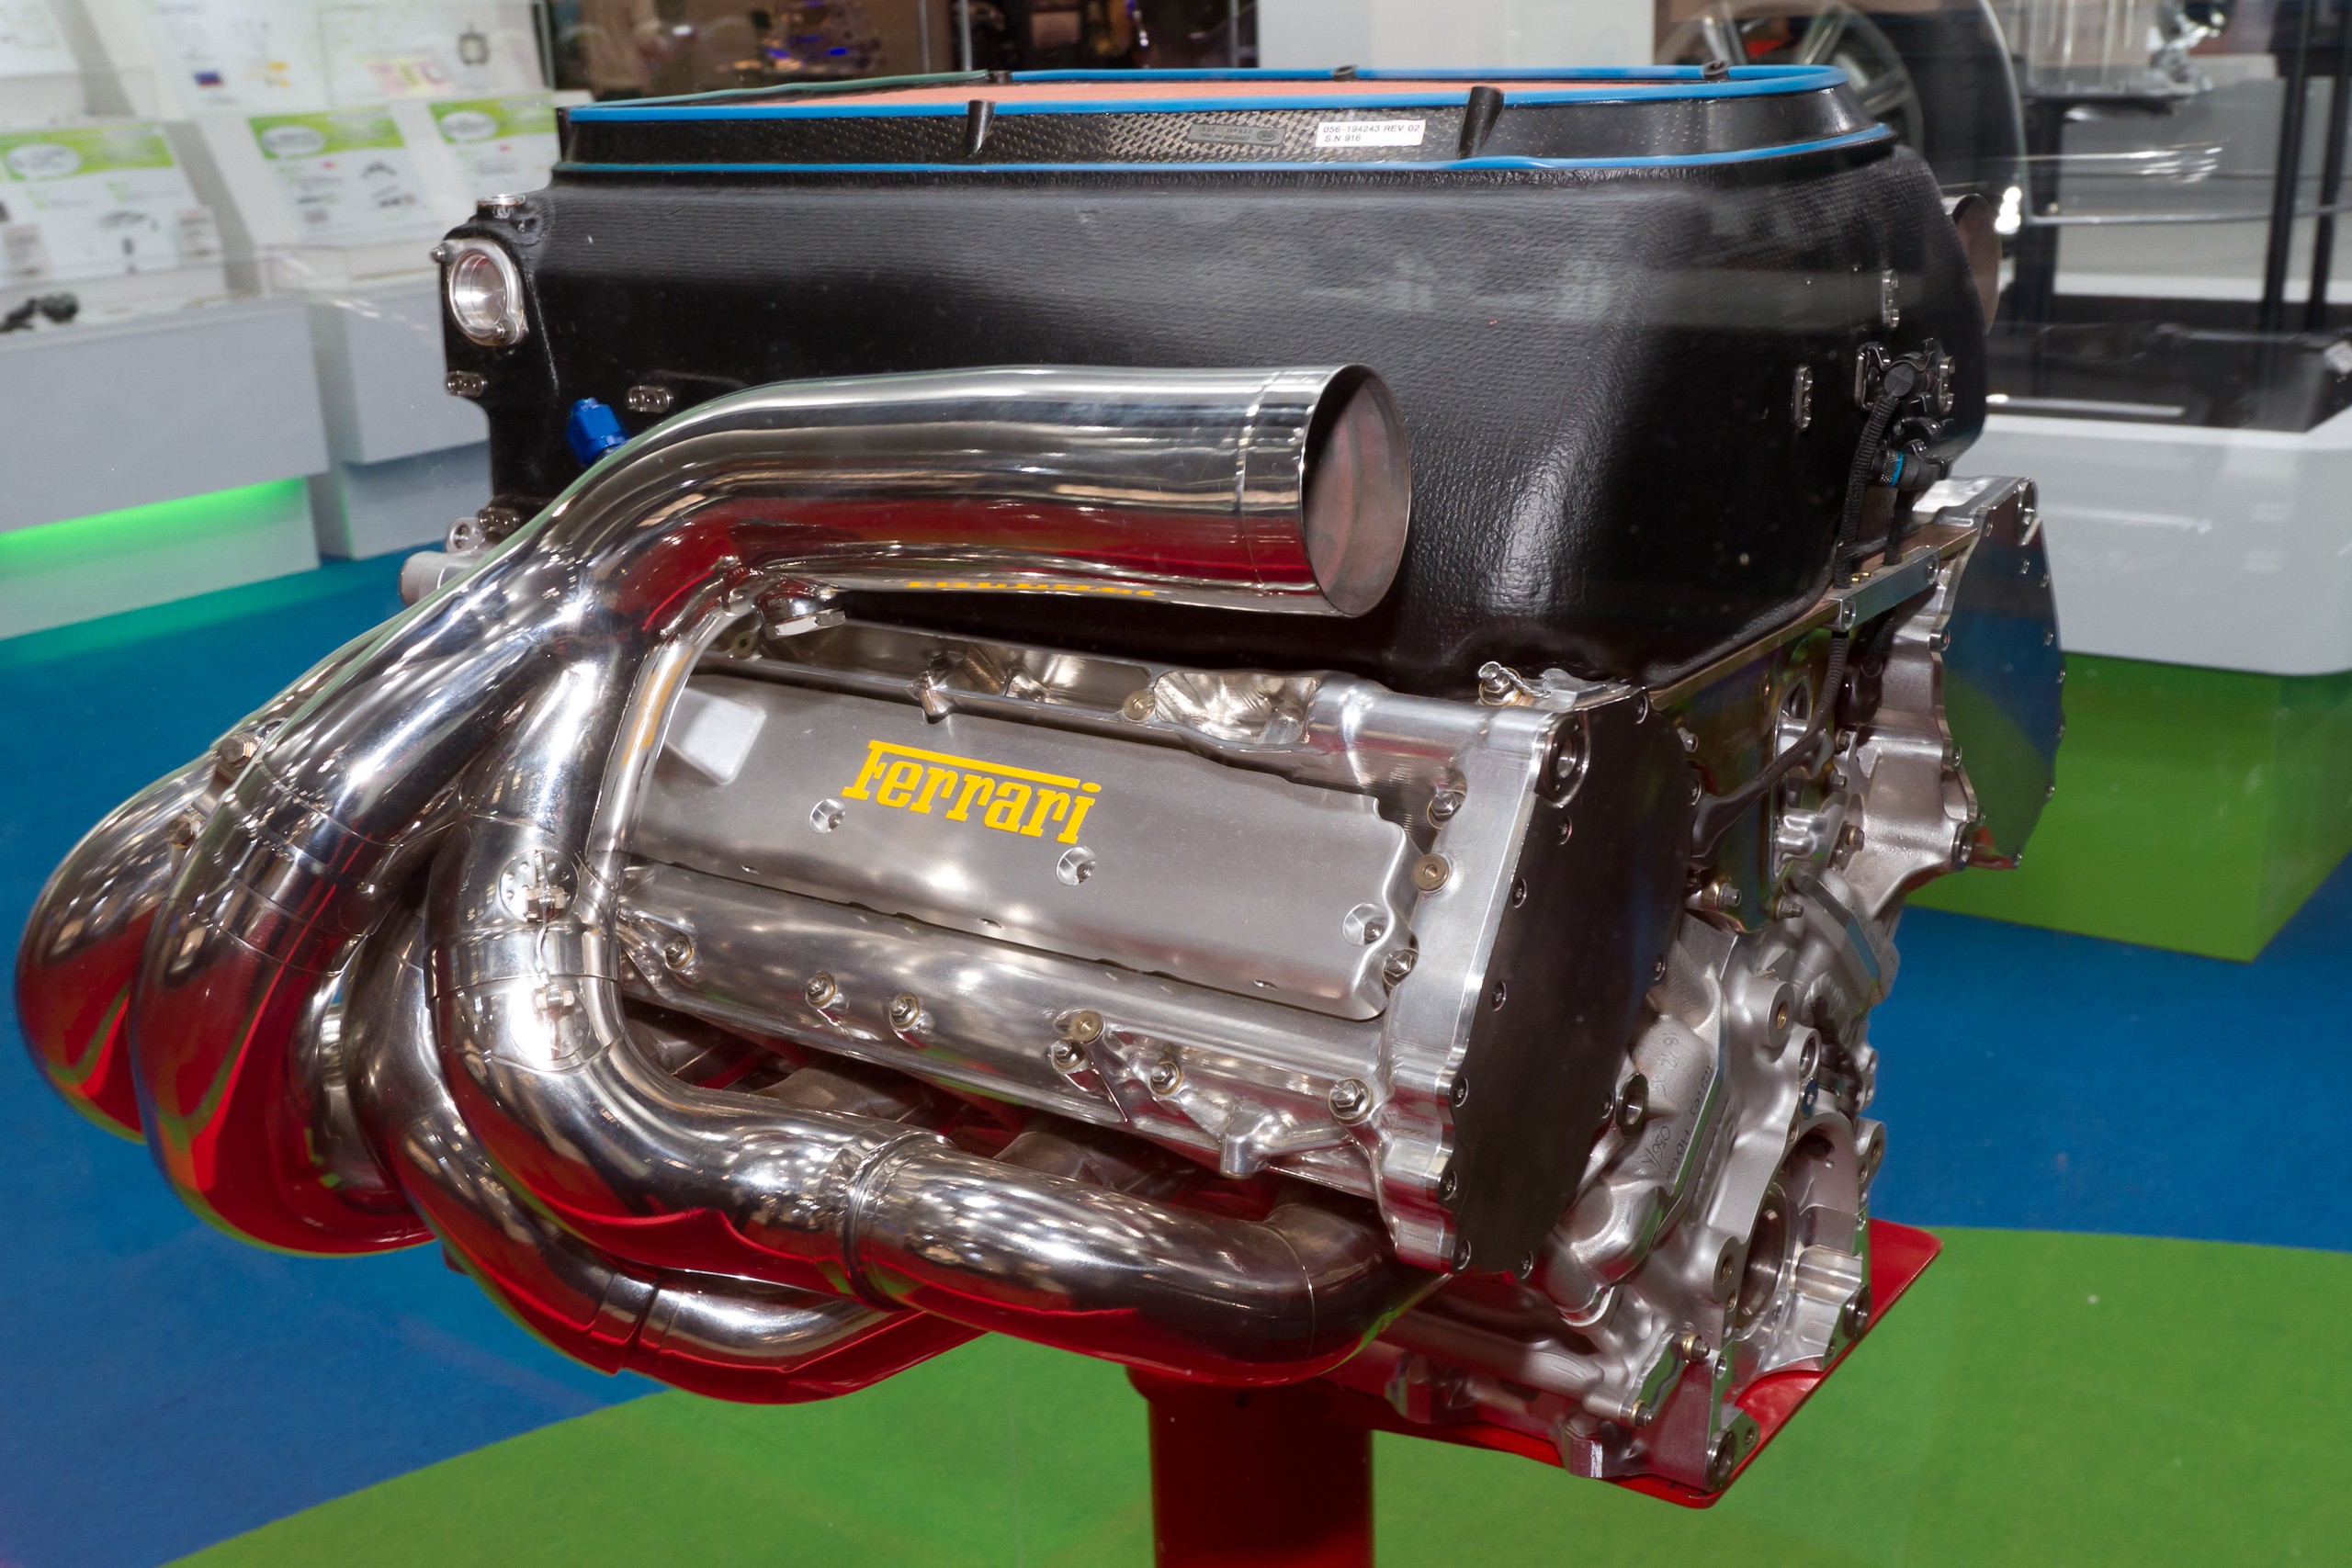
Image grabbed off the internet – if mine turns out half as good I will be pleased
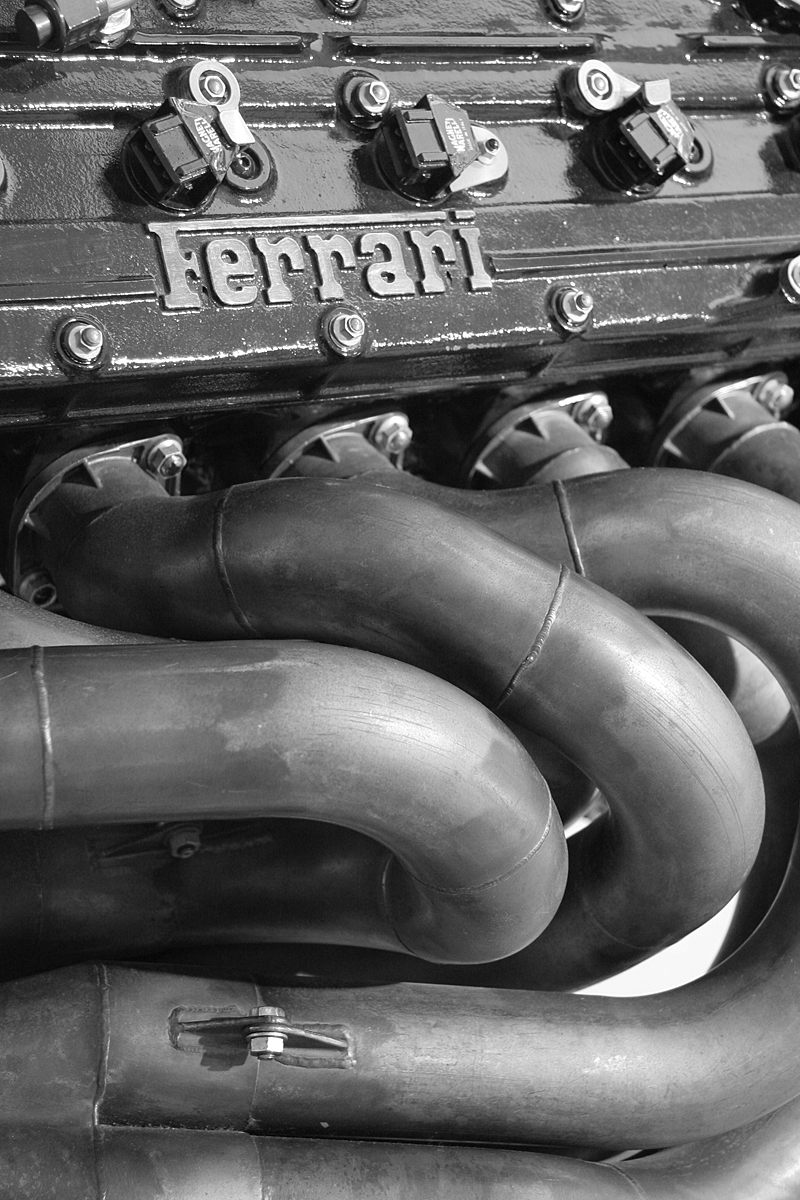
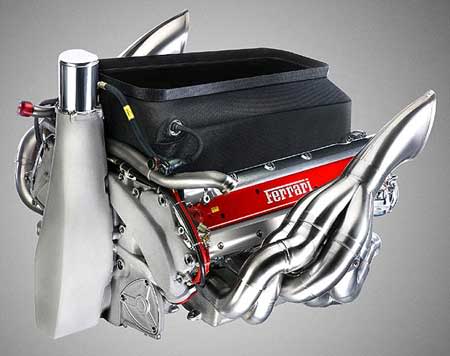
Above are a few reference pictures grabbed off the internet
Here is the model just about ready for painting the red parts.
The Engine has had some dry brushing…
Since starting this build I have purchased a cheap airbrush and compressor. I have given the ferrari shell a coat with 90% Ferrari Red and 10% Gold over my initial brushed coating. Fairly pleased with results as I am a complete beginner at airbrushing. I also drilled out the air intake above the drivers seat as other people seem to have done.
I made the turntable from an old electric mixer stand I had.
This kit is a bit more tricky than it first appears and I have had to reassemble and assemble several times… especially as I wish for it to be quite accurate to the real thing. Also there are loads of decals and I have had to concentrate on trying to get these right to. I have given the body shell another coat of paint and a coat of pledge (yes pledge floor wax) to give it a real shine. There is still quite a lot to do. Loads more intricate decals. Some fiddly painting to do especially the drivers cockpit and steering wheel. I will need to work on the wheels to and do some repairs where the plastic hasn’t been able to deal with my heavy handed repairs. I intend to display the two halves but hope that they can easily be slotted together without to much fuss.
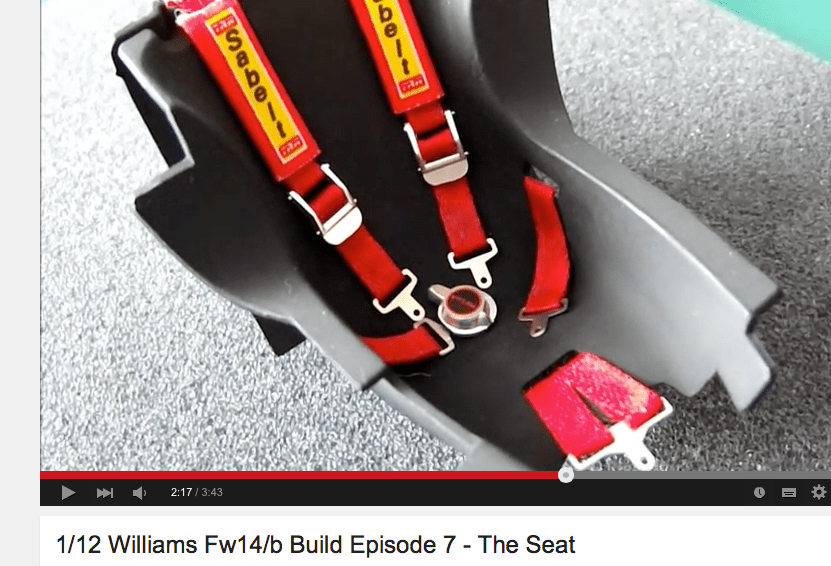
Did some more painting and decal work. Also found a really nice frame that will make and excellent display base for the finished model. Managed some detail to the steering wheel and am happy with seat belt progress too. The dashboard needs some work and there are stacks of tiny decals to add in the cockpit.
.
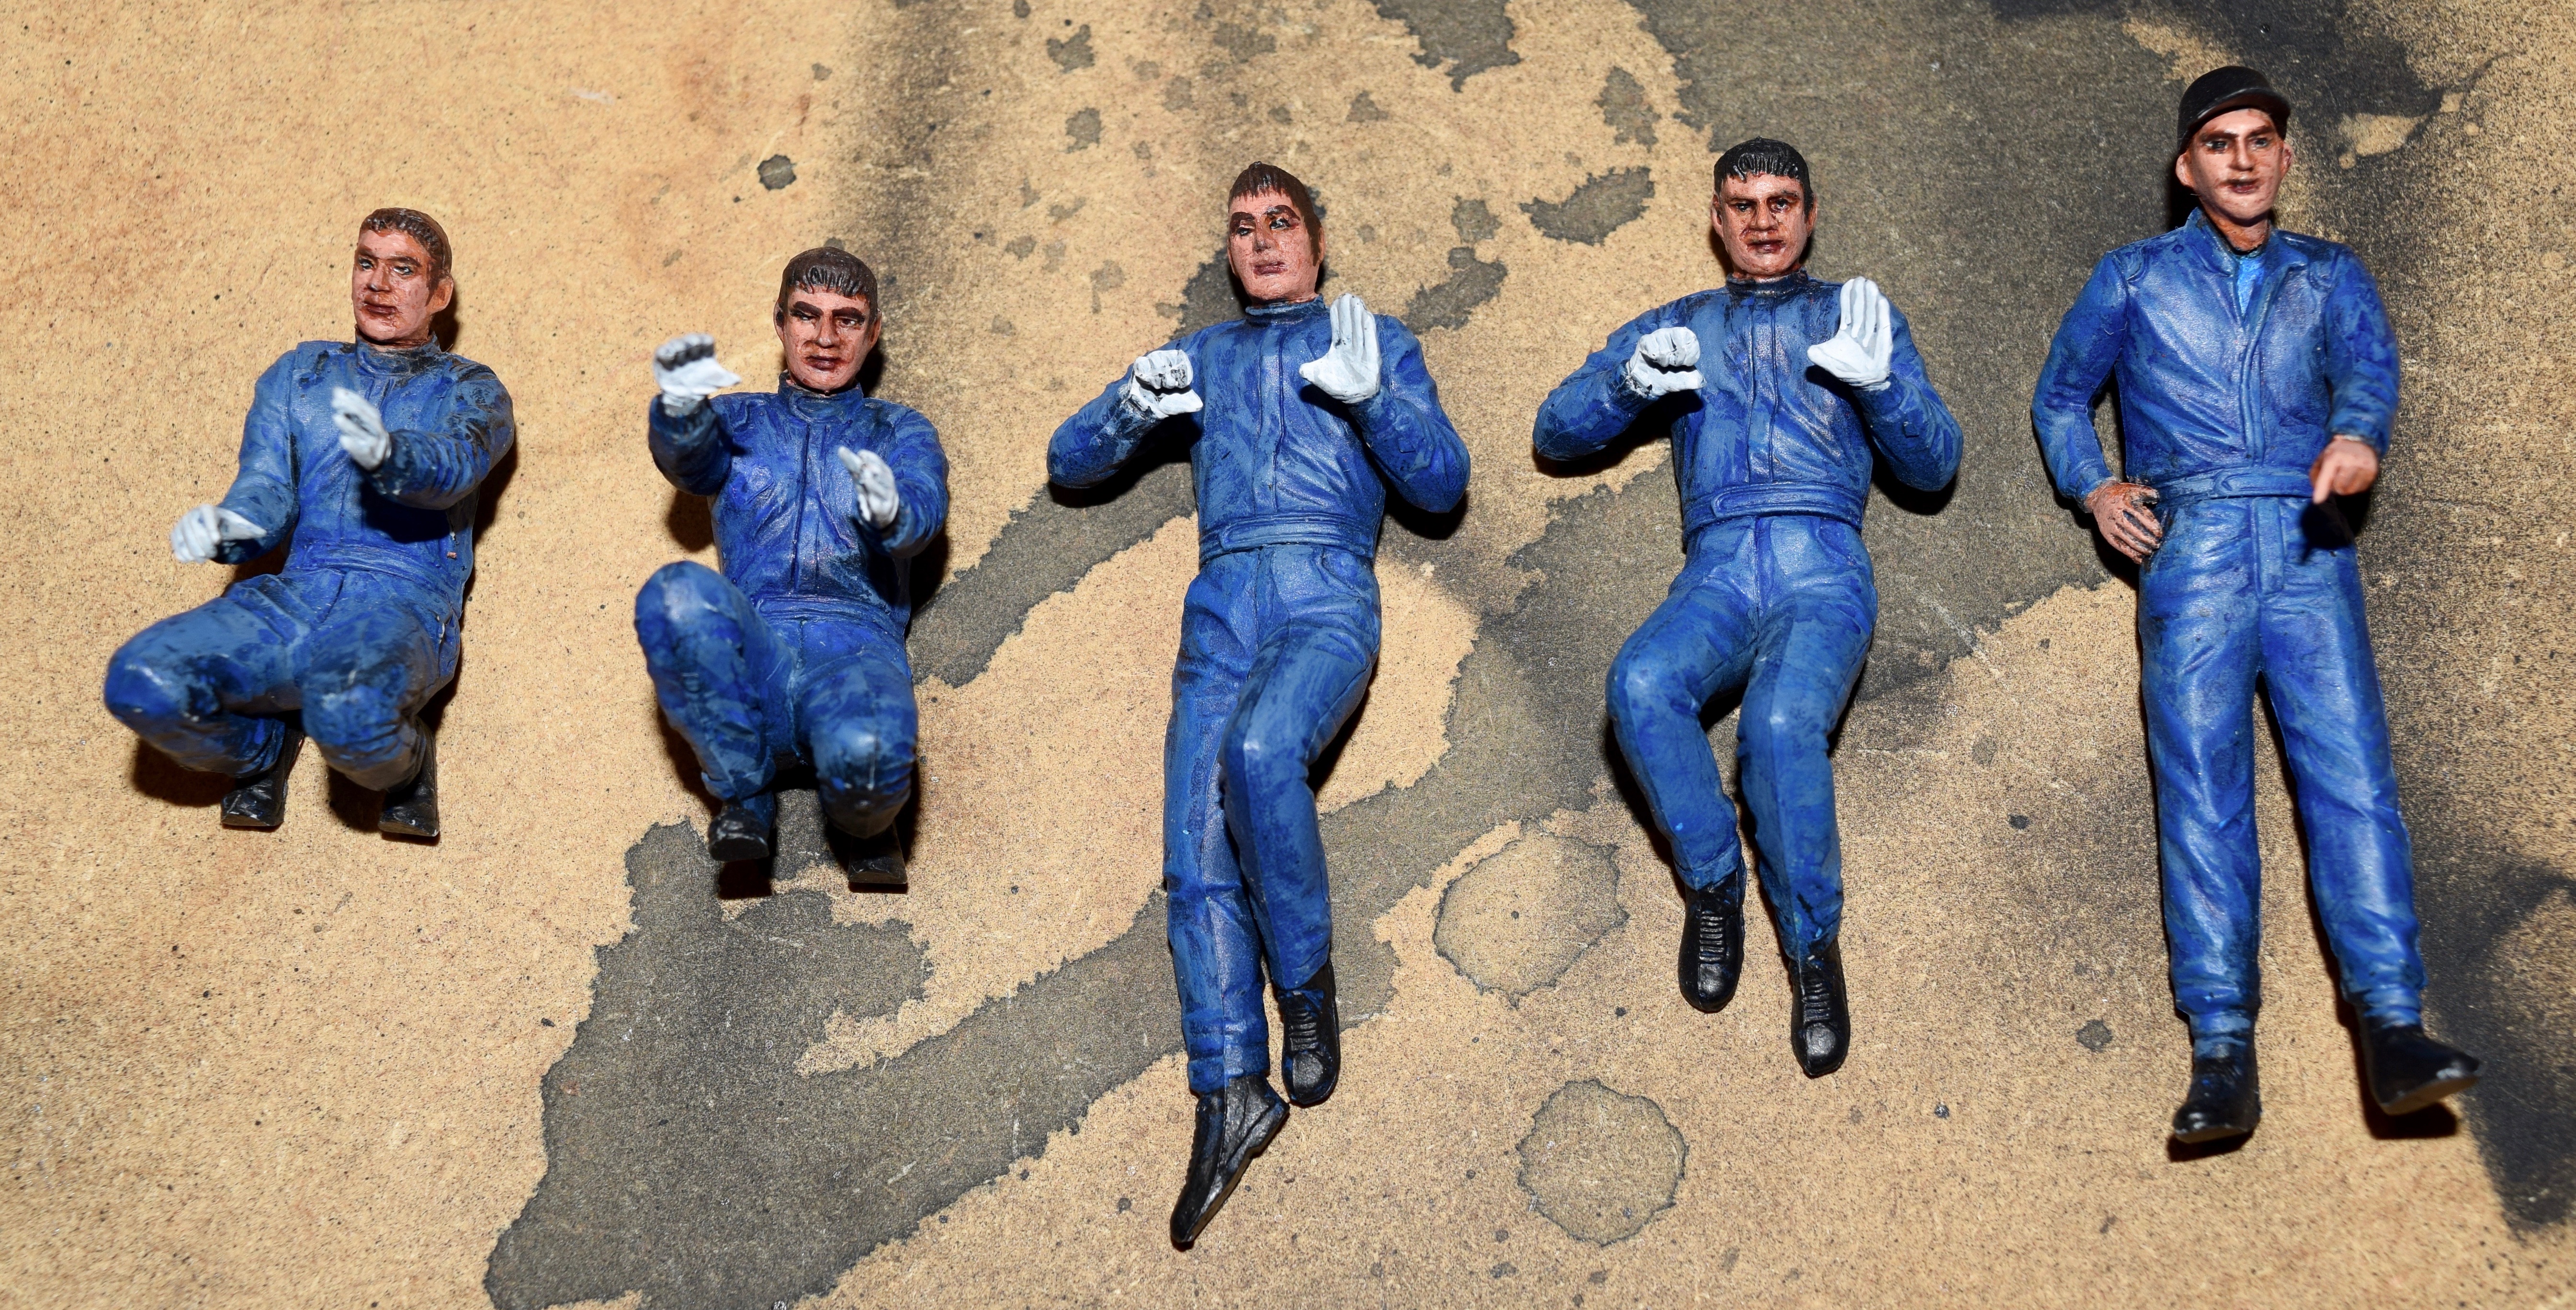
treated myself to the tamiya mechanics set and finally got round to priming one sprue
some more work on the mechanics
rally mechanics with f1
I’m not sure yet if I will use these. I might just display the car without driver and pit crew.
Started to Add decals.. I’ve chosen the decals for #6 Kimi Raikkonen World Champion – British Grand Prix