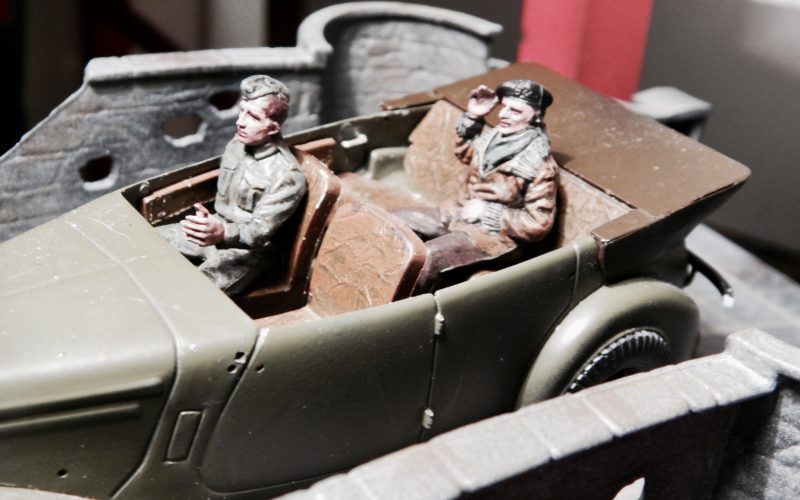
This was my build for the Scale Model and Tutorial Facebook Page Group Build 2017
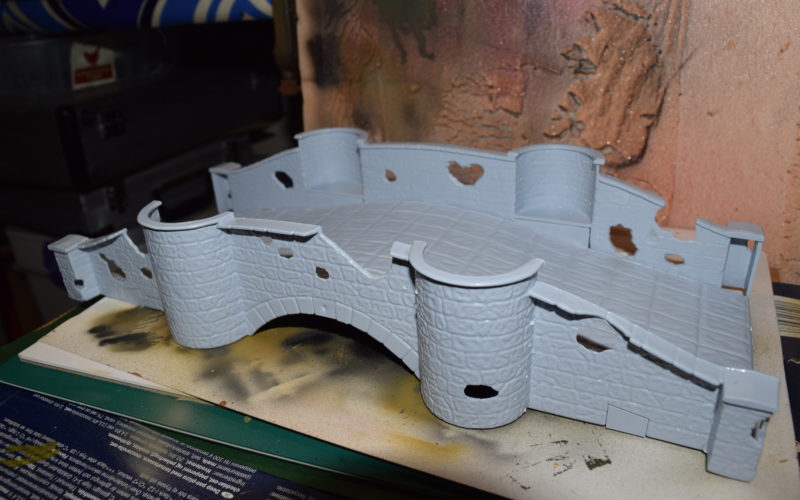

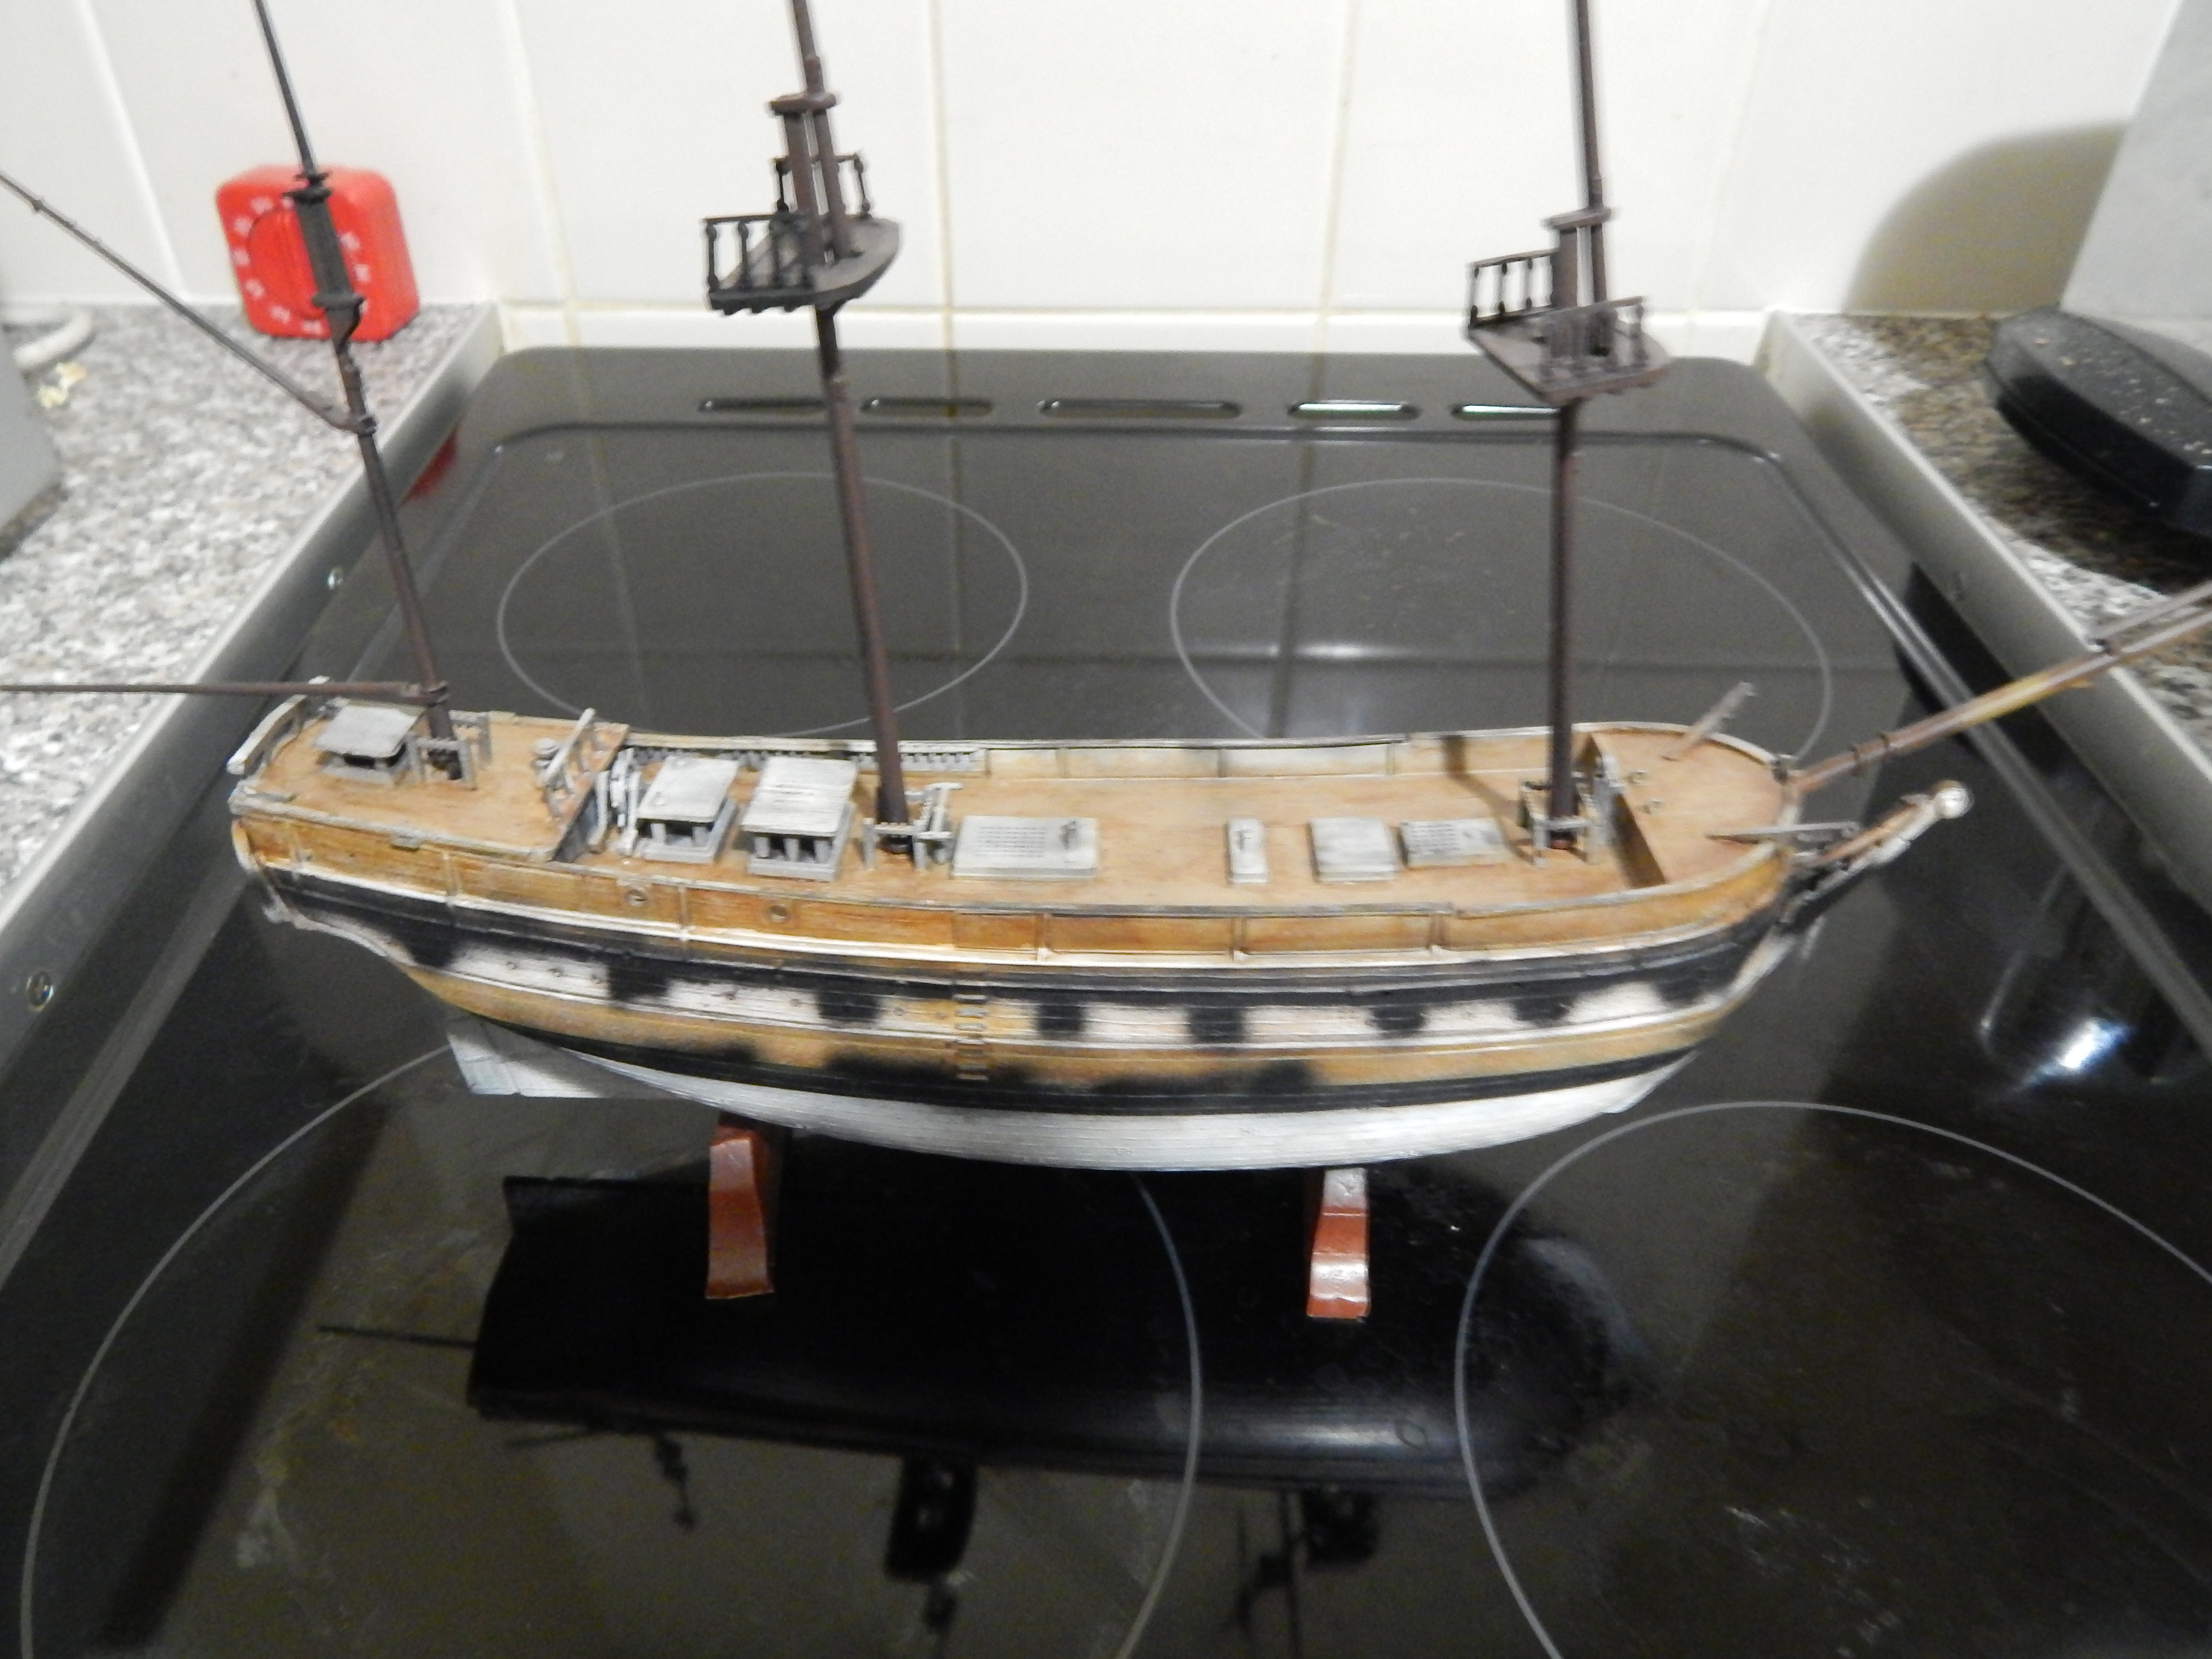
Prime in Grey then Black Ink wash

More washes

Adding some sand yellow paint and brown ink washes. Adding a bit of colour variation to random stones. The cobbled area stays mostly grey.


Got given this by a friend – never done a ship before, looks a bit tricky with all that rigging…


Build starting to take shape, so far quite straightforward although there is a lot of flash and mold lines to deal with…

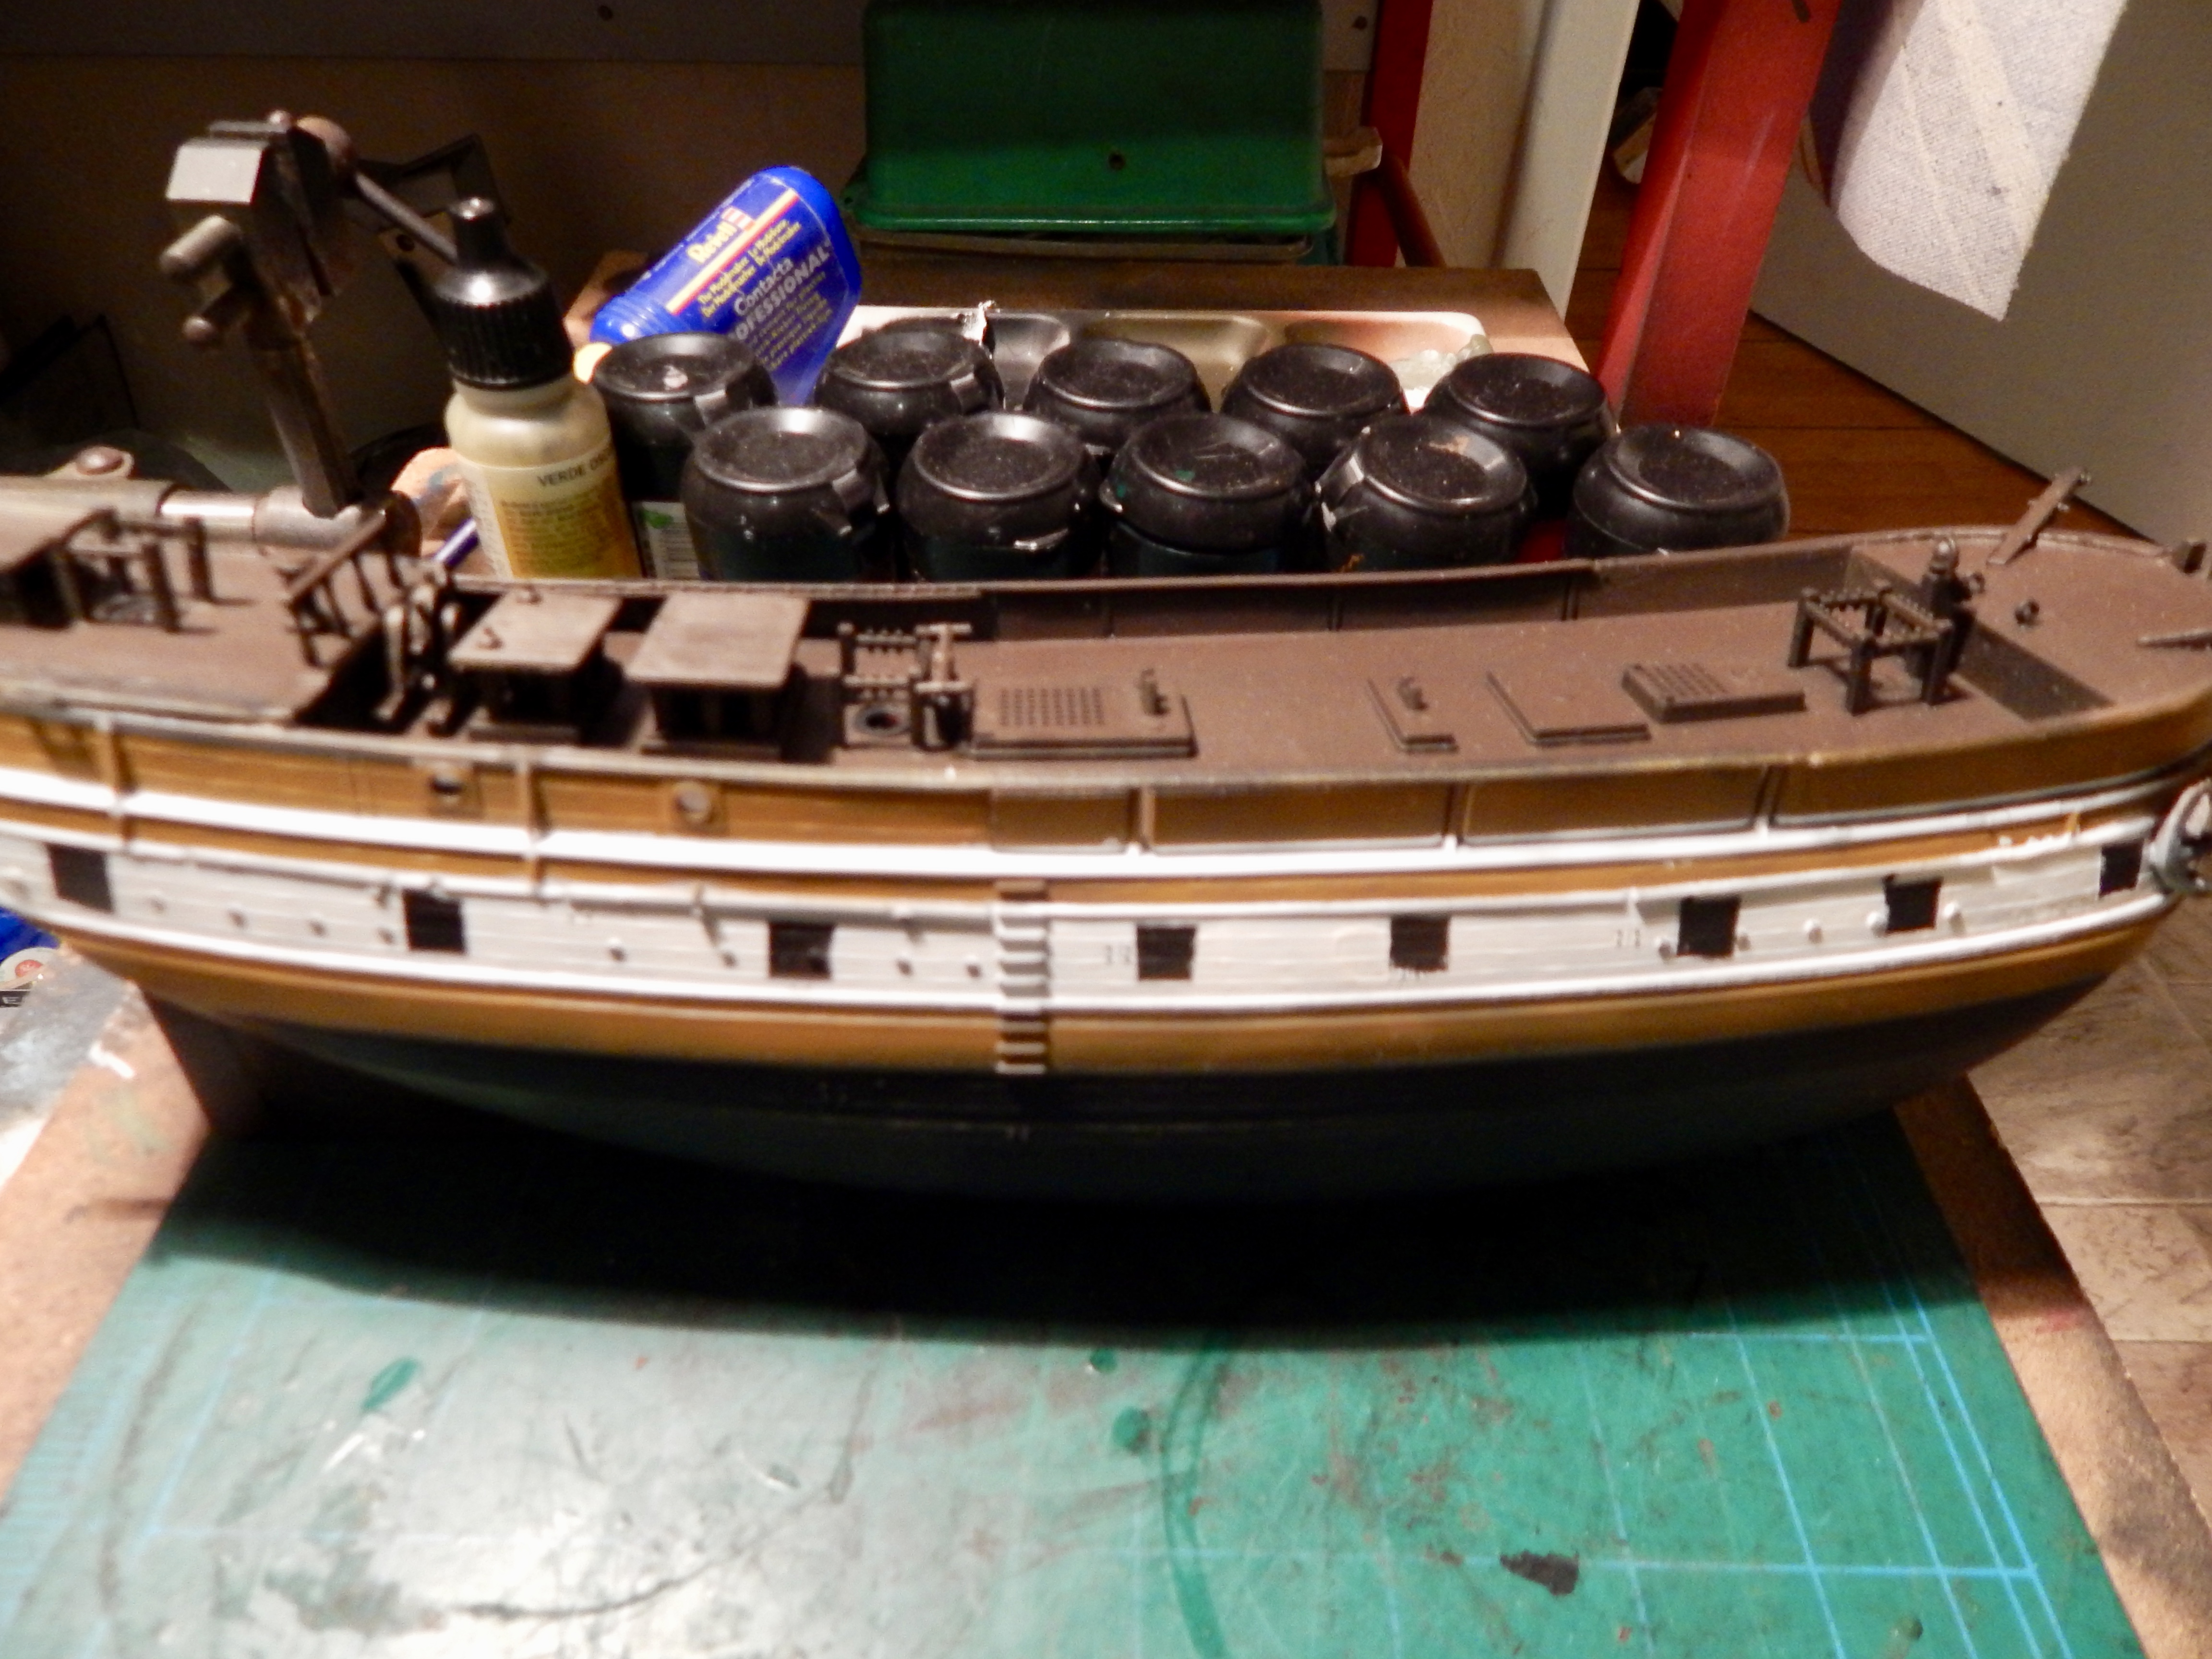
That’s most of the brown plastic parts done, just some small fiddly bits to add (anchor, life boats and canon). I will check for gaps and bits that might need filling or filing and then its time for a primer…

Everything gets a coat of Vallejo black surface primer

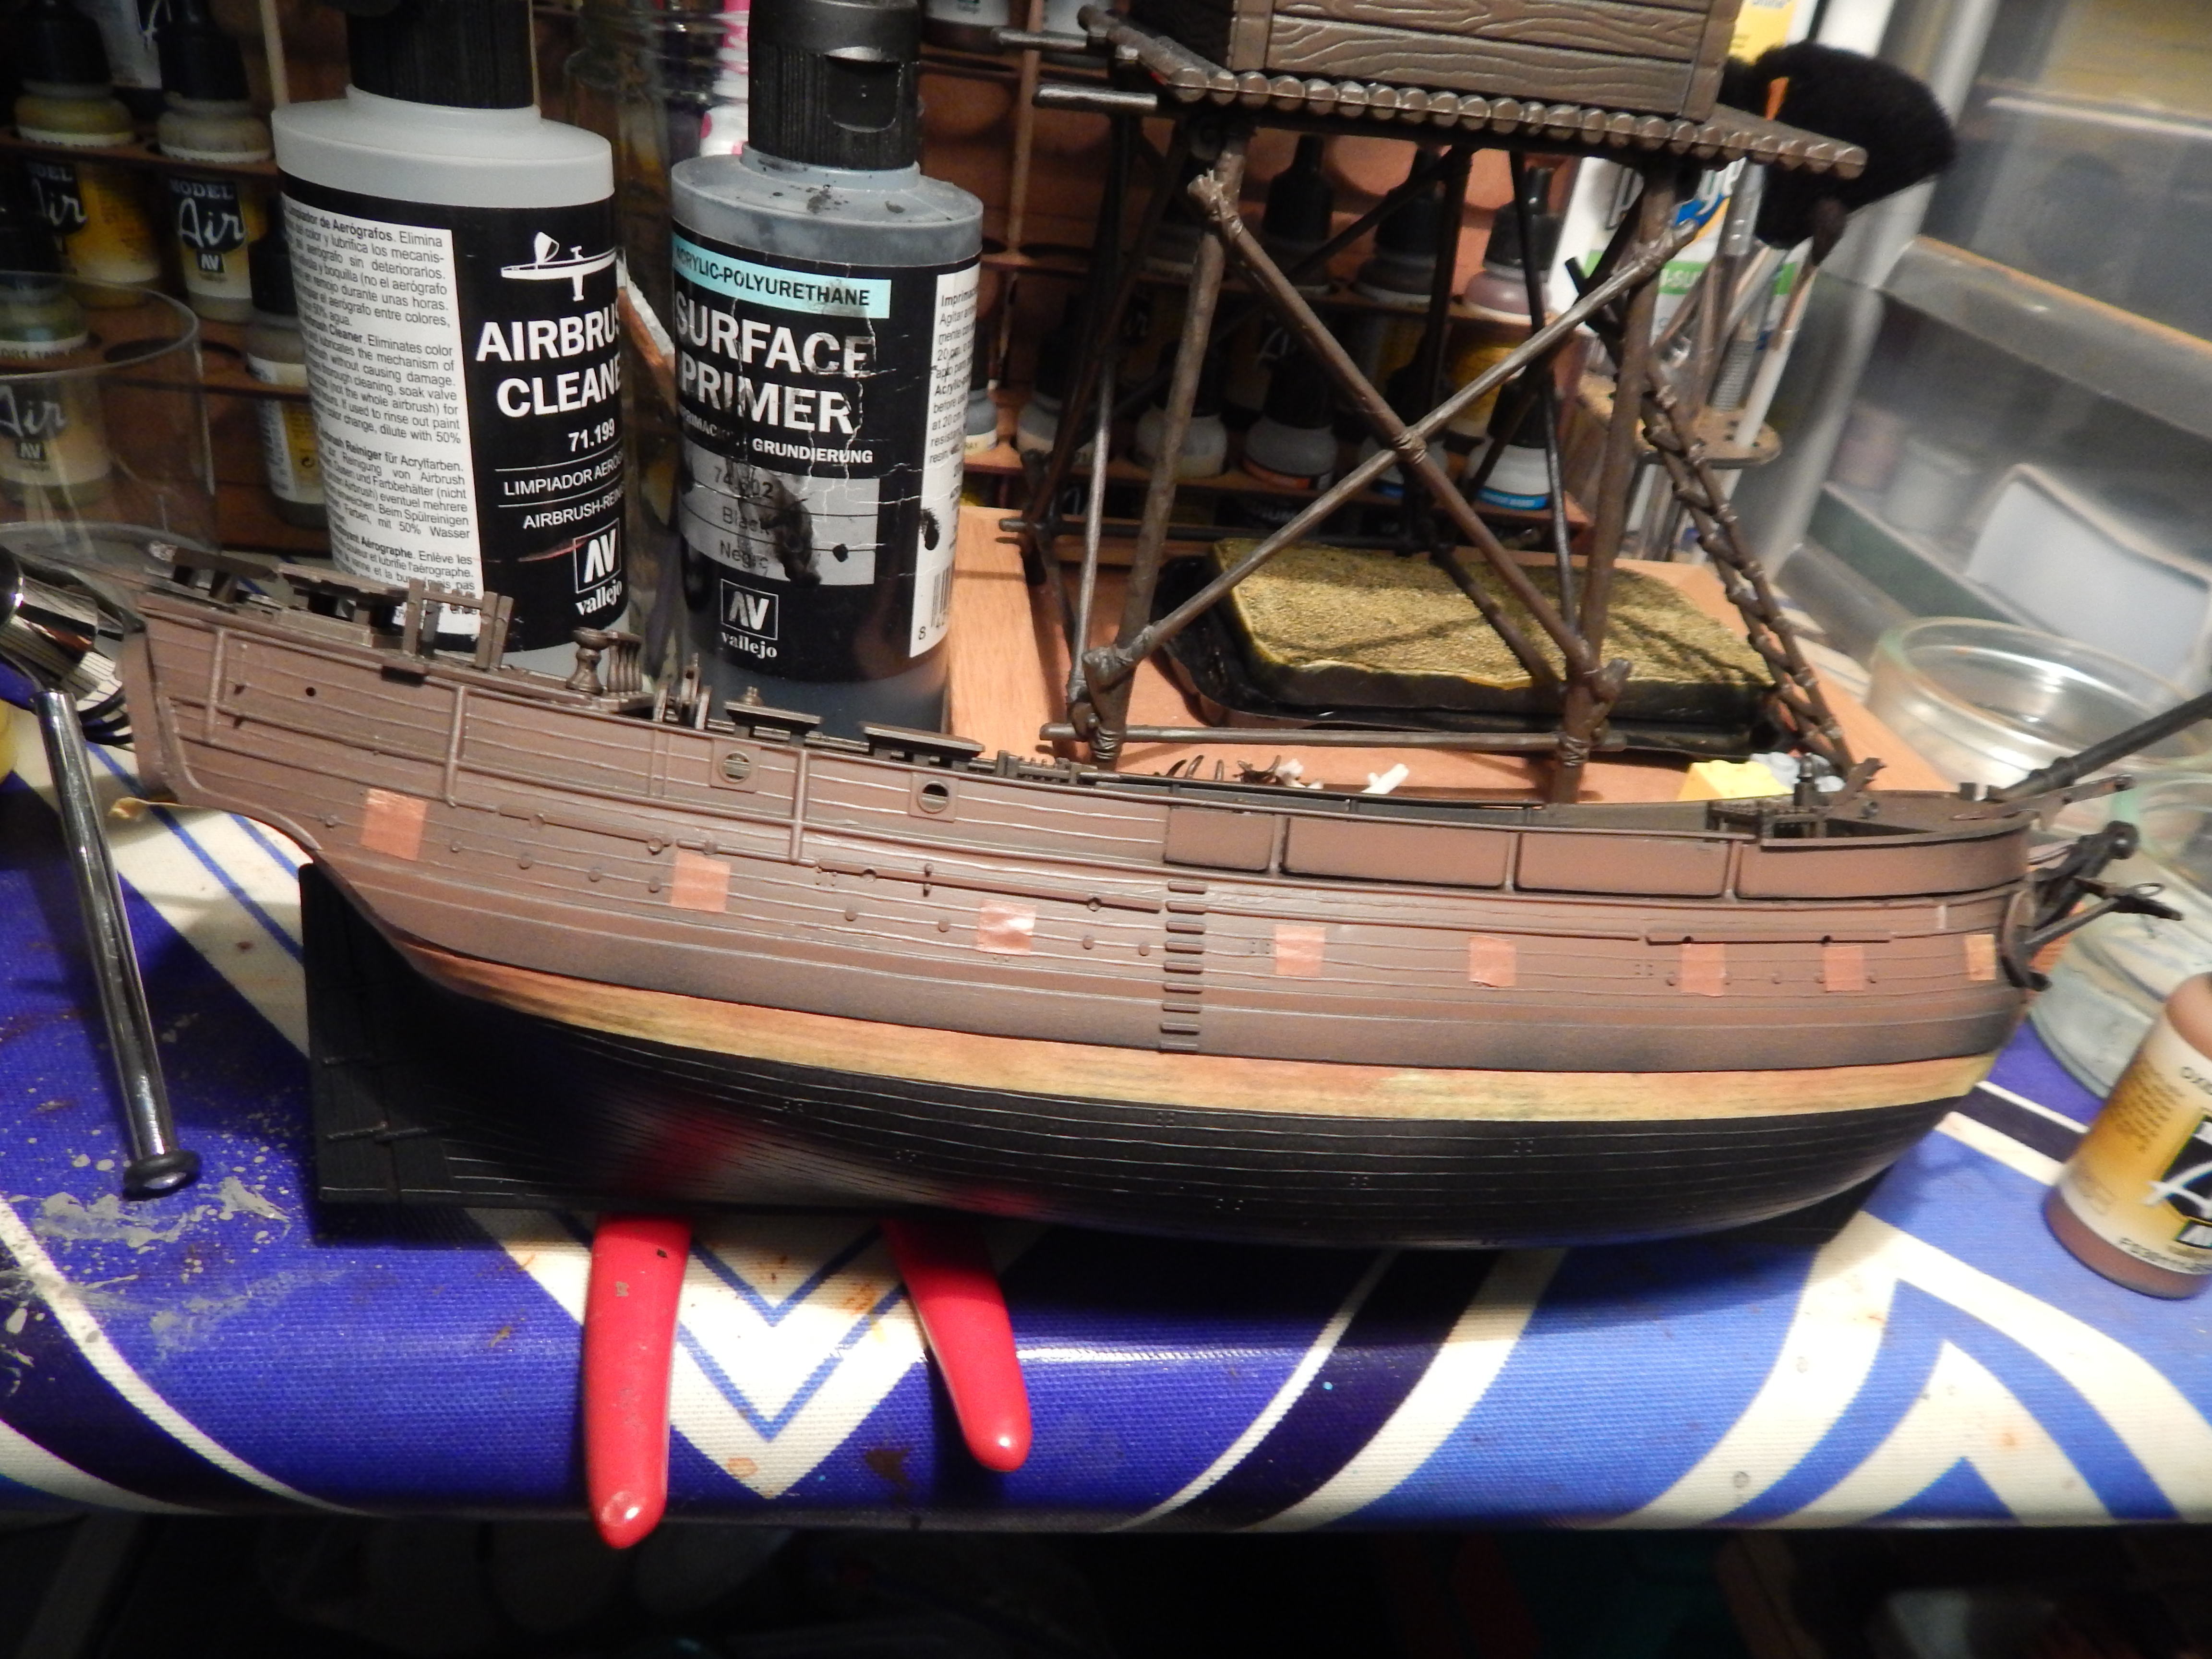


It was starting to loose my patience with this build – I messed up a lot of the shading so decided to change tack (pun intended)
This project now becomes a donor hull for a ‘steampunk airship’ conversion
 Went to a Jumble at Cramond Kirk and managed to pickup some ‘modelling supplies’
A battered box with most of the parts for a Kitty Hawk plane and a small picture frame from Ikea that I will use as the base for a diorama although possibly not this one as its a bit small.
I built up the major parts of the plane and basically its just the cockpit thats missing (instructions and decals too but its a really simple little build)

After a very brief search image search in google I came across this rather excellent picure of a Kitty hawk wreck in the desert. Perfect, I will try and use this as a basis for my next diorama.
Further information into the story behind this aircraft here


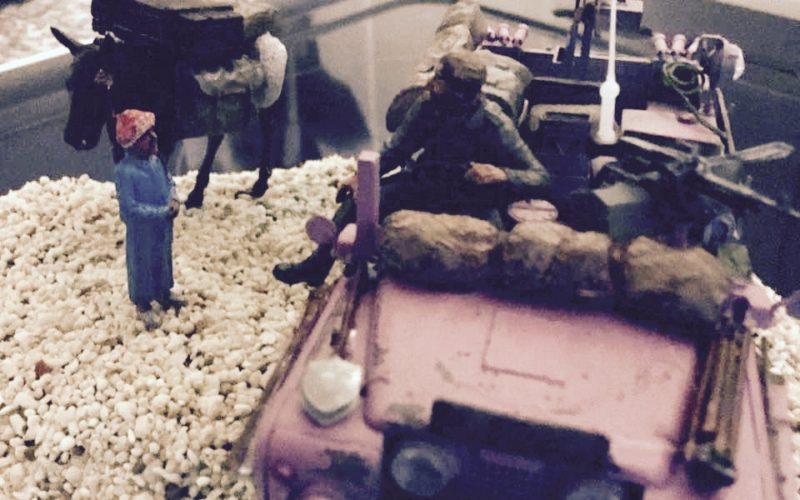
Having built the plane I will first have a go at roughly positioning the bits and pieces on the desert diorama base I used for the Tamiya 1:35 Hanomag Half Track and Desert Diorama

I can see this beginning to work out already.
OK so I stuck a piece of styrofoam to a square piece of I think its hardboard.. both materials salvaged from skip..with white glue ) White PVA from pound store and wait to dry. Next stage will be to cover in das plaster…
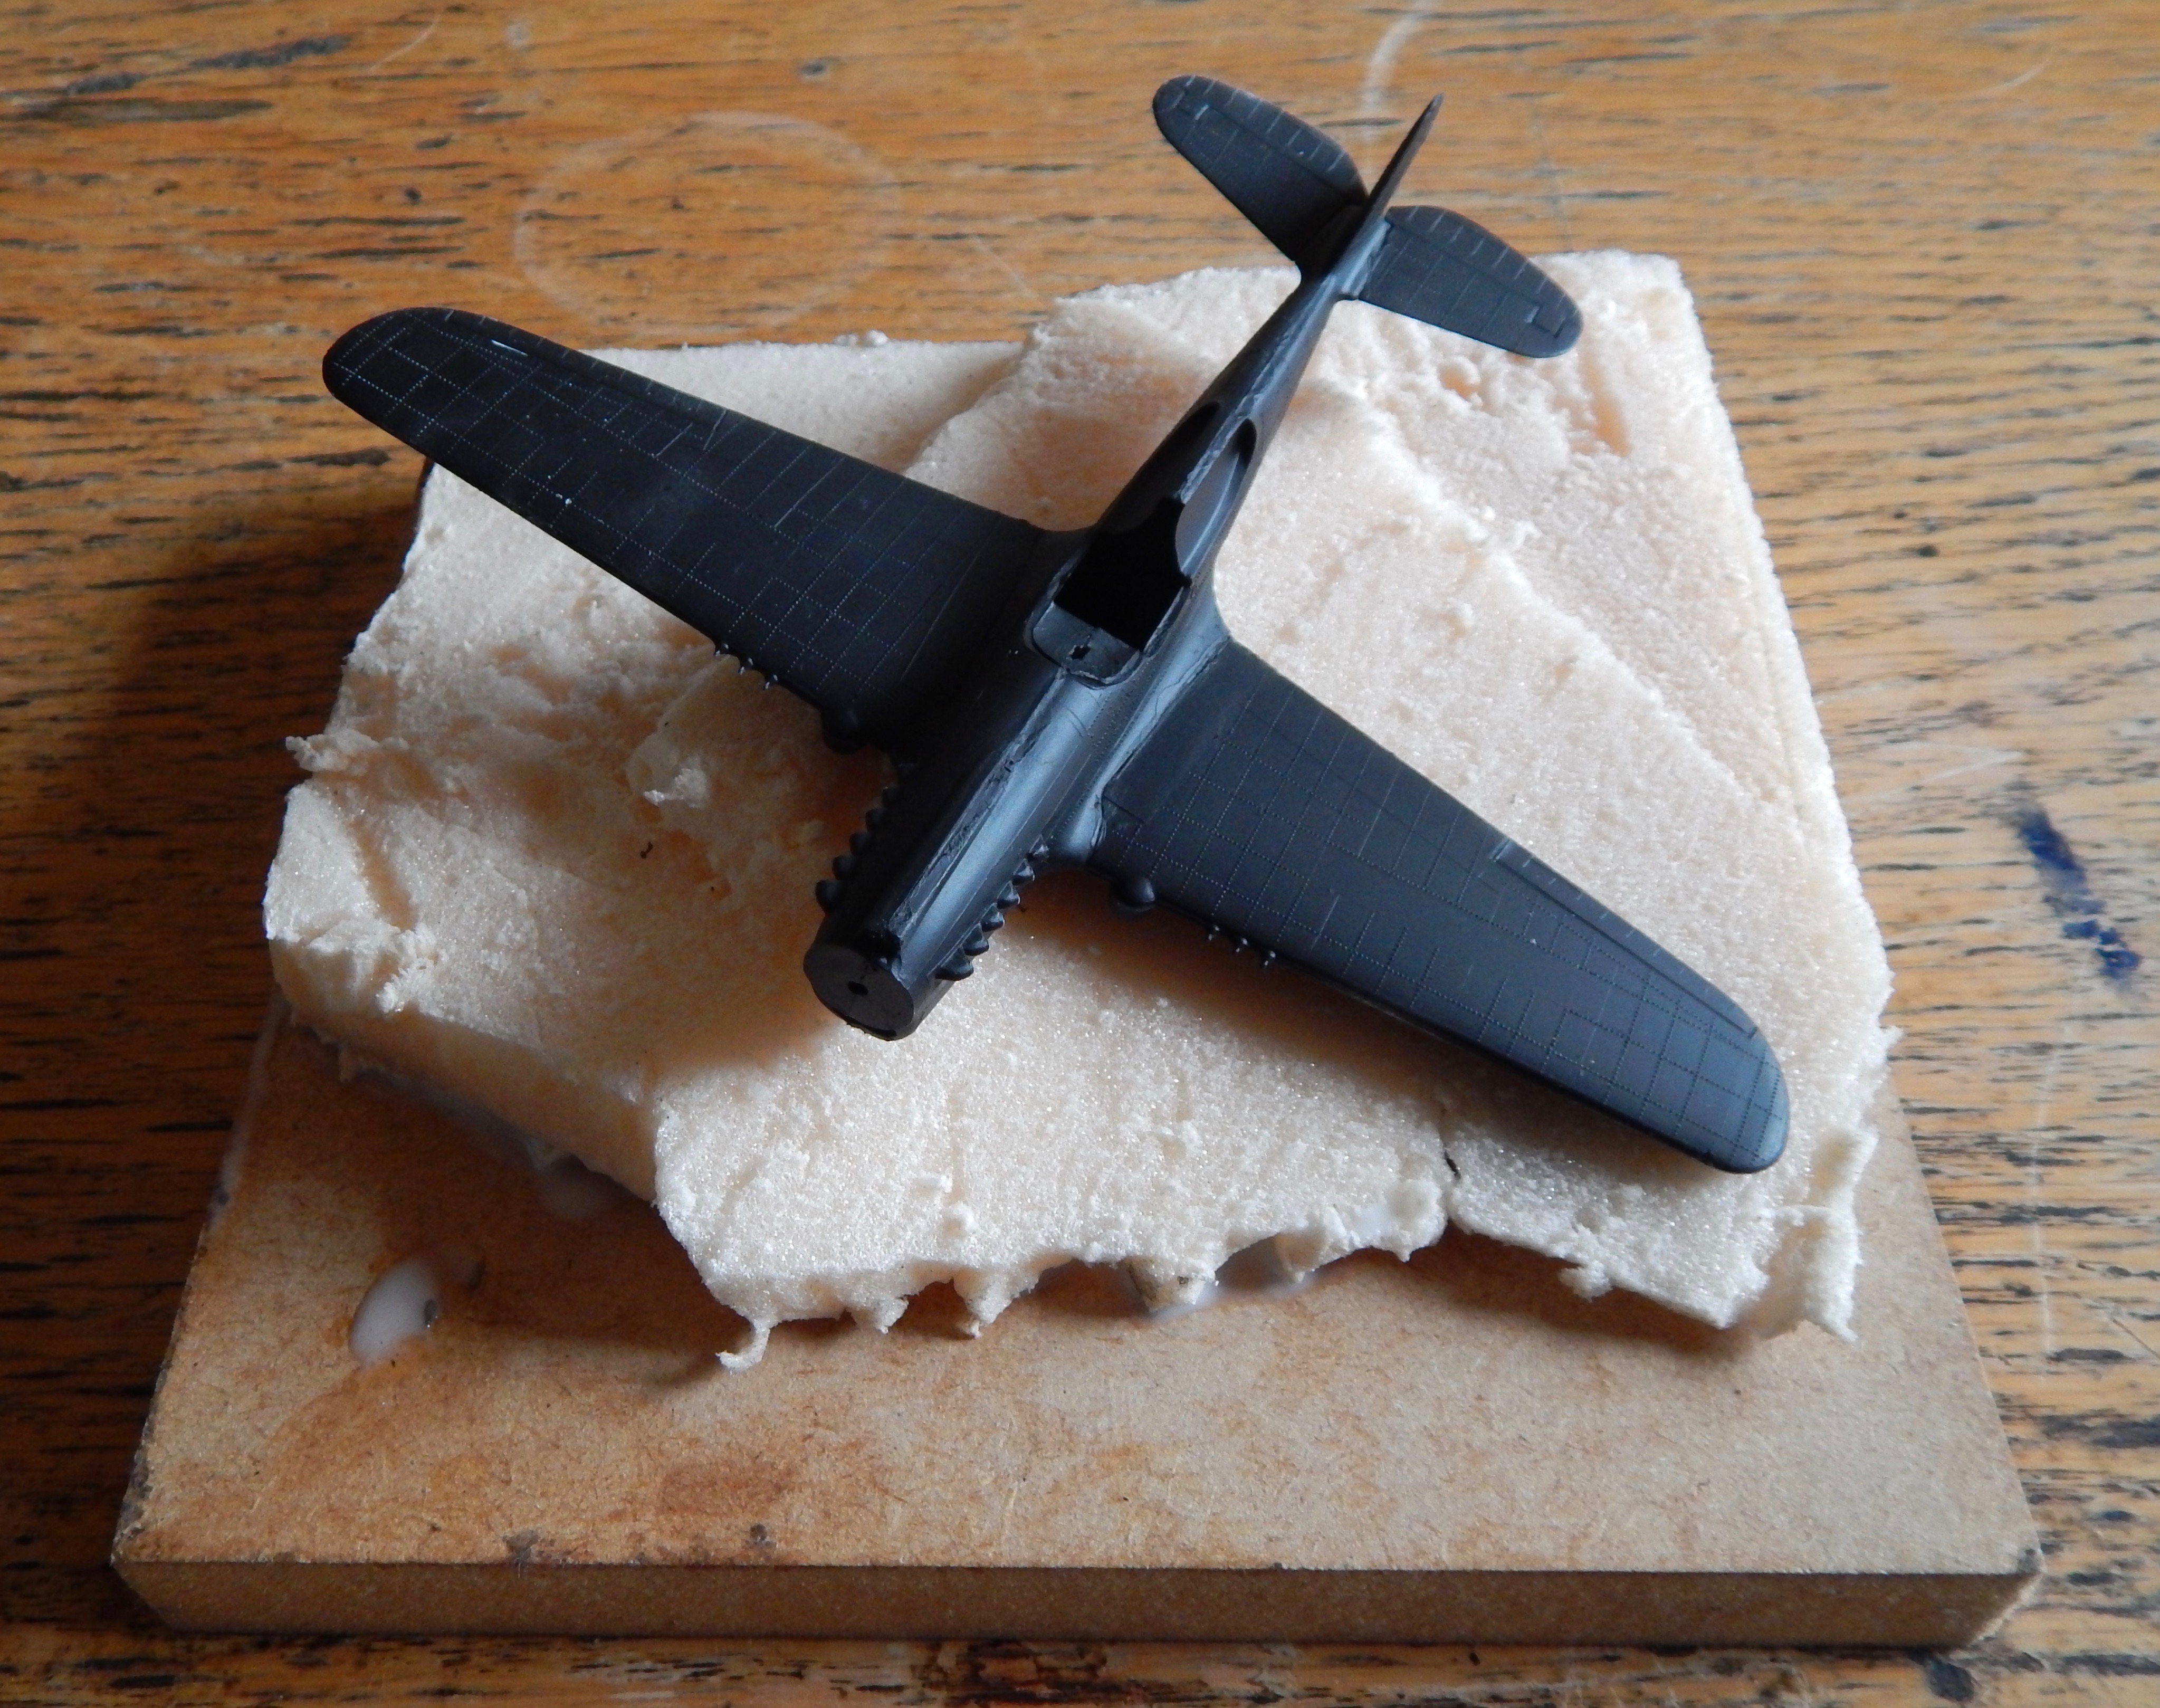

Covered in Das and a trial at some blown sand – not sure if this will work…

Not sure the blown sand worked… added some Kitty Litter Rocks and some black presiding to the base….

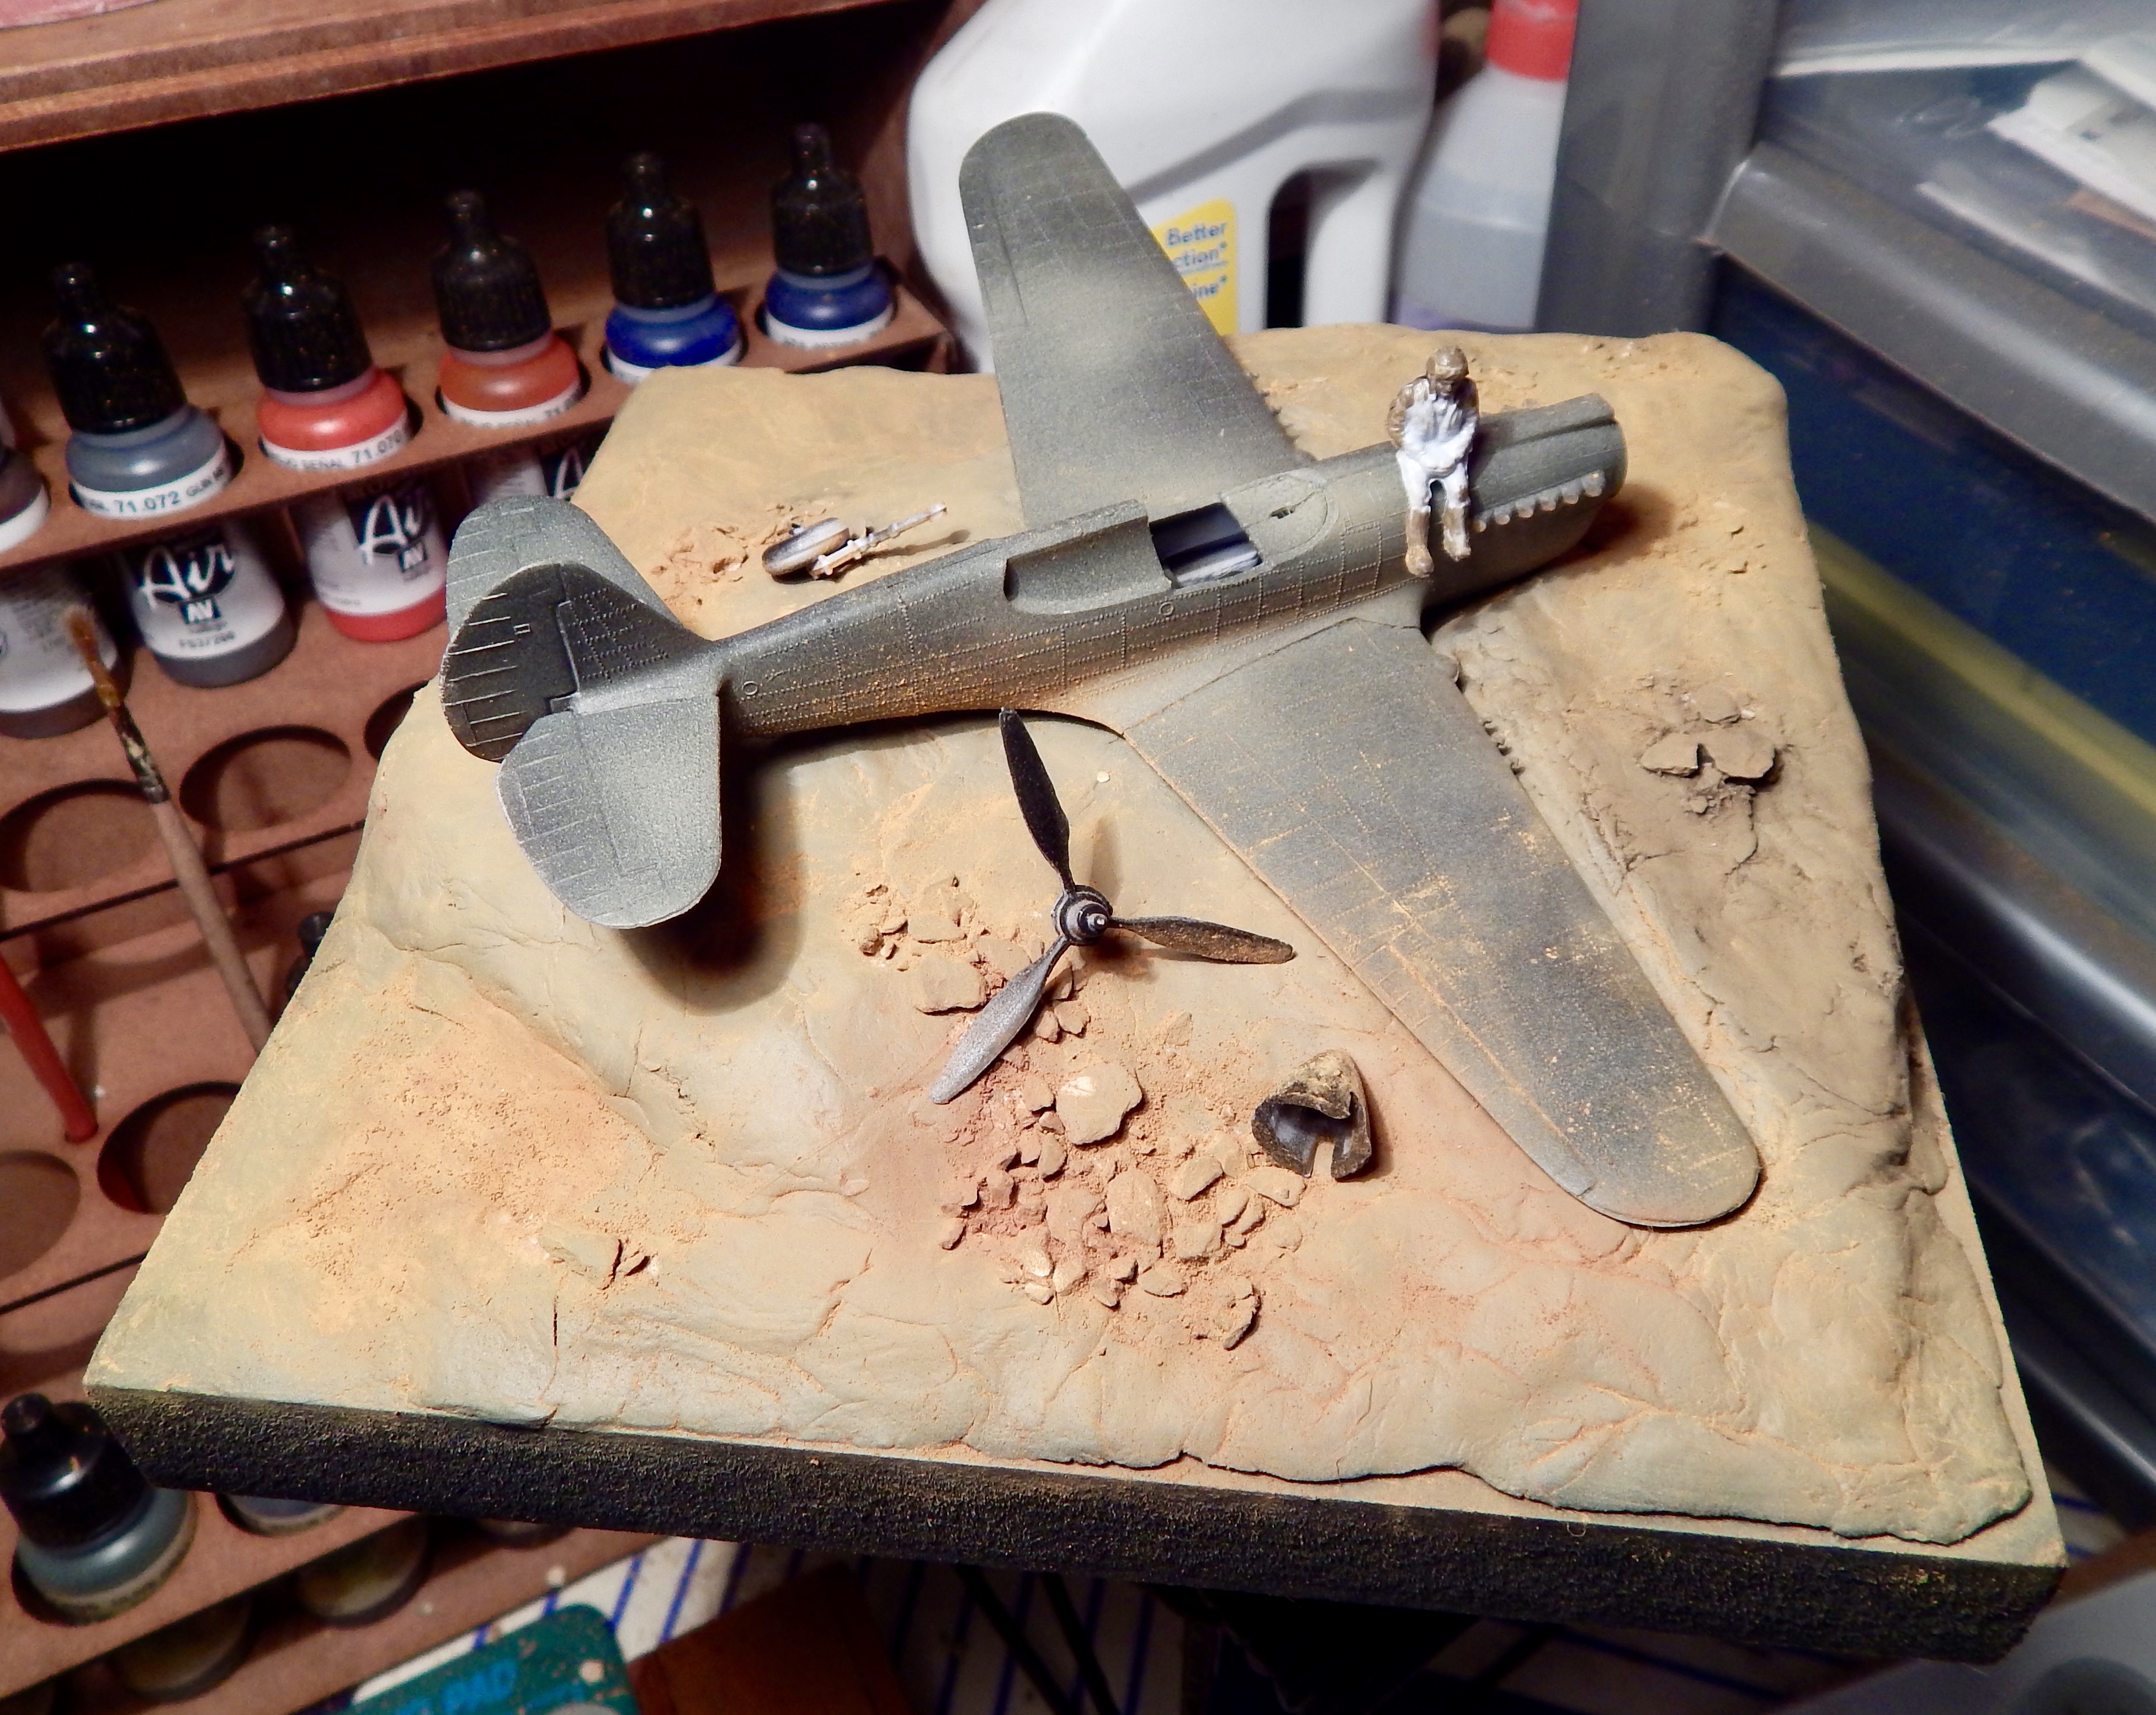
Started to Airbrush some colour into the diorama base.. looks a bit muddy rather than sandy at the moment… added a figure and some of the wreckage to test out scene

Worked some pigments into the scene to try and create more of a desert landscape feel. Still a lot of weathering and painting needed for the aircraft but starting to take shape..
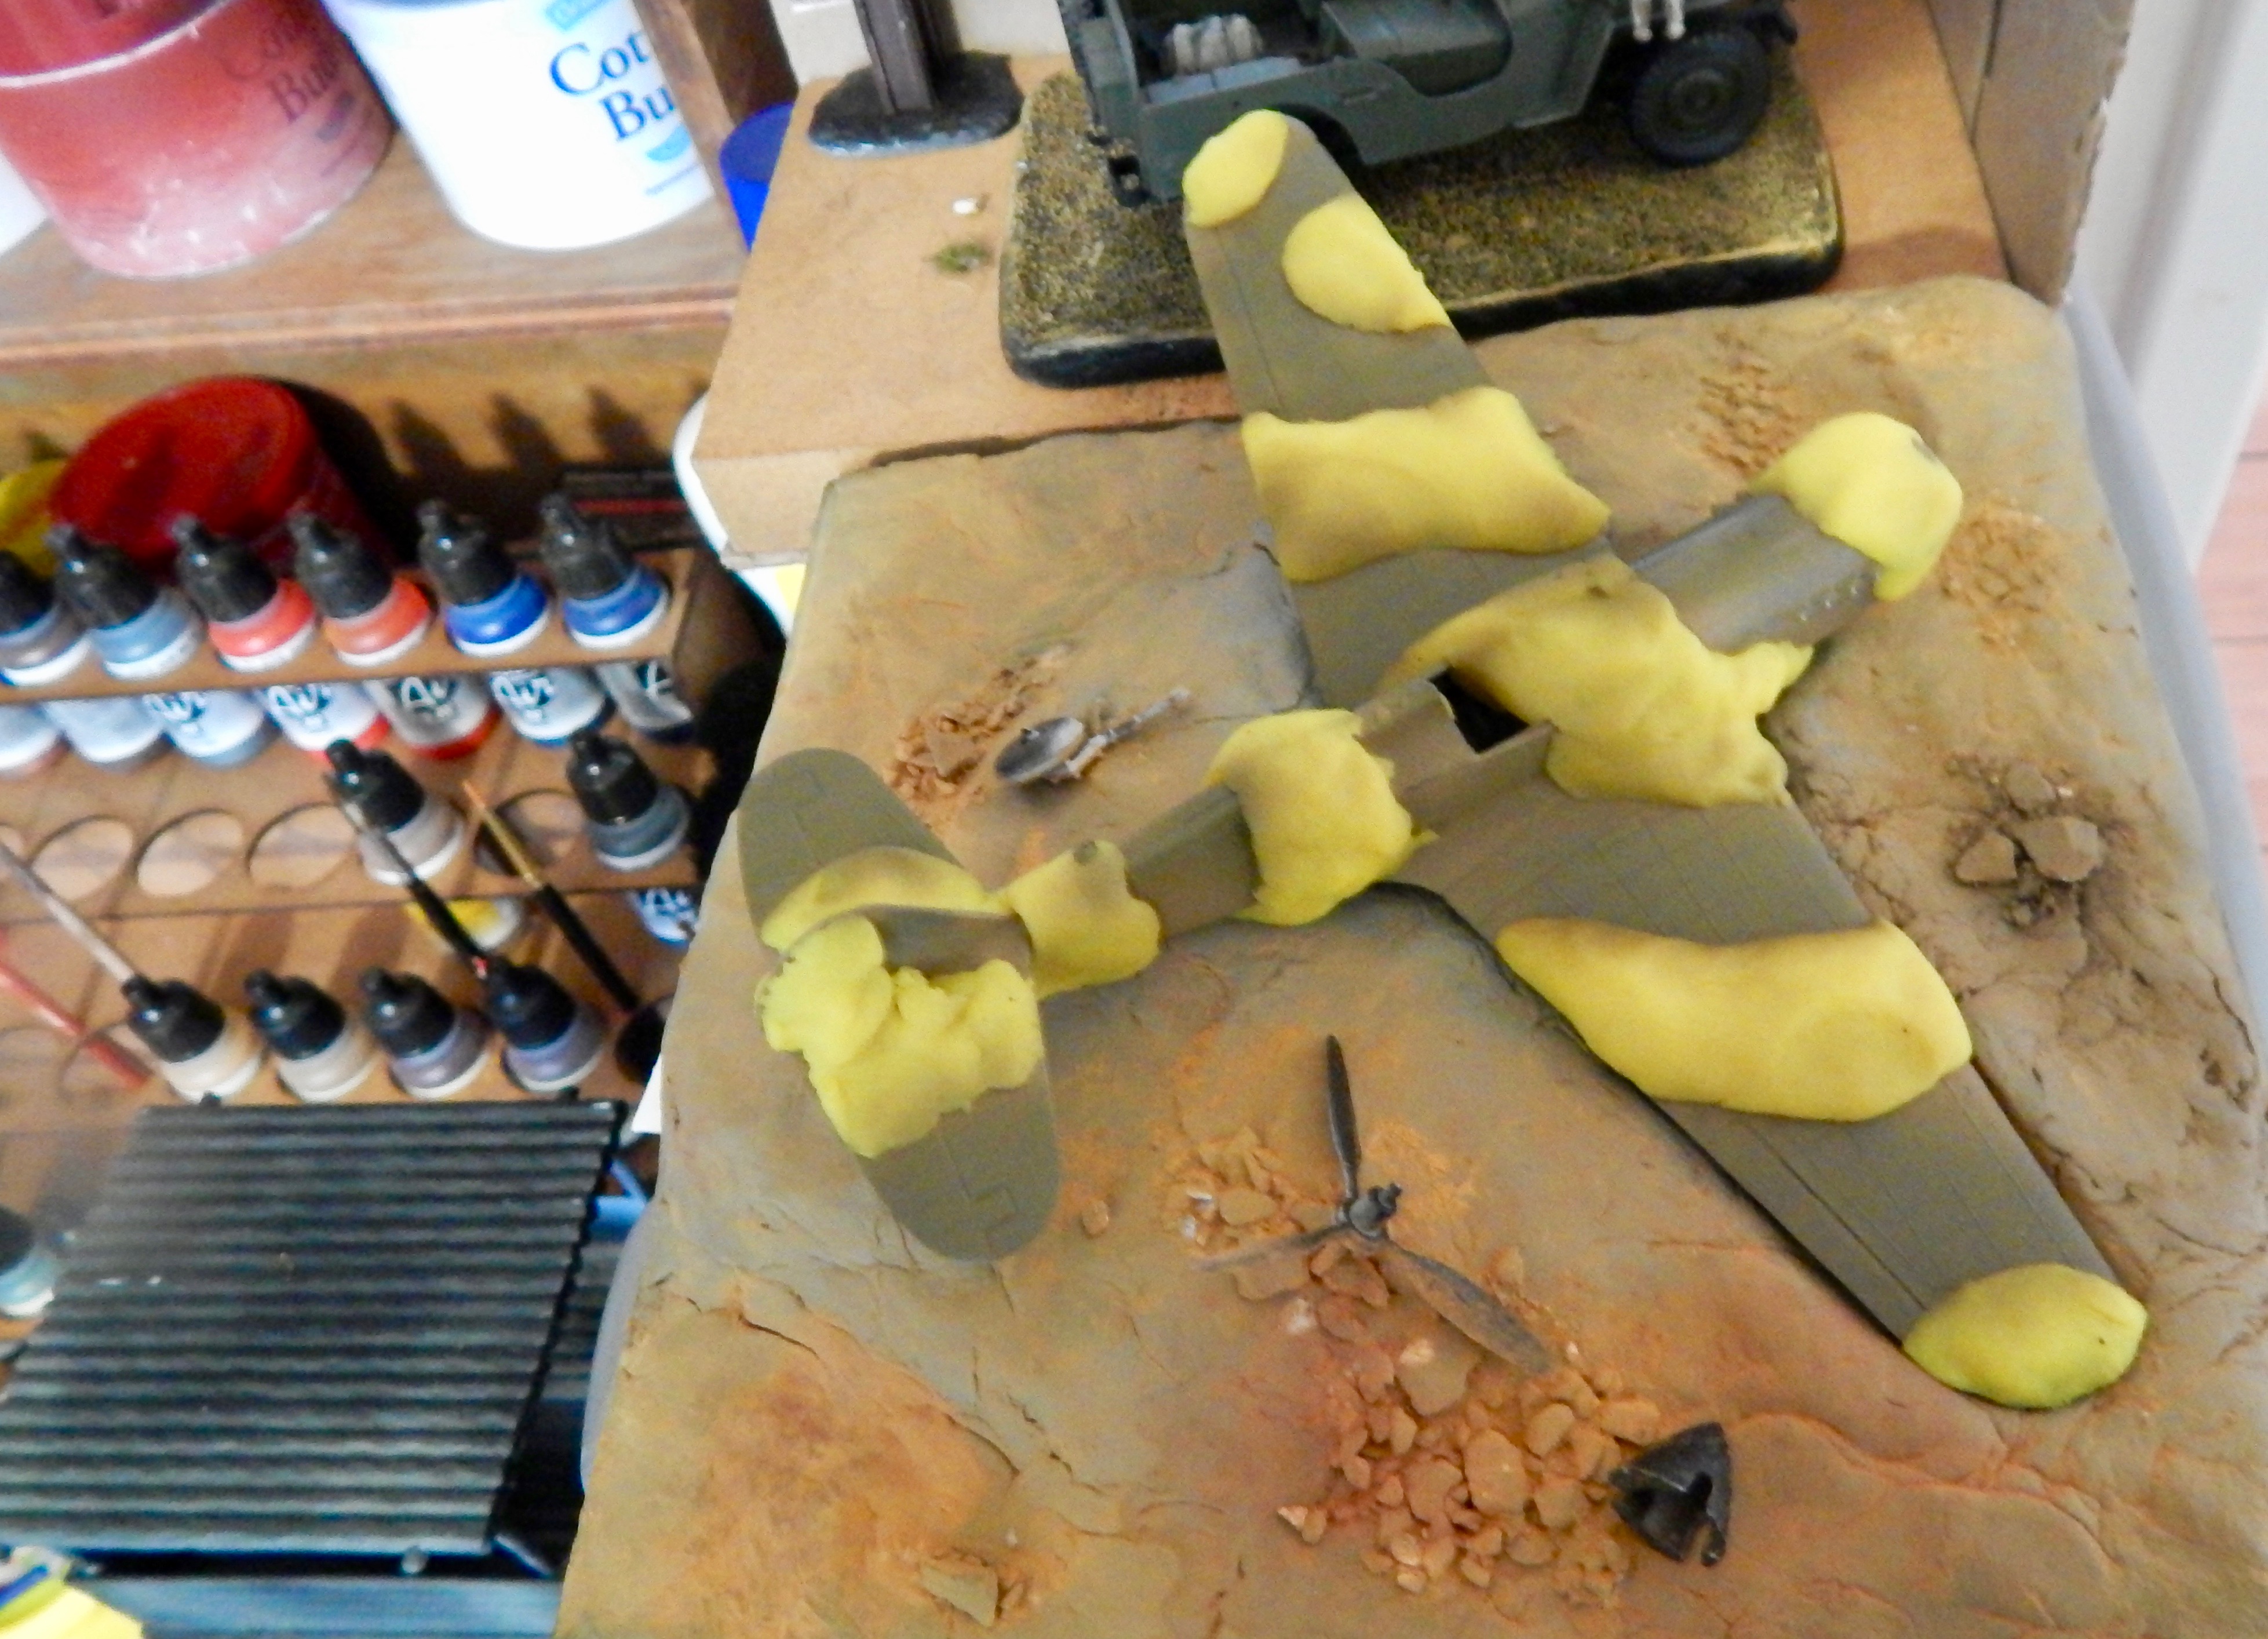
Add some camouflage paint pattern

Play Doh masking ready for another spray of cammo..
Remove the masking doh…
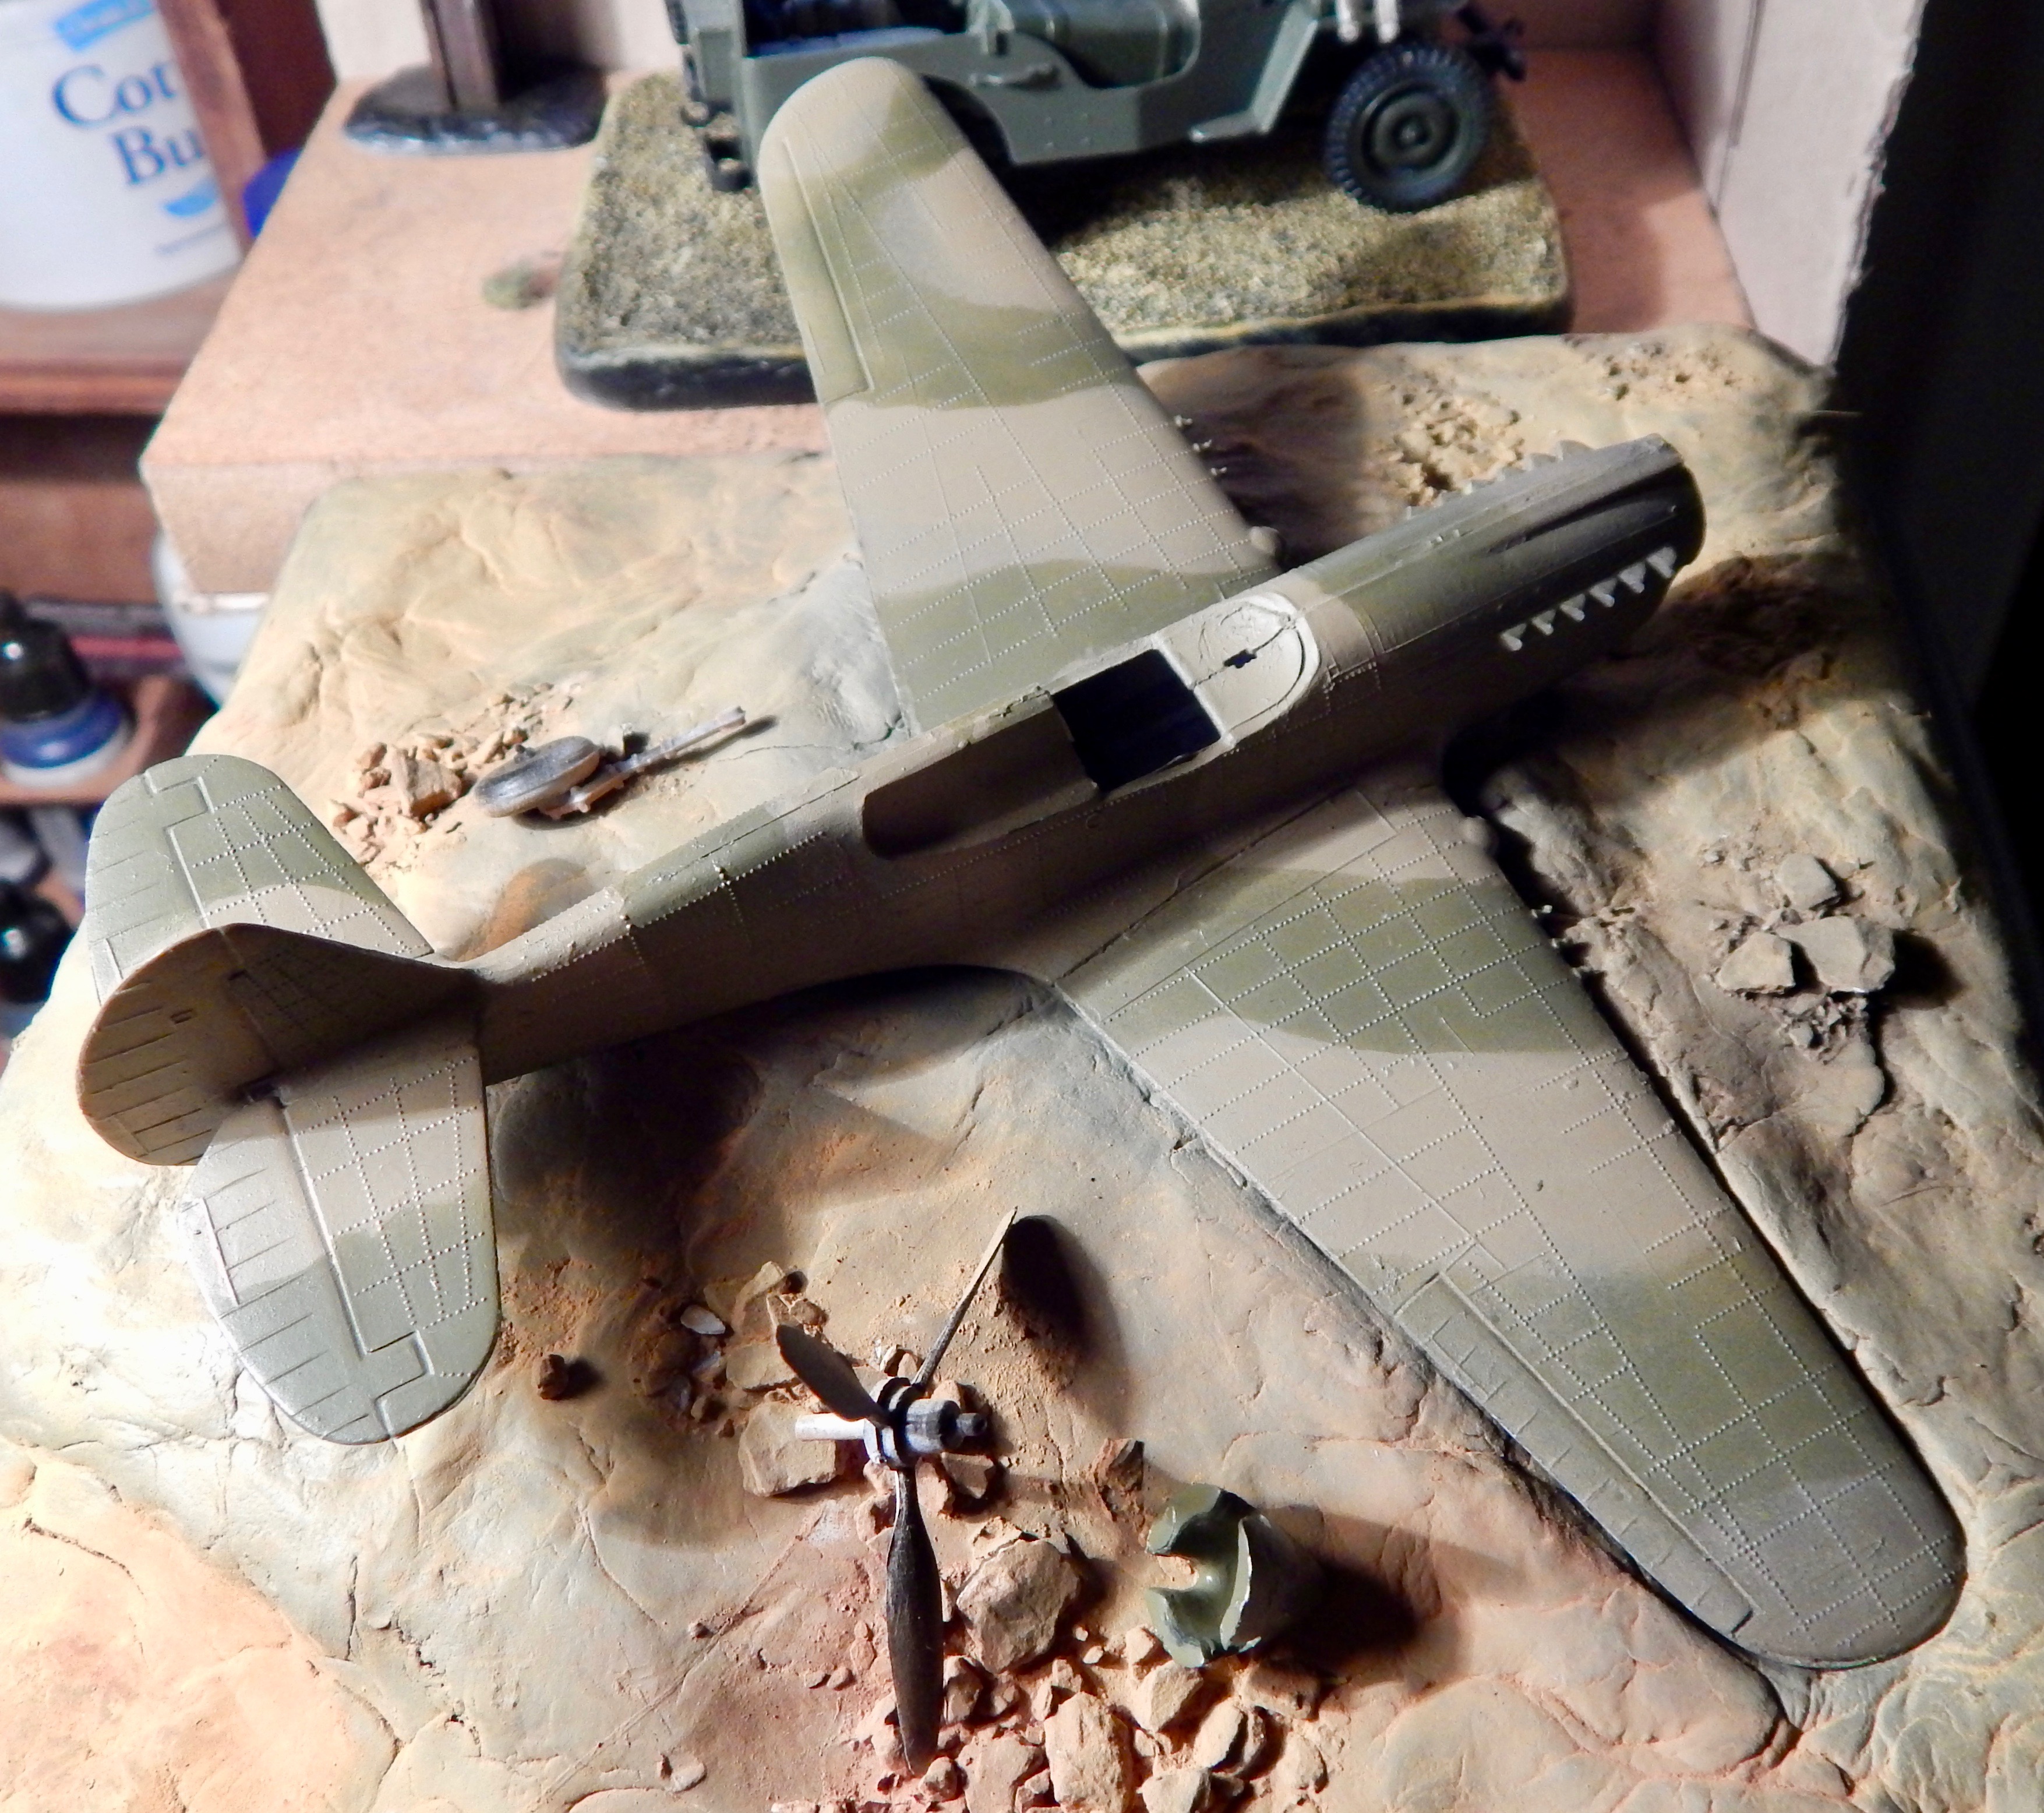
Next stage was to give a coat of Klear and then an ink pin wash … didn’t turn out quite as expected .. possibly didn’t let the Clear Coat dry enough .. managed to buff some of the excess ink away with a kitchen towel .. should be able to improve appearance when I start to do some more serious weathering…


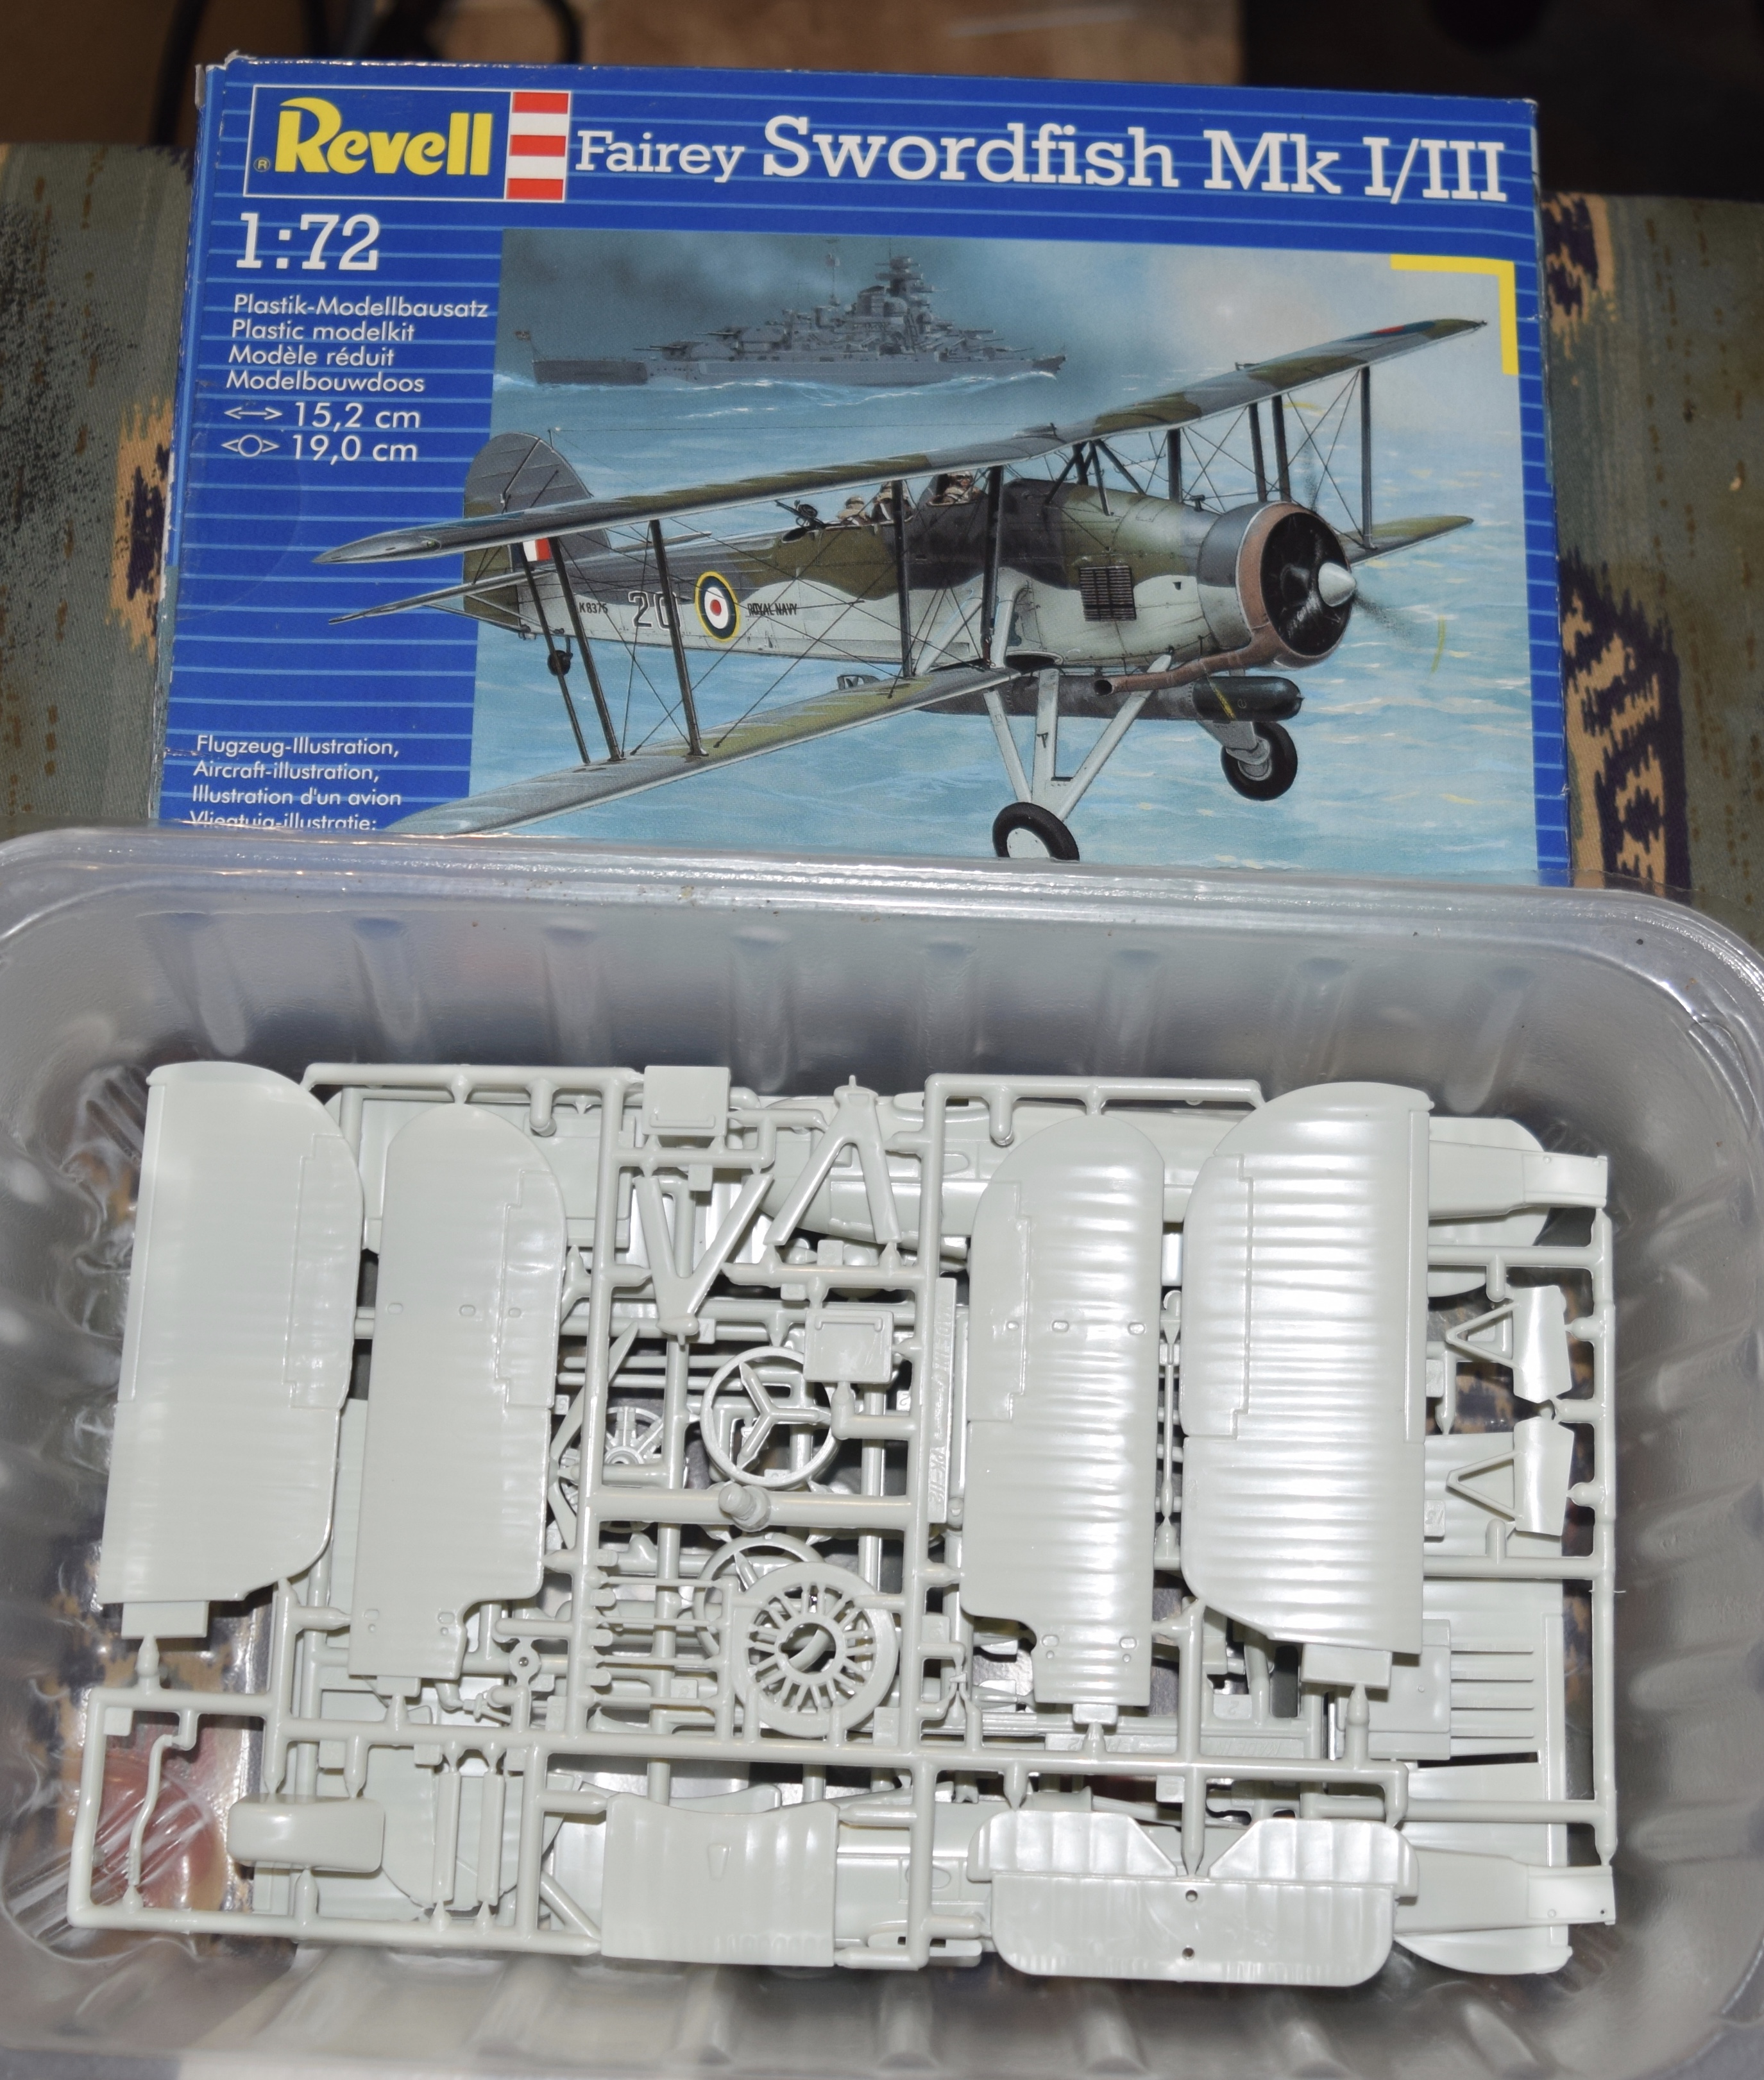
A present from my brother – thanks mate
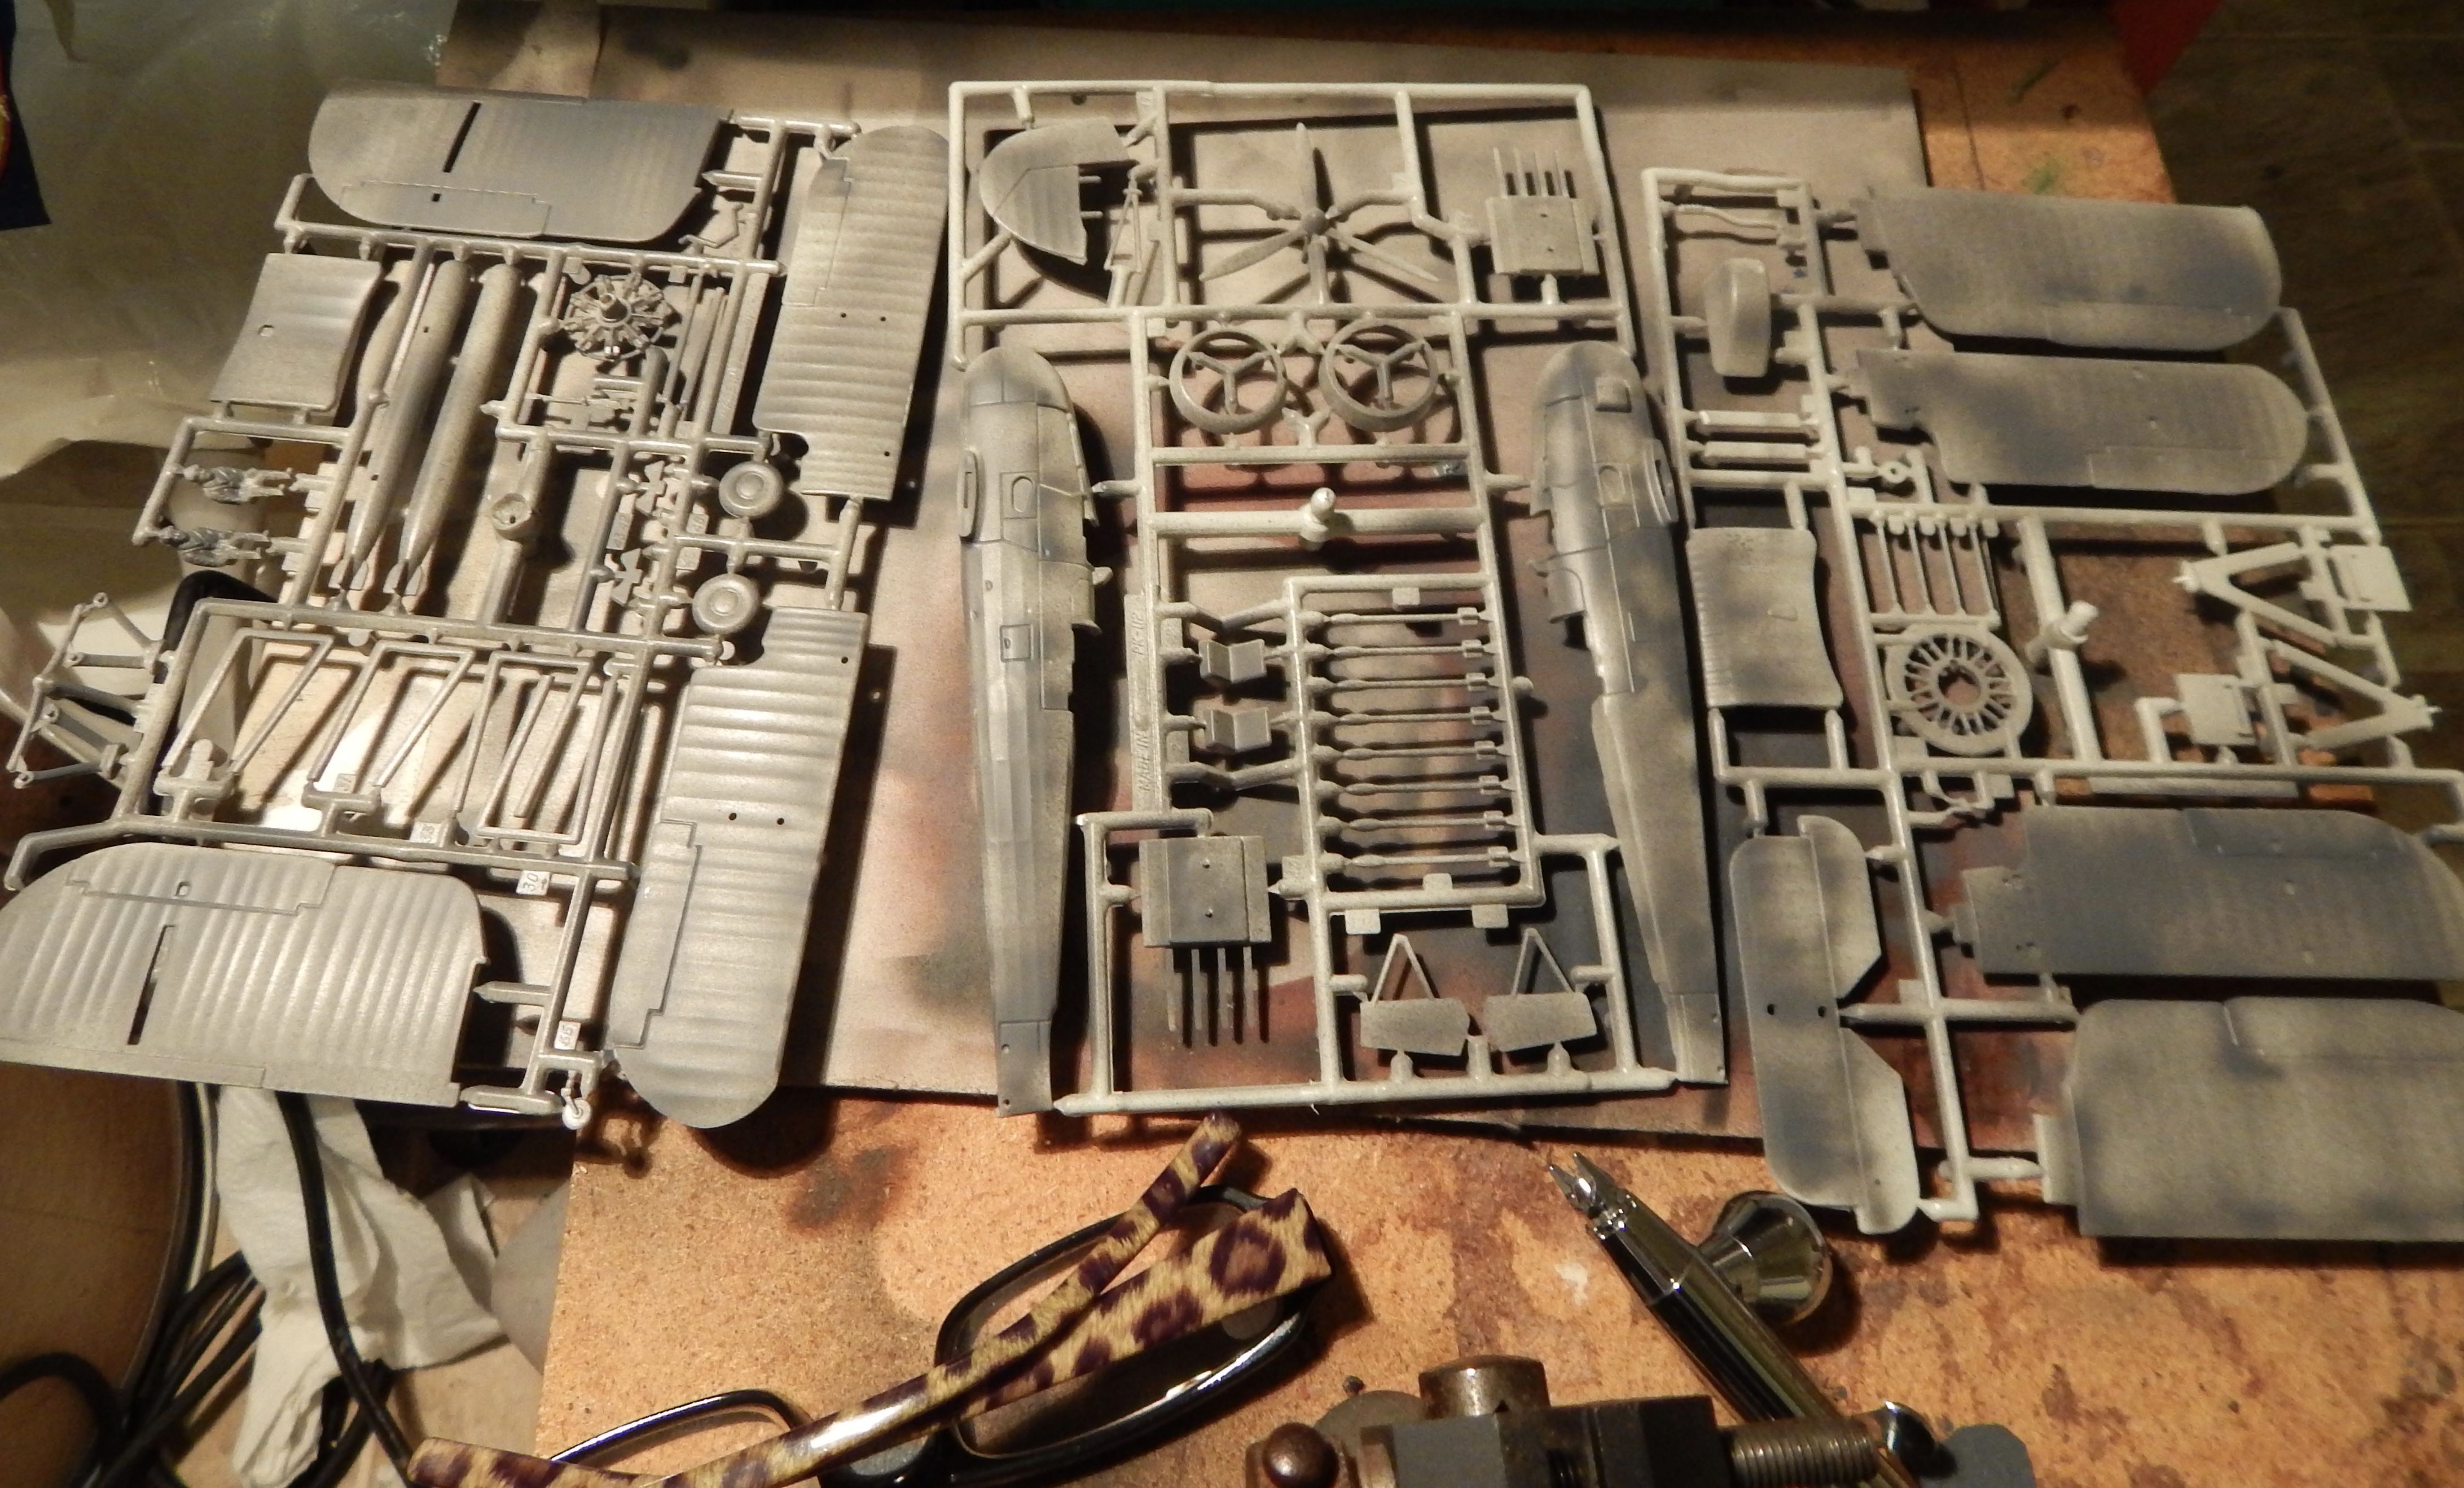
parts are washed and then given a quick coat of grey primer
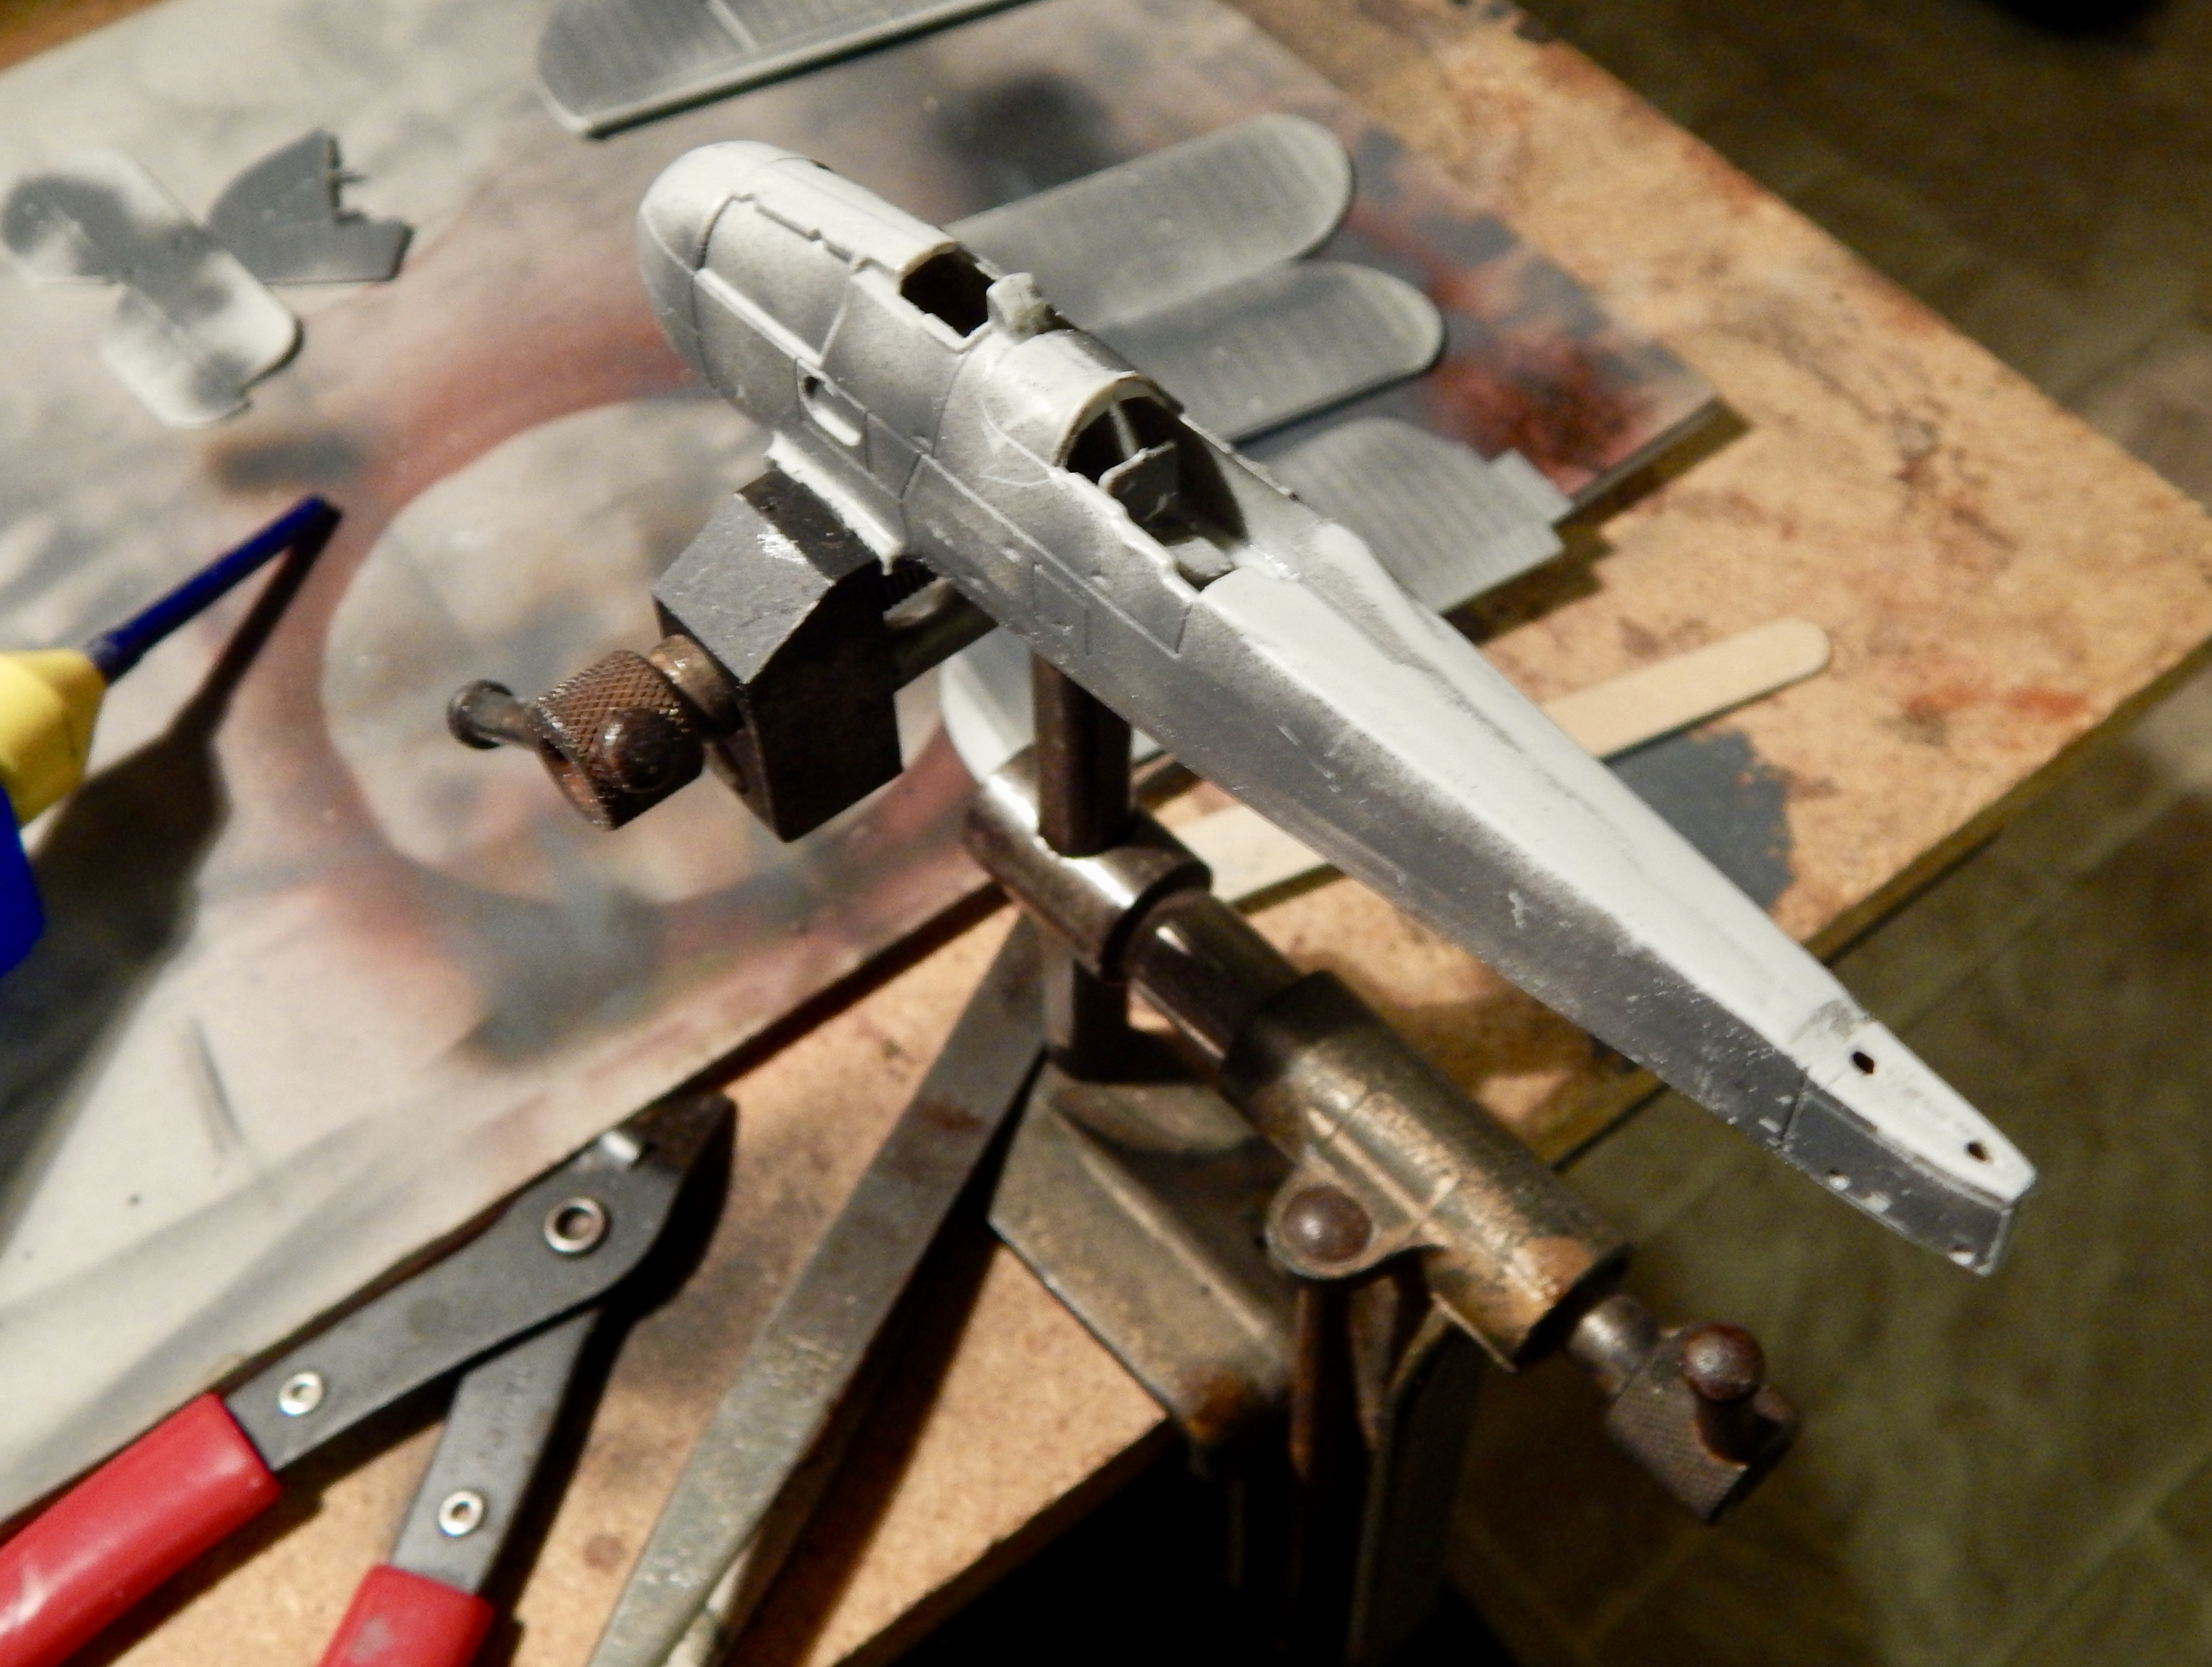
The fuselage is glued clamped and filed for a better finish
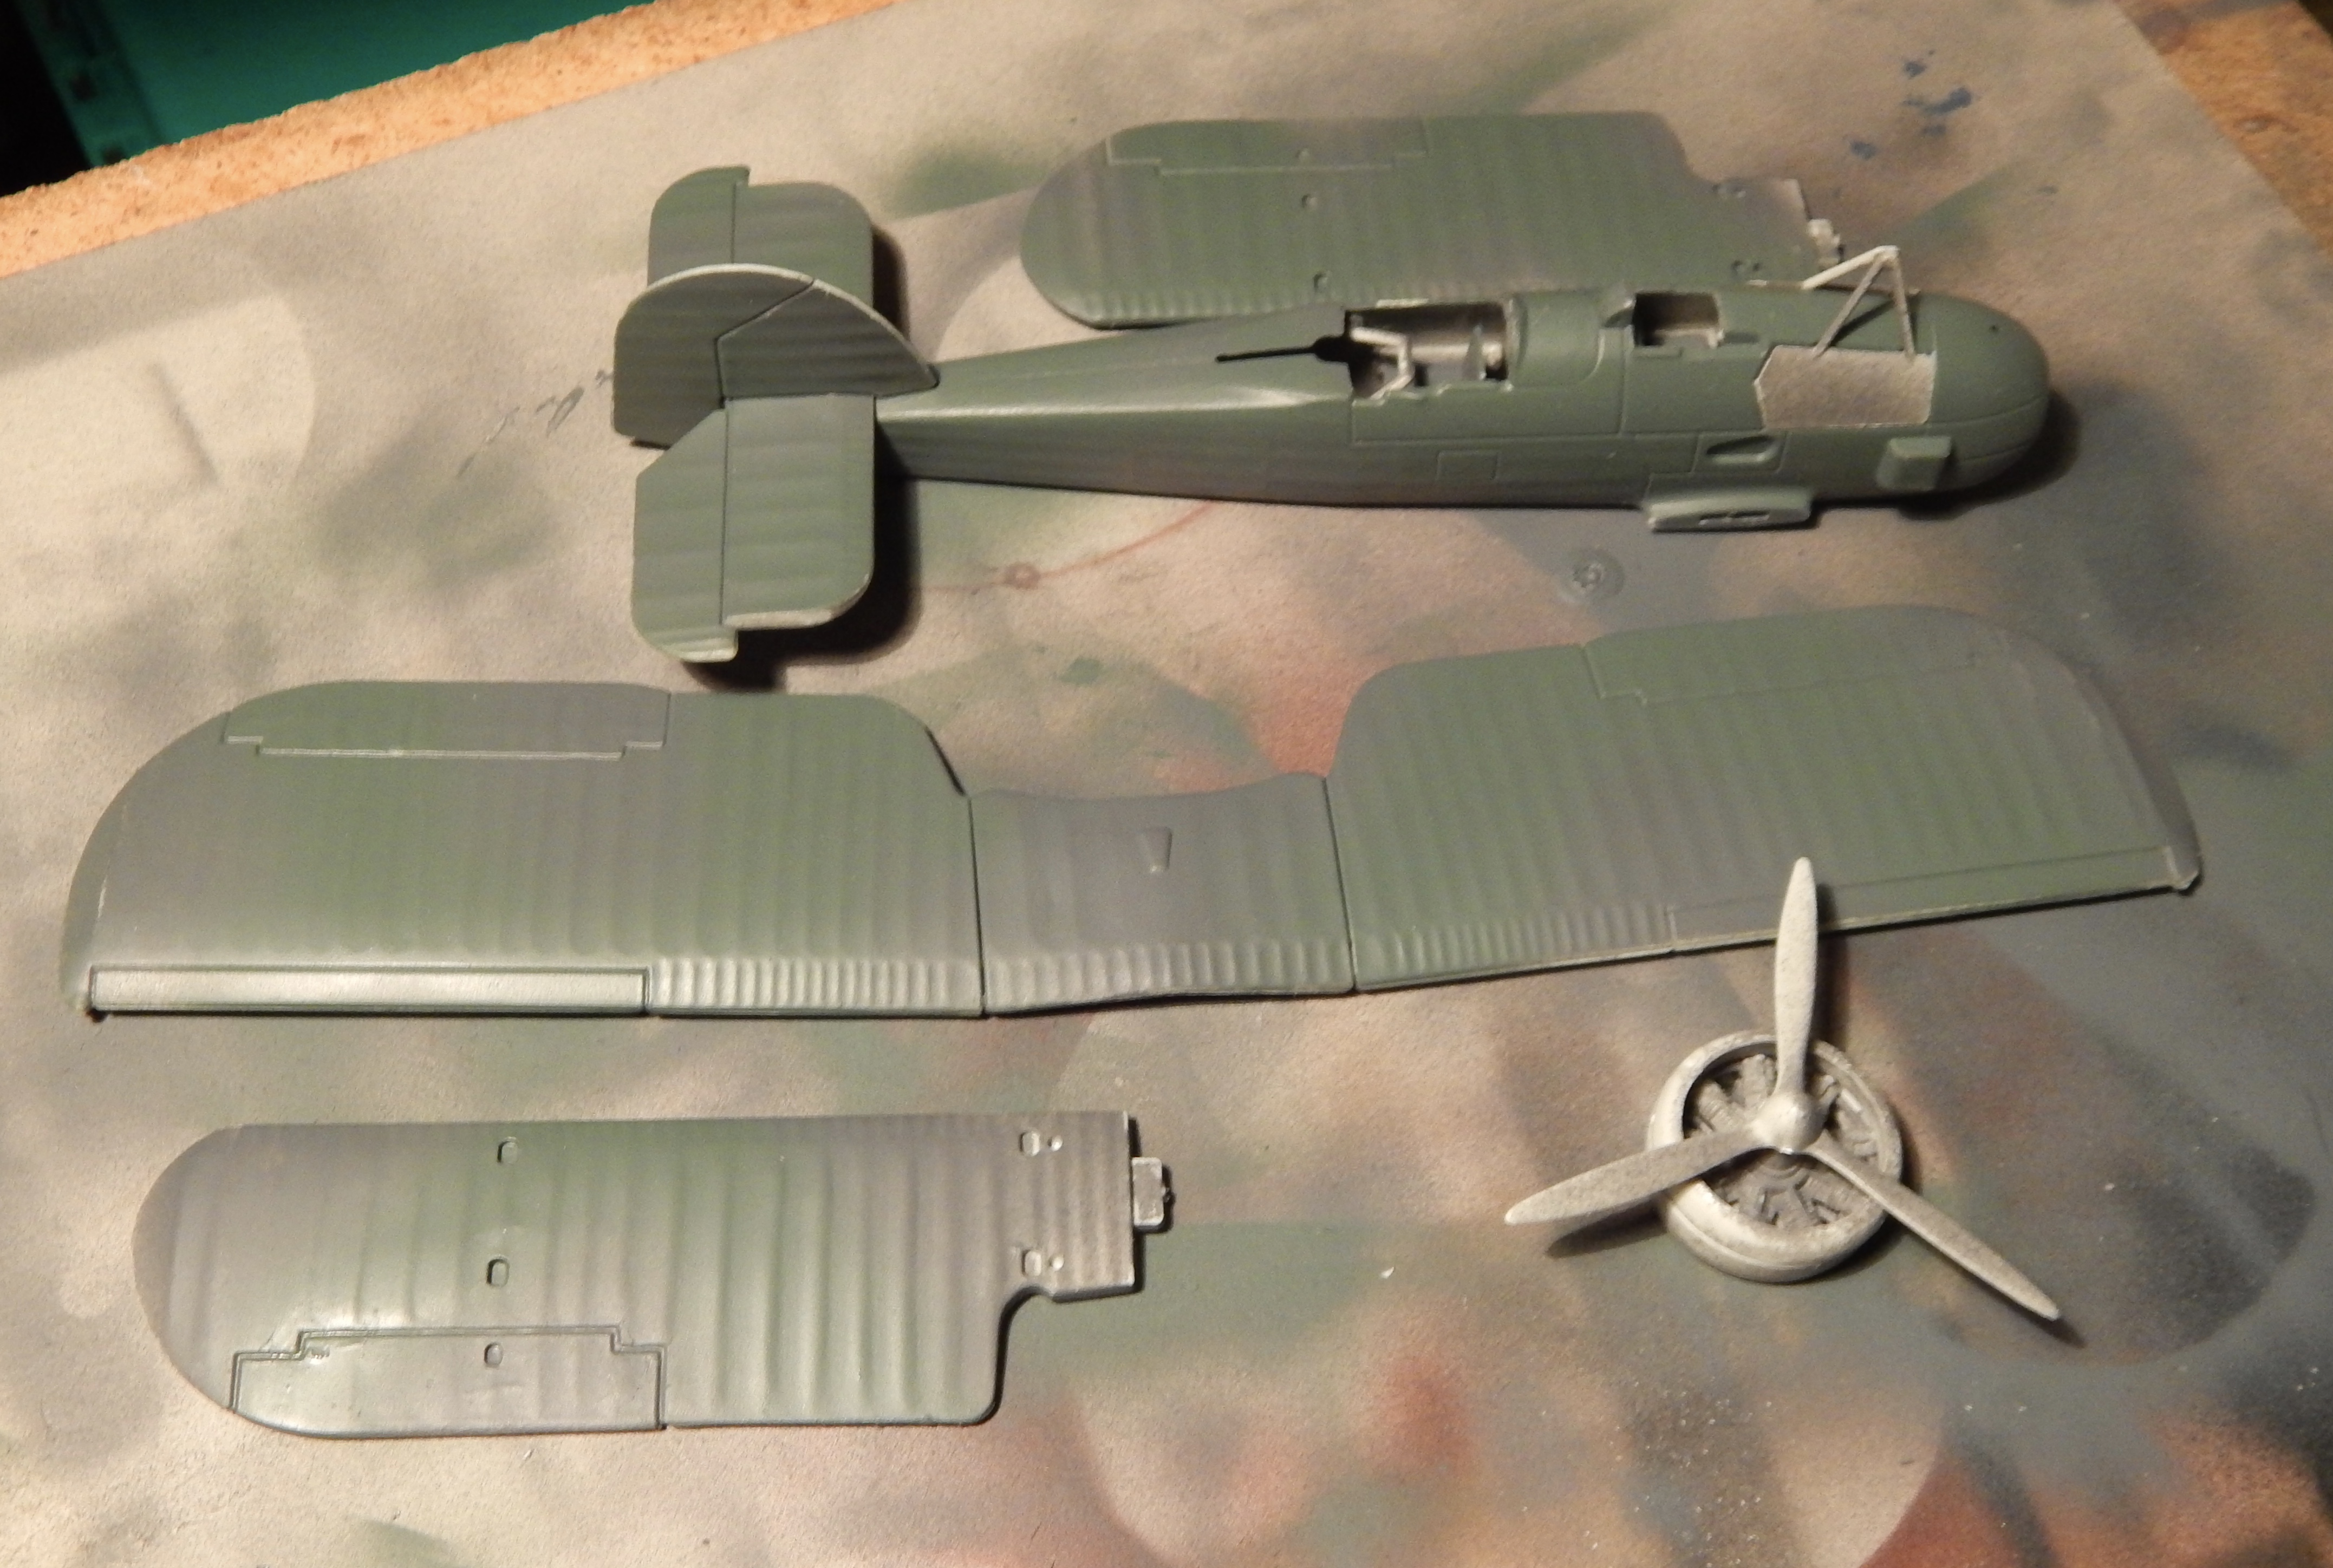
The wings are assembled and the parts given a coating of grey

A bit more construction work and some green shading
Masked off area that is sky blue and sprayed

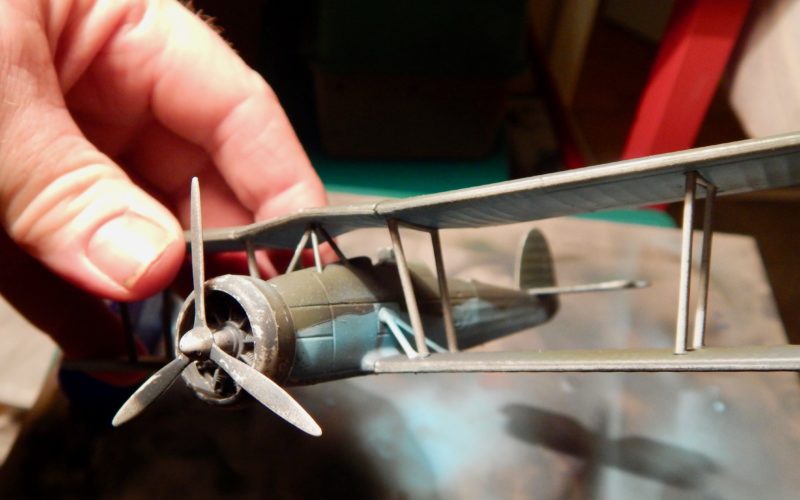
more construction….. a few problems working out how the struts should be positioned and a lot more work needed to the paint job

starting to look like a plane….

Touched up the paintwork with grey ontop…

and underneath